
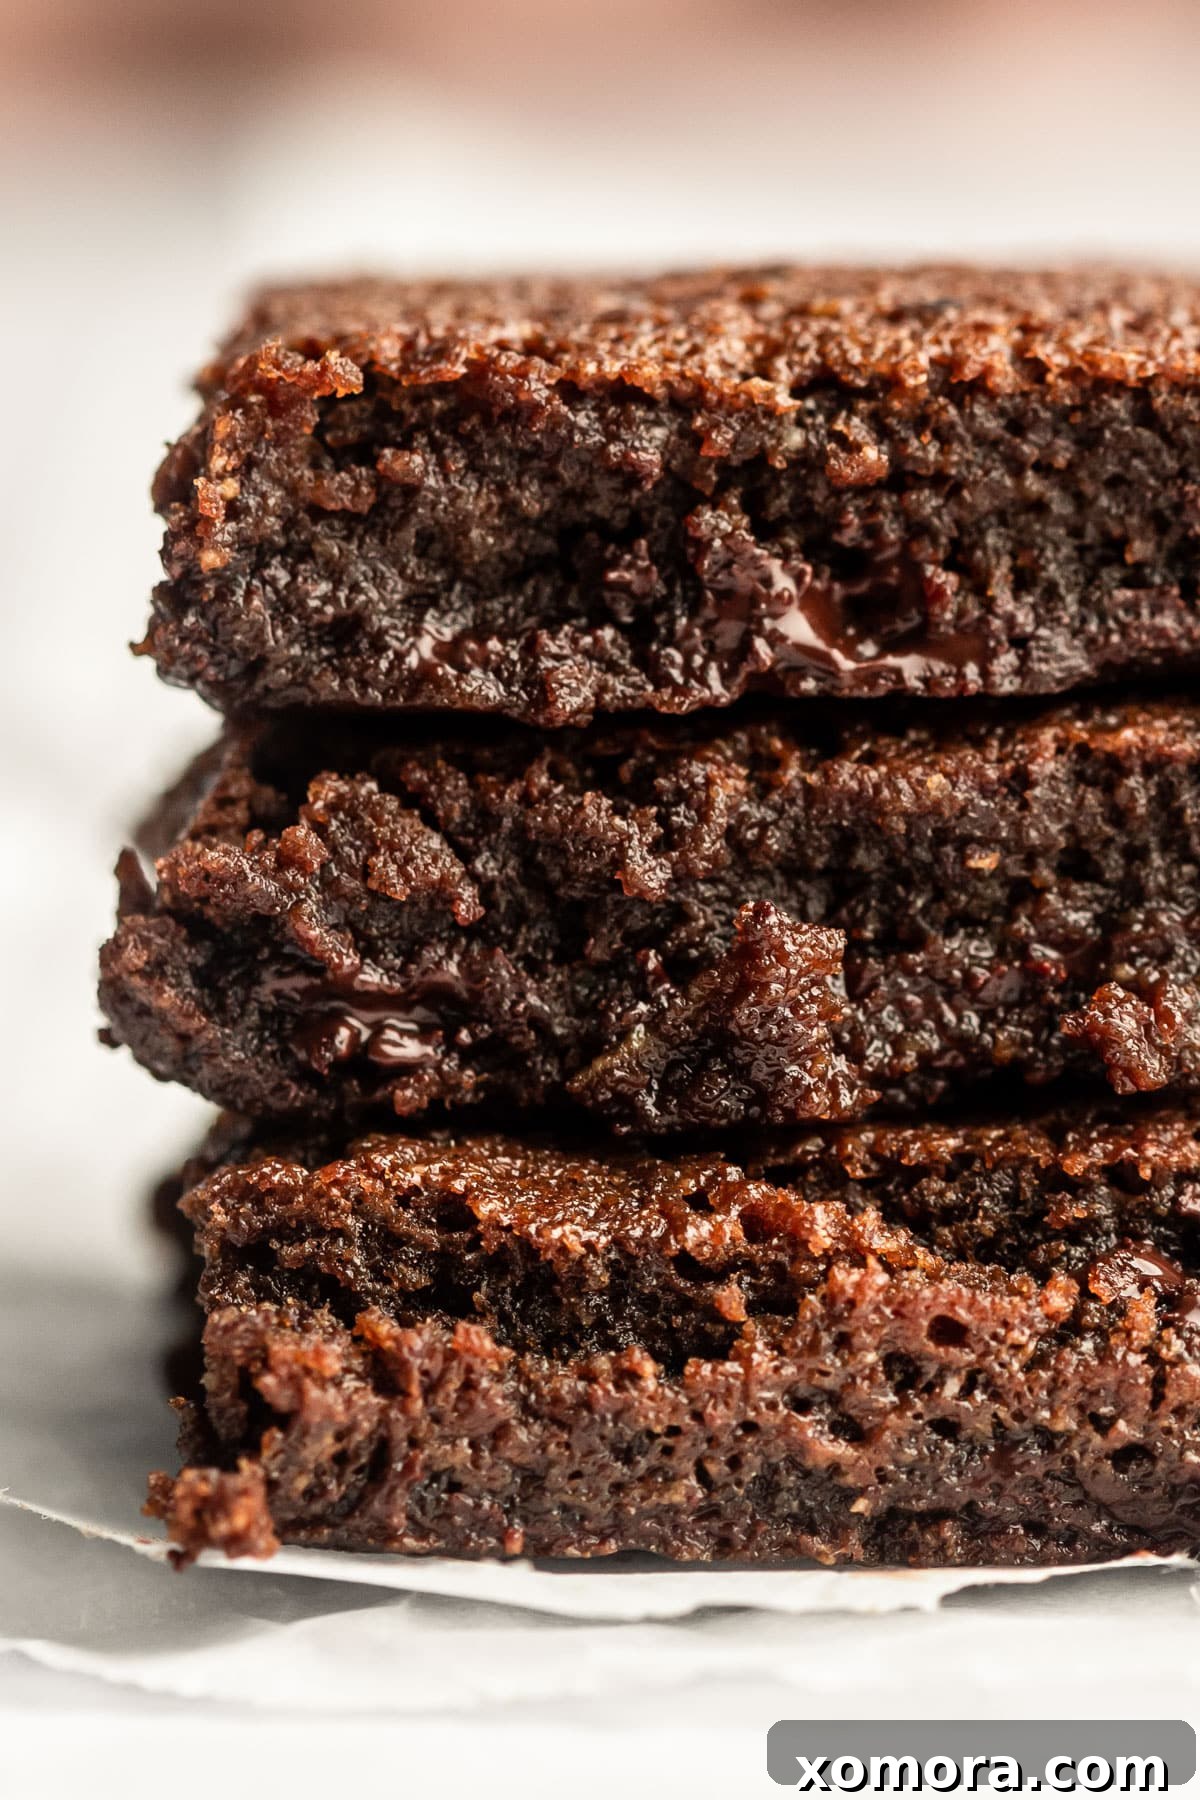
Irresistibly Fudgy Grain-Free Brownies: A Paleo-Friendly One-Bowl Delight
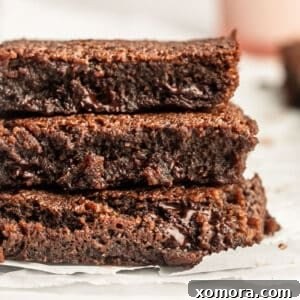
Prepare yourself for a truly remarkable treat! These grain-free brownies are a dream come true for anyone who craves that intensely rich, chewy, and undeniably fudgy texture in every bite. Crafted with a clever blend of paleo baking flour and naturally sweetened with coconut sugar and pure maple syrup, they deliver all the decadent flavor you expect from a classic brownie, without the grains or refined sugars. Get ready to indulge in a healthier dessert that tastes utterly luxurious.
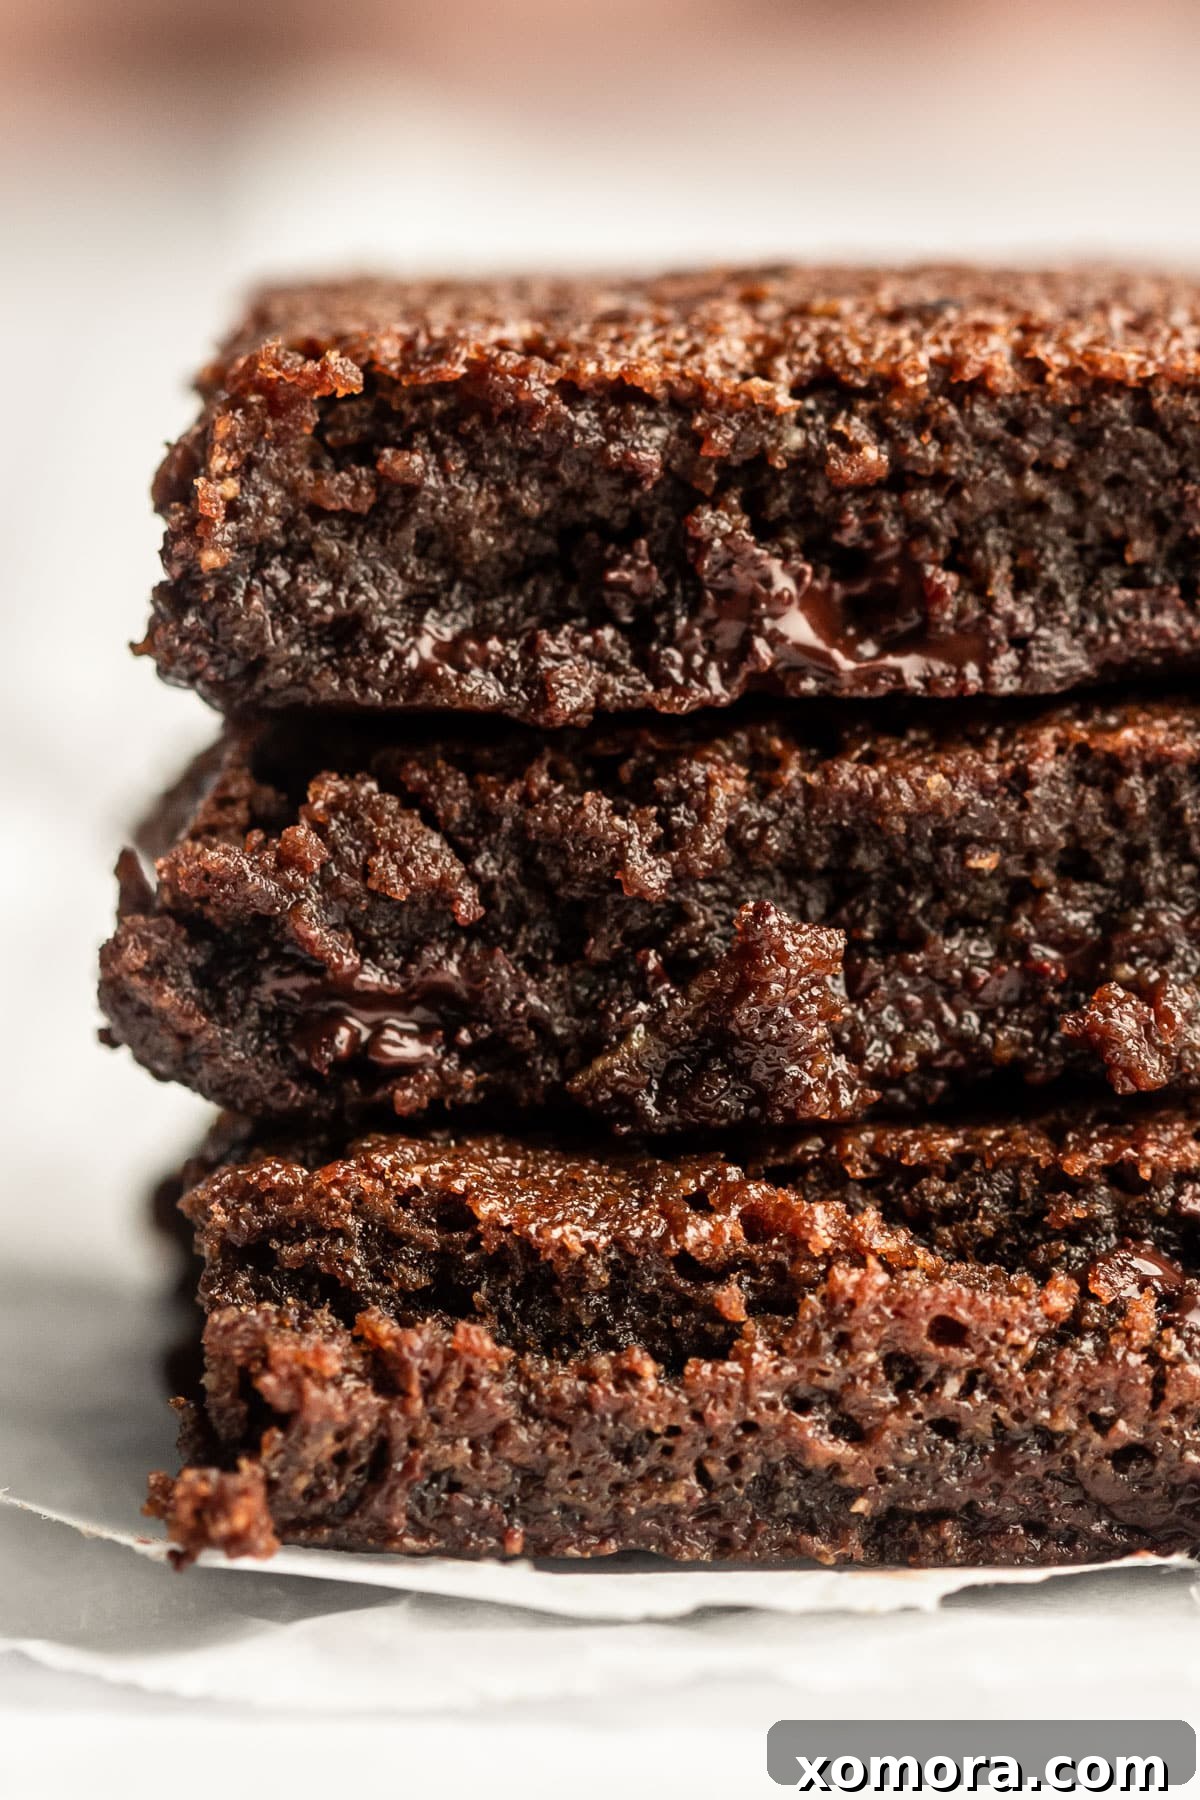
As a devoted dessert enthusiast, I can resist many sweet temptations, but a truly fudgy brownie is certainly not one of them. There’s something inherently comforting and utterly satisfying about a dense, chocolatey square that melts in your mouth. And let’s be honest, who can stop at just one? These grain-free beauties consistently earn a spot as my top go-to dessert, proving that healthier alternatives can be every bit as satisfying as their traditional counterparts.
What makes this recipe even more delightful is its incredible simplicity. Forget about complicated steps and a sink full of dirty dishes; everything comes together effortlessly in a single bowl. This one-bowl method is a game-changer, making cleanup a breeze and ensuring that even novice bakers can achieve perfect results. The key to success lies in following the ingredient measurements precisely and incorporating them in the correct order. Baking, unlike cooking, is a science, so resist the urge to eyeball ingredients!
Before we dive into the full recipe, let’s highlight some of the star ingredients that make these brownies so special:
- Coconut sugar: A fantastic unrefined sweetener that offers a caramel-like depth.
- Pure maple syrup: Adds natural sweetness and moisture, contributing to the fudgy texture.
- Refined coconut oil: Our fat base, chosen for its neutral flavor and high smoke point.
- Butter or ghee: Provides richness and a familiar buttery taste.
- Eggs: Essential for structure and binding.
- Vanilla extract: Enhances the chocolate flavor.
- Paleo baking flour: The cornerstone of our grain-free recipe, providing the ideal texture.
- Unsweetened cocoa powder: For that deep, intense chocolate flavor.
- Dark chocolate chips: Because more chocolate is always a good idea for fudgy brownies!
Refined vs. Unrefined Coconut Oil: Understanding Your Options
When selecting coconut oil for your baking and cooking, you’ll often encounter both “refined” and “unrefined” (also known as virgin) varieties. The distinction primarily lies in how they are processed and how that affects their flavor, aroma, and smoke point.
Refined coconut oil undergoes a process of bleaching and deodorization, which removes much of its natural coconut flavor and aroma. This makes it an excellent choice for recipes where you want the benefits of coconut oil – such as its healthy fats – without imparting a distinct coconut taste to your final dish. Furthermore, refined coconut oil has a higher smoke point (around 400°F or 204°C) compared to unrefined coconut oil. This higher smoke point makes it more stable at elevated temperatures, making it suitable for baking and sautéing where higher heat is involved, ensuring your brownies bake evenly without any unwanted flavors. For these fudgy brownies, refined coconut oil is specifically recommended to allow the rich chocolate and subtle caramel notes of the coconut sugar to shine through.
Unrefined coconut oil, on the other hand, is minimally processed and retains its natural, distinct coconut flavor and aroma. It has a lower smoke point (around 350°F or 175°C) and is often preferred for raw preparations, tropical dishes, or recipes where a coconut flavor is desired. While both types of coconut oil are nutritionally very similar, packed with medium-chain triglycerides (MCTs), their culinary applications differ. For a recipe like these brownies, where a neutral fat is preferred, refined coconut oil is the superior choice, ensuring your brownies taste purely of chocolate decadence, not coconut.
Demystifying Paleo Baking Flour: The Gluten-Free Game Changer
If you’re new to grain-free or paleo baking, “paleo baking flour” might sound a bit mysterious. It’s actually a thoughtfully crafted blend designed to mimic the texture and baking properties of traditional wheat flour, but without any grains. Typically, paleo baking flour combines various nut flours, such as almond flour and coconut flour, with root starches like arrowroot powder and tapioca flour. This combination is key to achieving the desired structure and chewiness in baked goods, making it incredibly versatile for a wide range of recipes.
This remarkable blend is not just for brownies; it excels in all sorts of baking endeavors. From fluffy grain-free pancakes and tender muffins to sturdy pizza crusts and chewy cookies, paleo baking flour delivers consistent and delicious results. It’s a fantastic staple to have in your pantry if you’re committed to a grain-free lifestyle or simply looking to experiment with healthier baking alternatives. The specific ratios of nut flours to starches in these blends are carefully balanced to absorb moisture effectively and provide a desirable crumb texture.
When it comes to sourcing, you’ll find several excellent brands on the market. My personal favorite and most frequently purchased brand is from Bob’s Red Mill. It’s widely available in many well-stocked grocery stores and almost all health food stores. I often buy several bags at a time to ensure I never run out, especially given how much I love to bake with it. Of course, the convenience of online shopping means you can always stock up with ease. Other reputable brands, such as King Arthur, also offer fantastic paleo baking flour blends. If you have a Thrive Market membership, their proprietary blend is another excellent option worth exploring.
Can You Substitute Flours? A Crucial Baking Question
When it comes to baking, especially with specialized flours like paleo baking flour, substitutions are rarely a straightforward 1:1 swap. Different flours have unique properties regarding protein content, absorbency, and gluten structure (or lack thereof). This means that altering the flour type can drastically change the outcome of your baked goods, leading to results that are too dry, too crumbly, too dense, or simply not right.
For this specific grain-free brownie recipe, I strongly advise against substituting paleo baking flour with common gluten-free flours, almond flour, or coconut flour individually. A standard “gluten-free flour blend” might contain rice flour, potato starch, or xanthan gum in different proportions, which would not behave the same way as the balanced paleo blend. Similarly, using just almond flour would likely result in a much denser, oilier brownie, while pure coconut flour, being highly absorbent, would yield a very dry and crumbly texture without significant adjustments to the liquid ingredients.
If you are specifically looking for a brownie recipe that utilizes a different type of flour, my best recommendation is to search for a recipe that has been thoroughly tested and developed with that particular flour. This approach ensures that the ingredient ratios are correctly balanced for the unique characteristics of your chosen flour, increasing your chances of baking success and a delicious outcome. Stick to the recipe here for the intended fudgy, grain-free perfection!
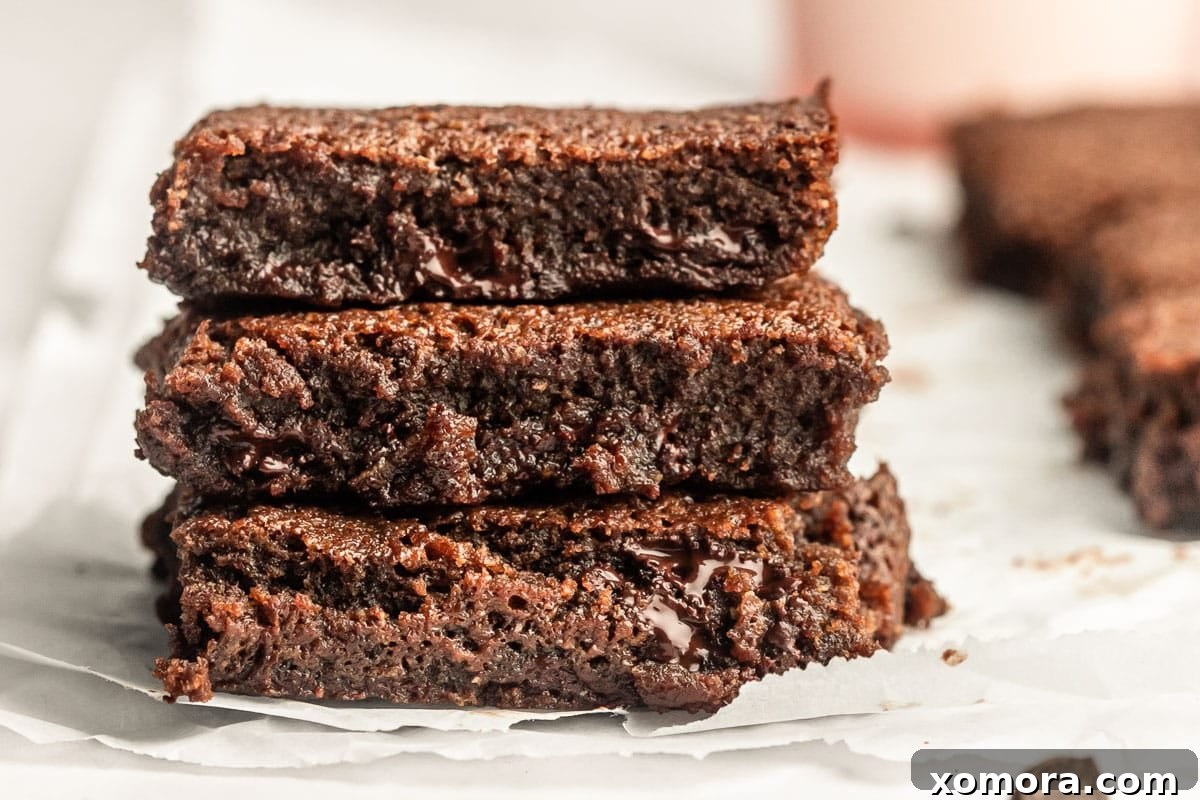
Choosing the Best Pan for Perfectly Baked Brownies
The type of baking pan you use significantly impacts how your brownies cook and the final texture they achieve. For optimal results and consistent baking, I highly recommend using a light-colored metal pan for these grain-free brownies. Metal pans conduct heat efficiently and evenly, which helps to create those desirable crisp edges and a perfectly fudgy interior.
While I often use a light-colored metal pan, it’s certainly possible to use glass or ceramic baking dishes if that’s what you have on hand. However, it’s important to understand that glass and ceramic pans absorb and retain heat differently than metal. They tend to heat up more slowly but hold onto the heat longer, which can lead to extended baking times and potentially over-baked edges before the center is fully set.
When using a metal pan, you’ll typically find yourself baking closer to the lower end of the recommended cooking time range (e.g., 17 minutes for this recipe). If you opt for a glass or ceramic dish, anticipate needing to bake for a longer duration, likely towards the higher end of the range (e.g., closer to 20 minutes or even a few minutes more). Always keep a close eye on your brownies and perform the toothpick test to determine doneness, regardless of the pan material. This adaptability ensures your fudgy brownies turn out perfectly, no matter your equipment.
Storing Leftover Brownies for Lasting Freshness
While it’s hard to imagine having any leftovers of these delectable grain-free brownies, proper storage is key to maintaining their fresh taste and fudgy texture. Once the brownies have completely cooled to room temperature, transfer them to an airtight container. This is crucial for preventing them from drying out and absorbing odors from your refrigerator. Store the container in the refrigerator, where they will remain fresh and wonderfully fudgy for up to 5-7 days. For an even more indulgent experience, try warming a square slightly in the microwave before serving – the chocolate chips will become delightfully melty!
Customizing Your Grain-Free Brownies
While perfect as is, these brownies are also a fantastic canvas for your creative additions. Consider stirring in a handful of chopped walnuts or pecans for a delightful crunch. A sprinkle of flaky sea salt on top before baking can elevate the chocolate flavor and add a sophisticated touch. For an extra boost of flavor, a teaspoon of instant espresso powder mixed with the cocoa powder will deepen the chocolate notes without making the brownies taste like coffee. Feel free to experiment with different types of chocolate chips – milk, white, or even a mix – to suit your preference. Just remember, these additions should complement the fudgy texture and rich flavor profile, making each batch uniquely yours.
More sweet recipes like this:
Irresistible Paleo Cookie Dough Bars
Quick & Easy No-Bake Chocolate Coconut Cookies
Decadent Chocolate Almond Butter and Jelly Cups
Simple 4-Ingredient Almond Butter Cups
Moist Grain-Free Chocolate Chip Banana Bread
Grain Free One Bowl Brownies – The Full Recipe
Rated 5 out of 5 stars by 3 users
Grain Free One Bowl Brownies
By Christina
These grain-free brownies are for the fudgy brownie lovers out there! They’re made with paleo baking flour and coconut sugar, but taste as rich and decadent as every good brownie should be.
Print Recipe
Pin Recipe
Ingredients
- 1 cup coconut sugar
- ½ cup pure maple syrup
- ¼ cup refined coconut oil, melted
- ¼ cup butter or ghee, melted
- 2 eggs
- 1½ tsp vanilla extract
- ¾ cup paleo baking flour
- ¼ cup unsweetened cocoa powder
- ½ cup dark chocolate chips
Instructions
- Preheat oven to 400 degrees Fahrenheit (200 degrees Celsius).
- Line a 9 x 9 inch baking pan (a light-colored metal pan is recommended) with parchment paper, leaving an overhang on the sides for easy removal.
- In a large mixing bowl, combine coconut sugar, maple syrup, melted coconut oil, and melted butter. Stir until well combined and smooth.
- Stir in the eggs one at a time, followed by the vanilla extract, mixing until just incorporated.
- Gradually add the paleo baking flour and unsweetened cocoa powder to the wet ingredients. Stir gently until no streaks of flour remain, being careful not to overmix. Overmixing can lead to tougher brownies.
- Fold in the dark chocolate chips (or chunks) until evenly distributed throughout the batter.
- Transfer the brownie batter to the prepared pan, spreading it evenly. Bake for 17 to 20 minutes, or until a toothpick inserted into the center of the brownies comes out with moist crumbs attached, but not completely wet. The goal is fudgy, not cakey, so a few moist crumbs are perfect!
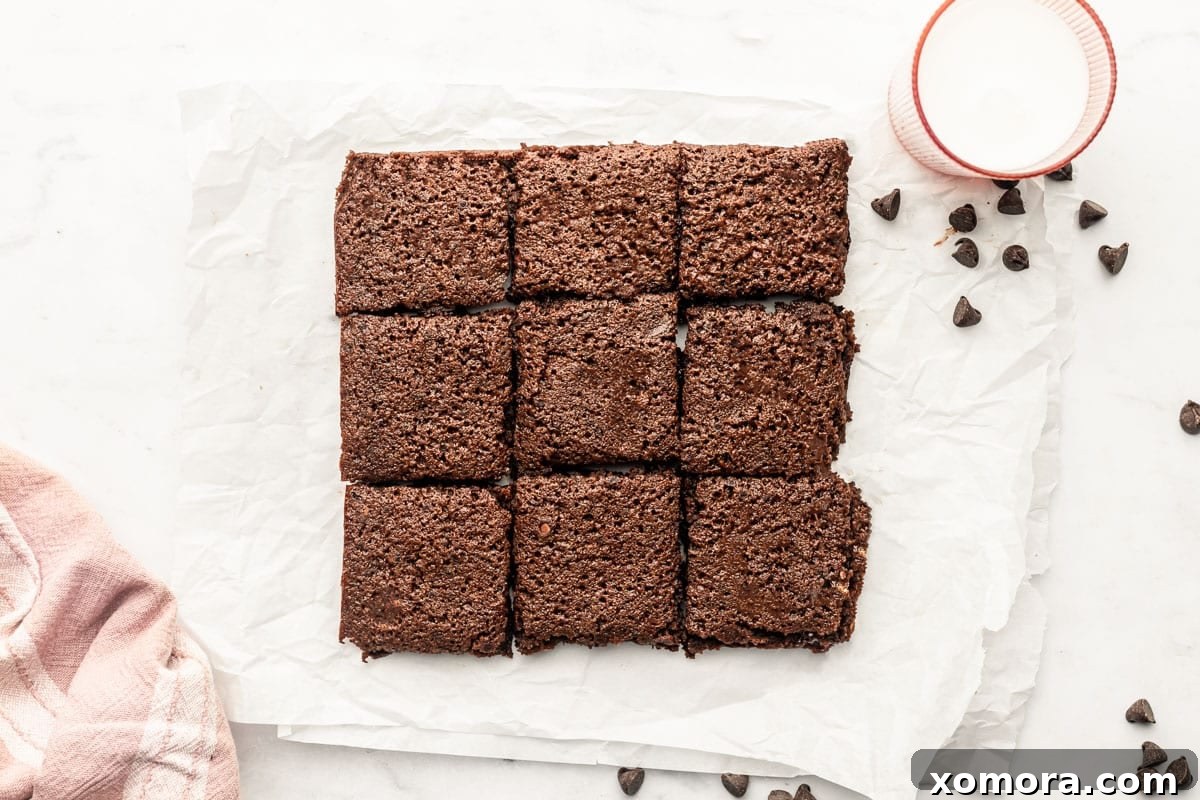
- After baking, remove the pan from the oven and let the brownies cool on the counter for at least 15 minutes, or until fully set. This cooling period is crucial for achieving that signature fudgy texture and for allowing them to slice cleanly. Slice into 9 generous squares when ready to serve and enjoy!
Notes
I recommend using a light-colored metal pan for even cooking and optimal fudginess.
Cooking time will vary based on the type of pan you use. If using a metal pan, aim for the lower end of the cooking range (around 17 minutes). If using a glass or ceramic pan, you’ll likely need to bake on the higher end of the range (closer to 20 minutes or slightly longer) due to differences in heat conduction.
Nutrition information is calculated assuming you make 9 brownies. These are fairly large and rich brownies, so you could easily slice them into 12 smaller squares if you prefer smaller portions.
Nutrition
Serving: 1 brownie, Calories: 314kcal, Carbohydrates: 39g, Protein: 4g, Fat: 17g, Saturated Fat: 12g, Polyunsaturated Fat: 1g, Monounsaturated Fat: 2g, Trans Fat: 1g, Cholesterol: 49mg, Sodium: 62mg, Potassium: 208mg, Fiber: 2g, Sugar: 26g, Vitamin A: 54IU, Vitamin C: 1mg, Calcium: 67mg, Iron: 1mg
Nutrition information is automatically calculated and should only be used as an approximation. Individual results may vary.
Loved these brownies? Leave a comment below!
Your feedback helps us create more delicious recipes.