
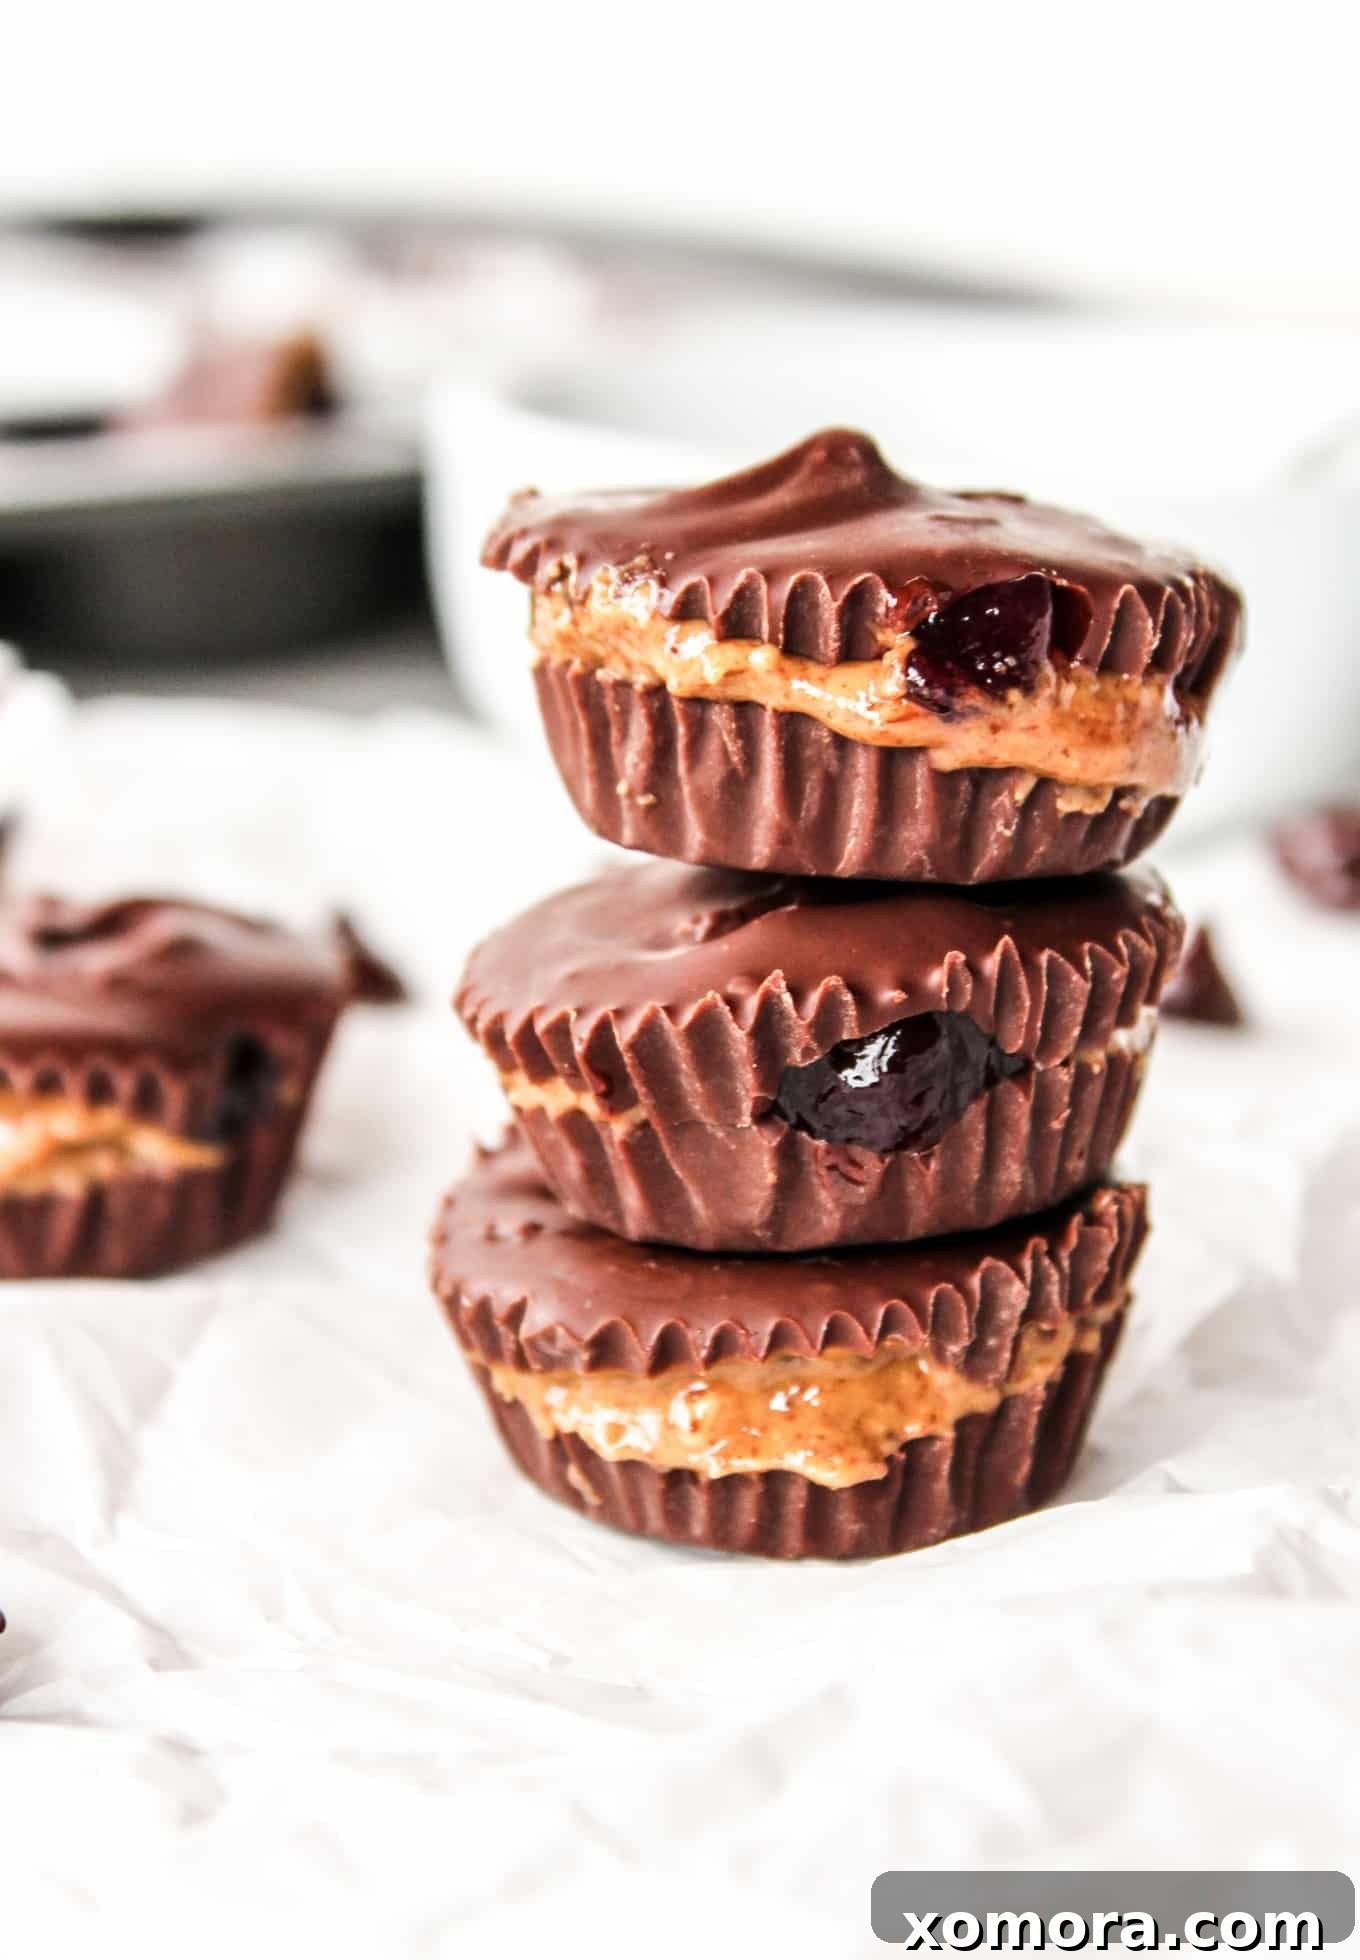
Indulge in Creamy Delights: Easy No-Bake Chocolate Almond Butter and Jelly Cups
Craving a sweet, satisfying treat that requires minimal effort and no baking? Look no further! These sensational no-bake chocolate almond butter and jelly cups are precisely what your dessert dreams are made of. Crafted in just 30 minutes, they boast a rich chocolate shell encasing a wonderfully creamy, fruit-filled center. Perfect for a quick indulgence or a delightful party favor, these cups are guaranteed to become a household favorite.
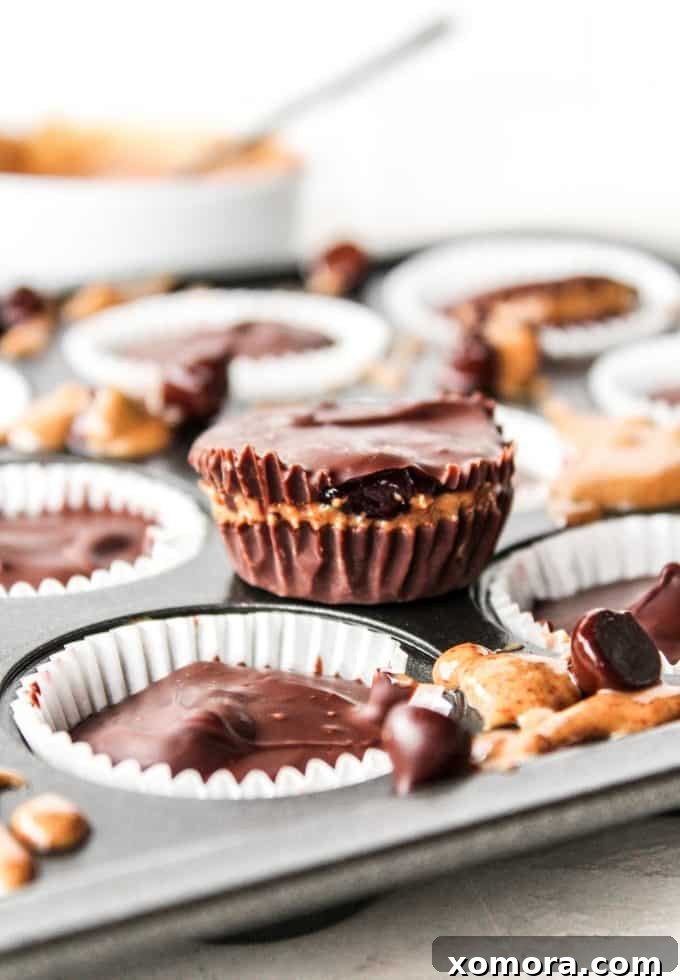
Why You’ll Adore These No-Bake Wonders
If you’re already a fan of simple, wholesome desserts, then prepare to fall head over heels for this recipe. These easy chocolate almond butter and jelly cups take a classic flavor combination and elevate it into an irresistible bite-sized treat. The magic lies in the contrast: a crisp, dark chocolate coating that gives way to a smooth, luscious almond butter filling, brightened by a burst of sweet, fruity jelly. It’s a symphony of textures and flavors that delights with every bite.
Beyond their incredible taste, these cups offer several compelling reasons to make them a staple in your kitchen:
- Effortless & Quick: With no oven required and a total preparation time of just 30 minutes, they are perfect for busy schedules or spontaneous dessert cravings.
- Peanut Allergy Friendly: For those managing peanut allergies, this recipe provides a safe and delicious alternative to traditional peanut butter cups, utilizing almond butter (or any other nut/seed butter of choice).
- Customizable: Easily adapt the type of chocolate, nut butter, and jelly to suit your personal preferences or dietary needs.
- Dairy-Free & Vegan Options: By selecting dairy-free chocolate chips, these cups transform into a delightful vegan and dairy-free dessert, catering to a wider range of diets.
- Minimal Ingredients: You only need a handful of readily available ingredients to bring this amazing treat to life.
- Creamy Texture: Unlike some frozen treats that turn rock-hard, the coconut oil ensures the chocolate shell sets perfectly, while the almond butter and jelly center remains wonderfully creamy even when chilled.
The Inspiration: A Peanut-Free Delight with a Fruity Twist
My journey into the world of homemade almond butter cups began out of necessity, born from a deep love for my Easy 4-Ingredient Almond Butter Cups and a desire to create safe, delicious treats for my son, who has a peanut allergy. For years, those simple cups have been a go-to dessert, providing all the rich, nutty satisfaction without any worries. But as often happens with beloved recipes, curiosity struck. What if we could enhance that perfect combination? What if we added a layer of sweet, vibrant fruit?
The addition of jelly or jam felt like the most natural, joyous next step. It evokes the nostalgic comfort of a classic peanut butter and jelly sandwich, reimagined in a sophisticated, bite-sized confection. The result, I believe, is even better than the original recipe. The jelly introduces an unexpected layer of sweetness and tang that complements the almond butter and chocolate beautifully, creating a truly irresistible experience. Prepare for a burst of sweet fruit flavor that makes these cups utterly divine.
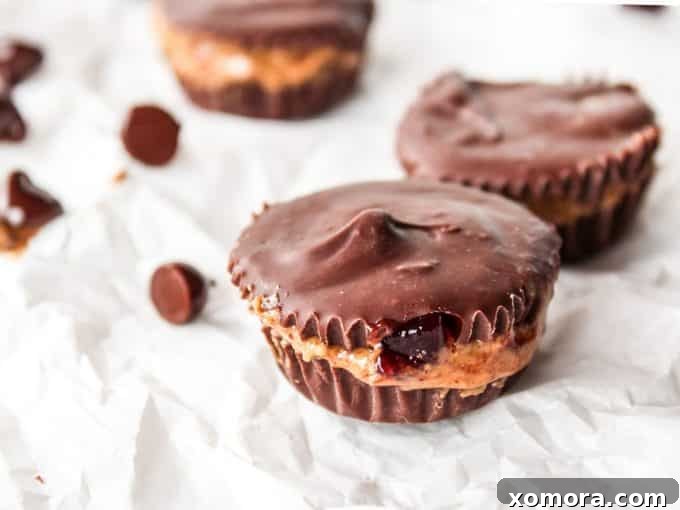
Essential Ingredients for Your Sweet Creation
Making these delightful cups requires just a few key components. The beauty of this recipe lies in its simplicity and the quality of its core ingredients. Here’s what you’ll need to gather:
- Chocolate Chips: Your choice of chocolate can significantly impact the final flavor. Semi-sweet chocolate chips offer a balanced sweetness, while dark chocolate provides a richer, more intense flavor. For those with dietary restrictions, ensure you select a high-quality dairy-free variety.
- Coconut Oil: This ingredient is the secret to the perfect chocolate shell. It helps the chocolate melt smoothly and harden beautifully when chilled, creating that satisfying snap without making it brittle. Don’t worry about a strong coconut flavor; the small amount used is completely overshadowed by the chocolate and almond butter.
- Almond Butter: The star of the filling! You can use creamy almond butter for a silky smooth center or crunchy almond butter for added texture. Feel free to experiment with other nut or seed butters like cashew butter, sunflower seed butter (SunButter), or even hazelnut butter for different flavor profiles.
- Jelly or Jam: This is where the fruity magic happens. Any type of jelly or jam will work beautifully. Classic grape or strawberry are fantastic for a traditional flavor, while raspberry, apricot, or even a mixed berry preserve can add an exciting twist. Choose your favorite to infuse these cups with a burst of sweet fruitiness.
Crafting Your Almond Butter and Jelly Cups: A Step-by-Step Guide
Follow these simple instructions to create your own batch of delicious no-bake almond butter and jelly cups:
- Prepare Your Pan: Begin by lining a 12-cup mini muffin pan with cupcake liners. This makes for easy removal and serving.
- Melt the Chocolate: In a small saucepan or pot, combine your chocolate chips and coconut oil. Melt them together over very low heat, stirring frequently. Patience is key here; avoid high heat to prevent the chocolate from burning or seizing, which can make it thick and grainy. Once smooth and glossy, remove the pan from the heat to prevent further cooking.
- Create the First Chocolate Layer: Spoon about 1 teaspoon of the melted chocolate mixture into the bottom of each cupcake liner. Ensure it fully coats the bottom. Place the muffin pan into the freezer for about 5 minutes to allow this layer to firm up slightly. It doesn’t need to be rock-hard, just firm enough to support the next layer.
- Add the Almond Butter Filling: Remove the muffin pan from the freezer. Carefully add about 1/2 teaspoon of almond butter on top of the chocolate layer in each cup. Spread it gently if needed. If you have a little extra almond butter, distribute it evenly among the cups.
- Introduce the Jelly Layer: Next, add about 1/2 teaspoon of your chosen jelly or jam on top of the almond butter in each cup. This fruity layer is what truly makes these treats unique and incredibly flavorful.
- Cap with More Chocolate: Spoon approximately 1 teaspoon of the remaining melted chocolate mixture over the jelly layer in each cup, ensuring the filling is completely covered. Again, if there’s any leftover chocolate, divide it among the cups.
- Chill and Enjoy: Return the muffin pan to the freezer and freeze until the cups are firm, typically about 15 to 20 minutes. Avoid over-freezing, as this can make them too hard. Once firm, they are ready to enjoy! For an even creamier texture in the center, let them sit at room temperature for about 5 minutes before serving.
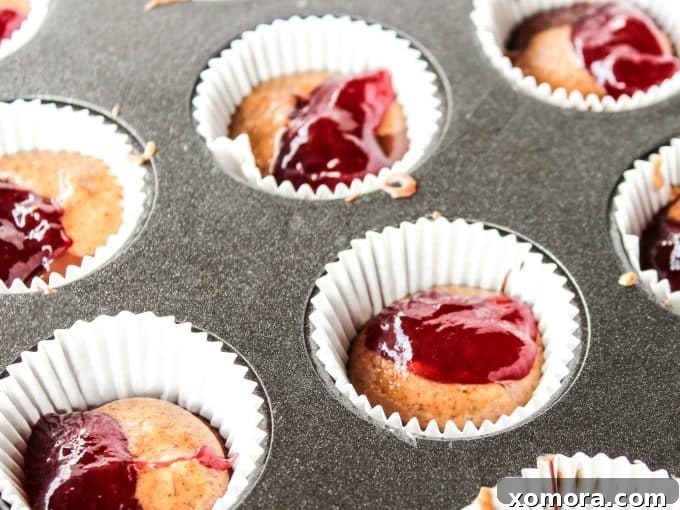
Tips for Success: Achieving the Best Almond Butter & Jelly Cups
To ensure your no-bake almond butter and jelly cups turn out perfectly every time, keep these helpful tips in mind:
- Gentle Melting: Always melt your chocolate and coconut oil over very low heat. High heat can burn the chocolate, making it clumpy and unusable. A double boiler method can also be used for more controlled melting.
- Quality Ingredients: Using good quality chocolate chips and a fresh, flavorful almond butter will significantly enhance the taste of your final product.
- Even Layers: While perfection isn’t required, trying to distribute the chocolate, almond butter, and jelly as evenly as possible will ensure each cup has a balanced flavor and appealing presentation.
- Don’t Overfill: Be mindful not to overfill the cupcake liners, especially with the top chocolate layer, to prevent spills and ensure a neat finish.
- Quick Freezing: The short freezing times are crucial. You want the layers to set, but not freeze solid, especially for the initial chocolate base. Over-freezing the final product can make the chocolate too hard to bite through easily.
- Patience for Softening: If you prefer a softer, creamier center, allow the cups to sit at room temperature for a few minutes before indulging.
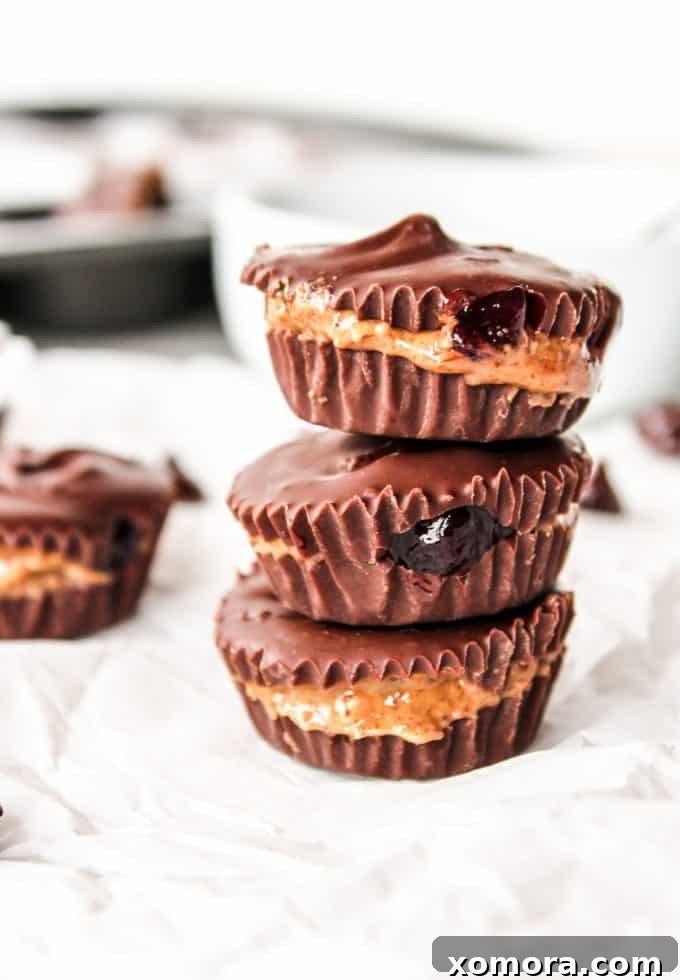
Customization and Variations
One of the joys of this recipe is its adaptability. Feel free to get creative and customize these cups to your liking:
- Nut/Seed Butter Swap: As mentioned, virtually any nut or seed butter can be substituted for almond butter. Peanut butter (if no allergies), cashew butter, or SunButter are excellent choices. Each will lend a unique flavor profile to your cups.
- Jelly & Jam Varieties: Don’t limit yourself to grape or strawberry. Try raspberry for a tart kick, apricot for a delicate sweetness, or even a spicy pepper jelly for an adventurous twist. Fruit preserves with small fruit pieces can add another layer of texture.
- Chocolate Choices: Experiment with different types of chocolate chips – milk chocolate for a sweeter cup, white chocolate for a creamy, distinct flavor, or even a flavored chocolate (like mint or orange) for a gourmet touch.
- Add-ins & Toppings: Sprinkle a pinch of sea salt on top of the finished cups before they fully set for a salted chocolate effect. You could also add a sprinkle of finely chopped nuts, shredded coconut, or a drizzle of extra melted chocolate for garnish.
- Mini vs. Standard: While mini muffin pans are recommended for bite-sized treats, a standard muffin pan can be used for larger cups. Just remember to adjust ingredient quantities and freezing times accordingly; you’ll get fewer but bigger treats!
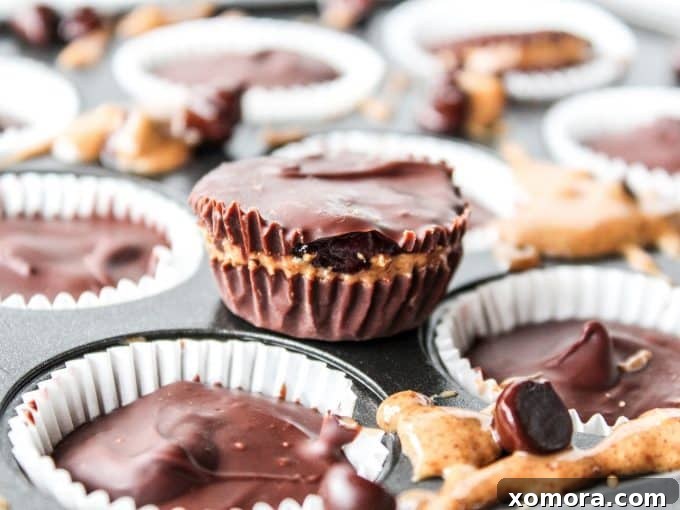
Frequently Asked Questions
Can you use a standard muffin pan instead of a mini pan?
Absolutely! If you prefer larger treats, a standard muffin pan works well. However, be aware that you will yield fewer cups (typically around 6 to 8, depending on the pan size) and you may need to increase the ingredient amounts slightly and extend the freezing time by a few minutes.
Why combine chocolate chips with coconut oil?
The coconut oil is crucial for achieving the perfect texture for your chocolate shell. It helps the chocolate melt smoothly and ensures it hardens with a satisfying snap when chilled. Without it, the chocolate might be too brittle or not set as nicely, making it difficult to bite into.
Can you taste the coconut oil in these cups?
Not at all! We use only a small amount of coconut oil in this recipe. Its flavor is very subtle and is completely overpowered by the rich chocolate and the robust taste of almond butter and jelly. You’ll only notice its beneficial textural contribution.
Can you use a different nut or seed butter?
Yes, absolutely! This recipe is incredibly versatile. Peanut butter (if no allergies), cashew butter, SunButter (sunflower seed butter), or even hazelnut butter can be used interchangeably. Just ensure the consistency is similar to almond butter for best results.
Are these vegan and dairy-free?
Yes, they can easily be made vegan and dairy-free! Simply ensure you use dairy-free chocolate chips. Most almond butters and jellies are naturally vegan, but it’s always good practice to check the labels to be sure.
Can you store these at room temperature?
I personally wouldn’t recommend storing these at room temperature for an extended period. The chocolate and the filling can become quite soft and potentially messy. For the best texture and freshness, they are best kept chilled.
Can you store them in the freezer long-term?
Yes! If you don’t plan on enjoying all your almond butter and jelly cups within a few days, storing them in the freezer is a great option. Place them in an airtight container or freezer bag. When you’re ready to eat them, simply transfer them to the refrigerator for about 15-20 minutes to thaw slightly, or let them sit at room temperature for 5-10 minutes for that ideal creamy center.
More Delicious No-Bake & Easy Dessert Recipes:
If you loved these easy chocolate almond butter and jelly cups, be sure to explore other simple and satisfying dessert ideas:
Easy 4-Ingredient Almond Butter Cups
Grain Free Chocolate Chunk Granola
Ultimate Chocolate Chip Cookies
Paleo Maple Cinnamon Granola
Sticky Candied Pecans
★
5 from 1 vote
Easy Chocolate Almond Butter and Jelly Cups
Christina
10 minutes
20 minutes
30 minutes
12
servings
Pin Recipe
Rate Recipe
Ingredients
Chocolate
- 1 cup chocolate chips, Can use semi-sweet, milk chocolate, or dark chocolate
- 1 tbsp coconut oil
Almond Butter & Jelly Filling
- 1 tbsp + 1 tsp almond butter, I love a crunchy almond butter for these but creamy is perfect too!
- 1 tbsp + 1 tsp jelly or jam
Instructions
-
Line a 12-cup mini muffin pan with cupcake liners. Set aside.
-
Add chocolate chips and coconut oil to a small saucepan or pot on low heat. Melt, stirring frequently, until smooth. Then remove from heat so it doesn’t continue to cook. (Don’t use a higher heat and be sure to watch the chocolate carefully. We don’t want it to burn and get thick.)
-
Add 1 tsp of your chocolate mixture into each cupcake liner. Make sure it’s fully coating the bottom of each. Place in the freezer for up to 5 minutes to firm up just a bit. It can still be a little soft.
-
Remove muffin pan from freezer and add 1/2 tsp of almond butter to the top of the chocolate. (If you have any left divide it up amongst the cups so none gets wasted!)
-
Then add 1/2 tsp of jam or jelly to the top of the almond butter.
-
Top each with 1 tsp of remaining chocolate mixture. (If you have any left divide it up amongst the cups so none gets wasted!)
-
Place pan in the freezer and freeze until firm, about 15 to 20 minutes (no longer). Enjoy immediately or let them soften for 5 minutes at room temp for an even creamier texture. Store uneaten cups in an airtight container in the refrigerator.
Nutrition
Calories: 108kcal,
Carbohydrates: 9g,
Protein: 1g,
Fat: 8g,
Saturated Fat: 4g,
Trans Fat: 1g,
Cholesterol: 1mg,
Sodium: 2mg,
Potassium: 95mg,
Fiber: 1g,
Sugar: 6g,
Vitamin A: 8IU,
Vitamin C: 1mg,
Calcium: 14mg,
Iron: 1mg
Nutrition information is automatically calculated, so should only be used as an approximation.
Like this? Leave a comment below!