
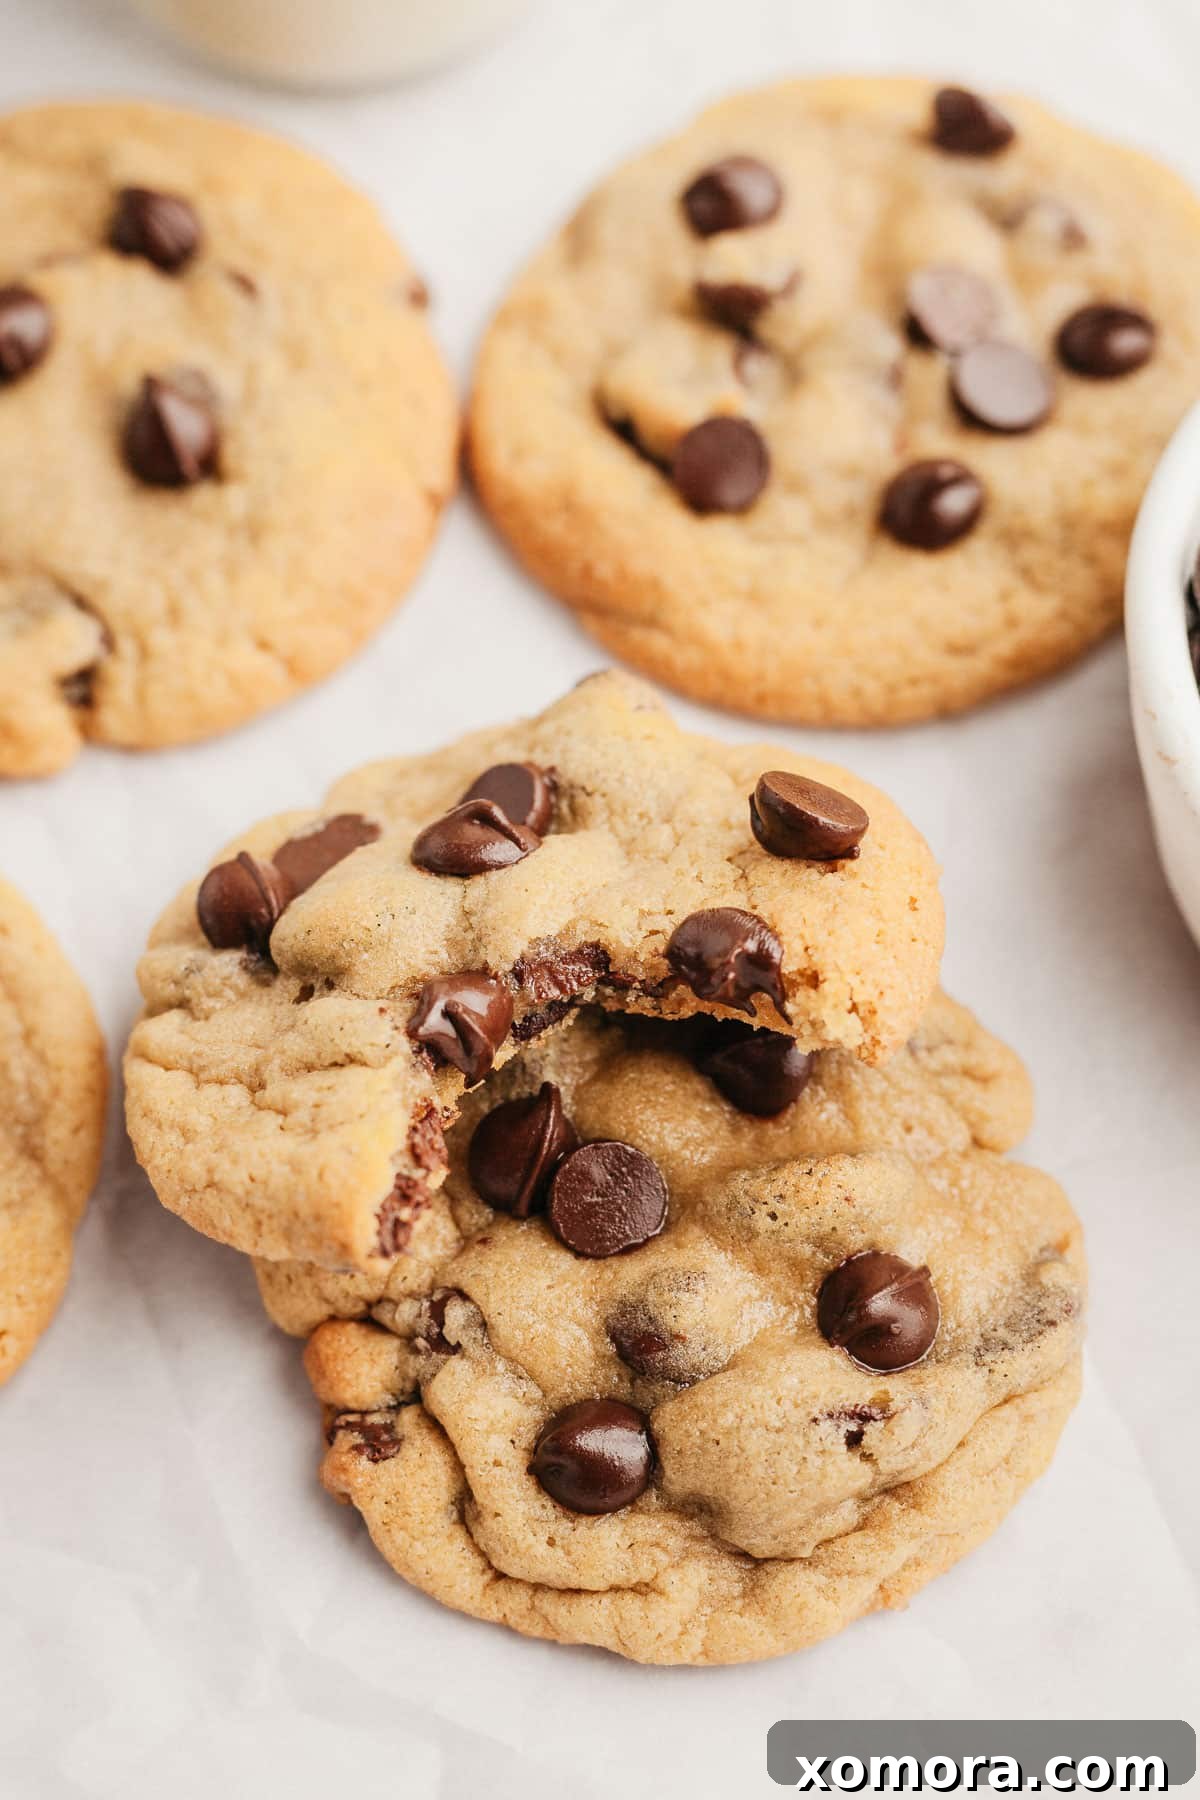
Welcome to the ultimate guide for crafting the best dairy-free chocolate chip cookies you’ll ever taste! Prepare to indulge in a batch of cookies that boasts irresistibly crispy edges and a perfectly chewy center, all while being completely free of dairy. What’s even better? This incredible recipe requires only 9 simple ingredients, demands absolutely no chill time, and can be ready to enjoy in less than 20 minutes from start to finish. Get ready to bake a batch of pure joy that will impress even the most discerning cookie connoisseurs.
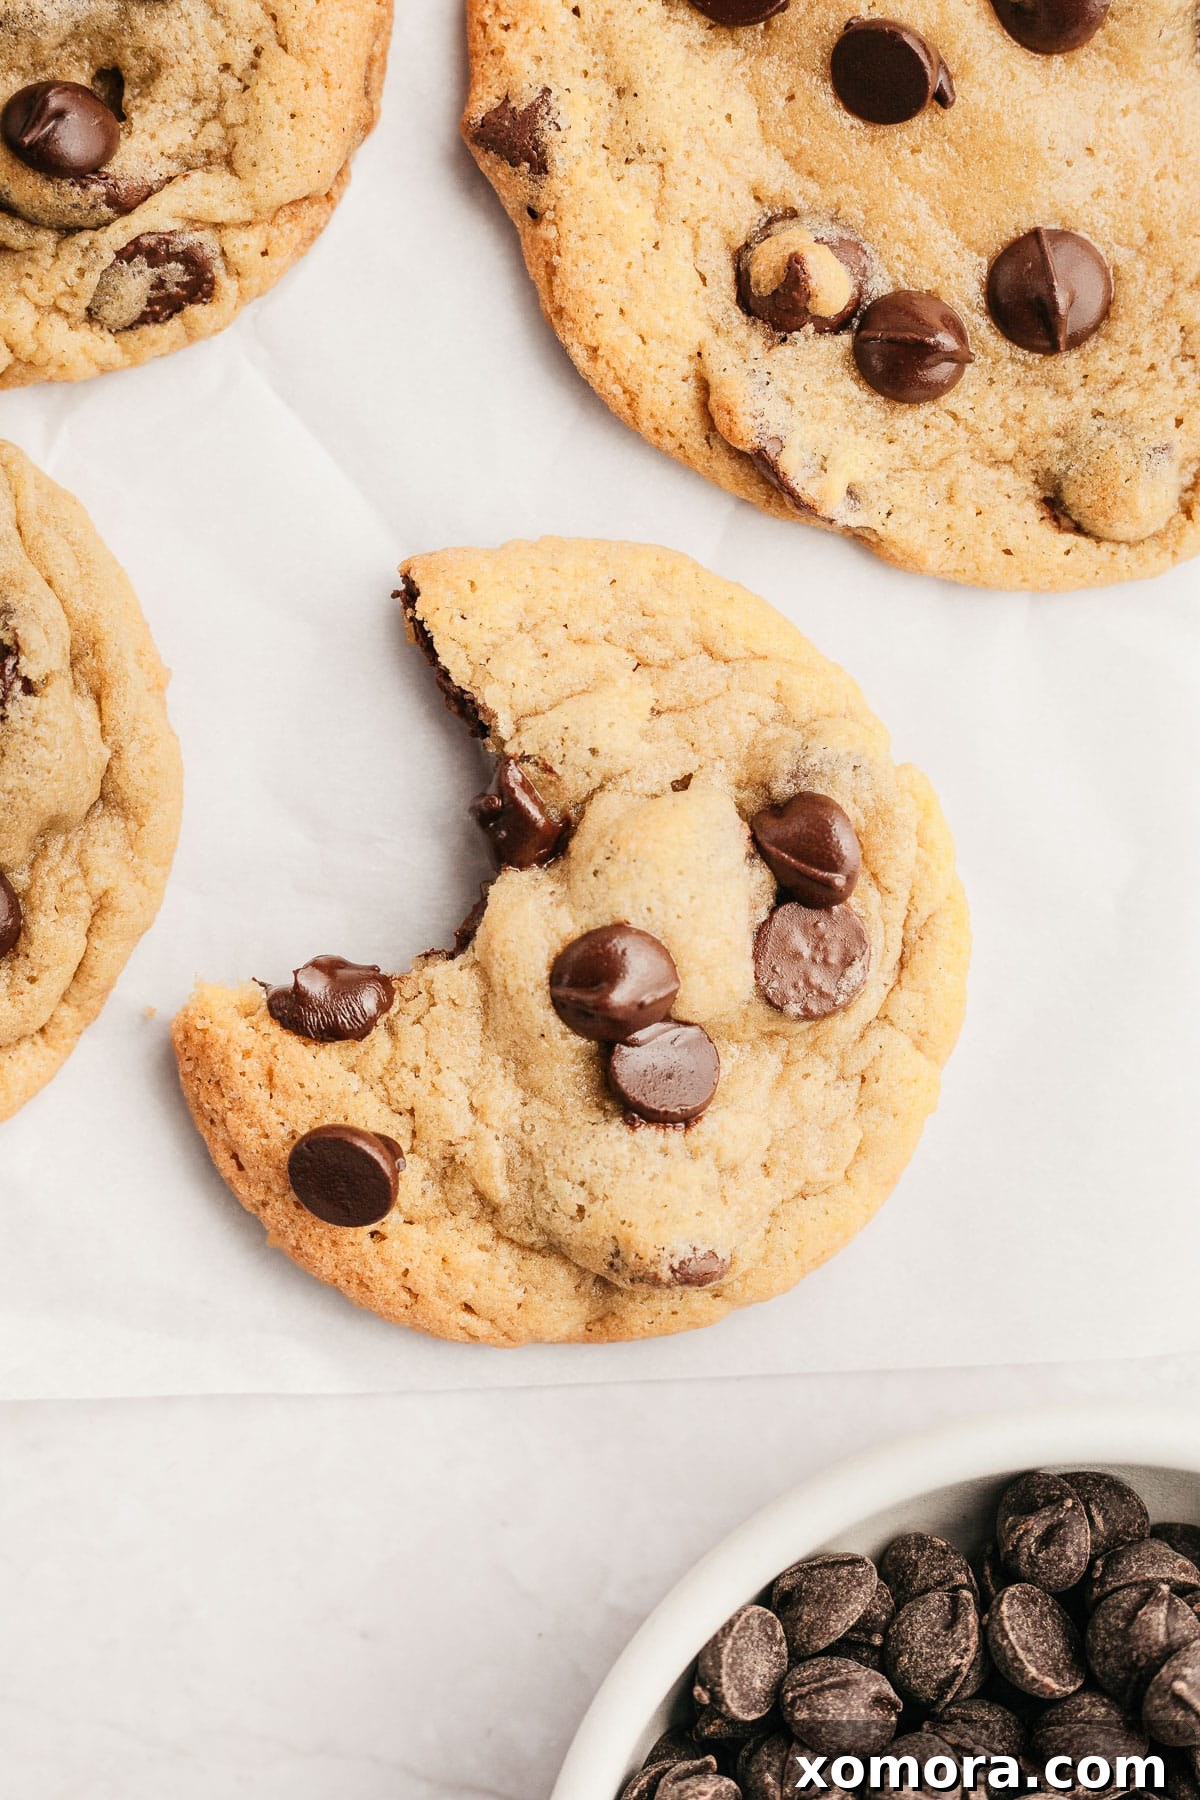
(Original recipe from 2018, now updated with fresh photography and enhanced tips for an even better baking experience.)
These aren’t just good dairy-free cookies; they are, without a doubt, among the finest homemade chocolate chip cookies you will ever encounter, regardless of whether you follow a dairy-free diet or not. I’ve personally baked countless batches of these, sharing them with friends and family who adore traditional dairy-filled treats, and not once has anyone detected the absence of butter or milk. Their texture and flavor are so spot-on that they consistently fool even the most seasoned palates. Trust me, you genuinely cannot tell the difference!
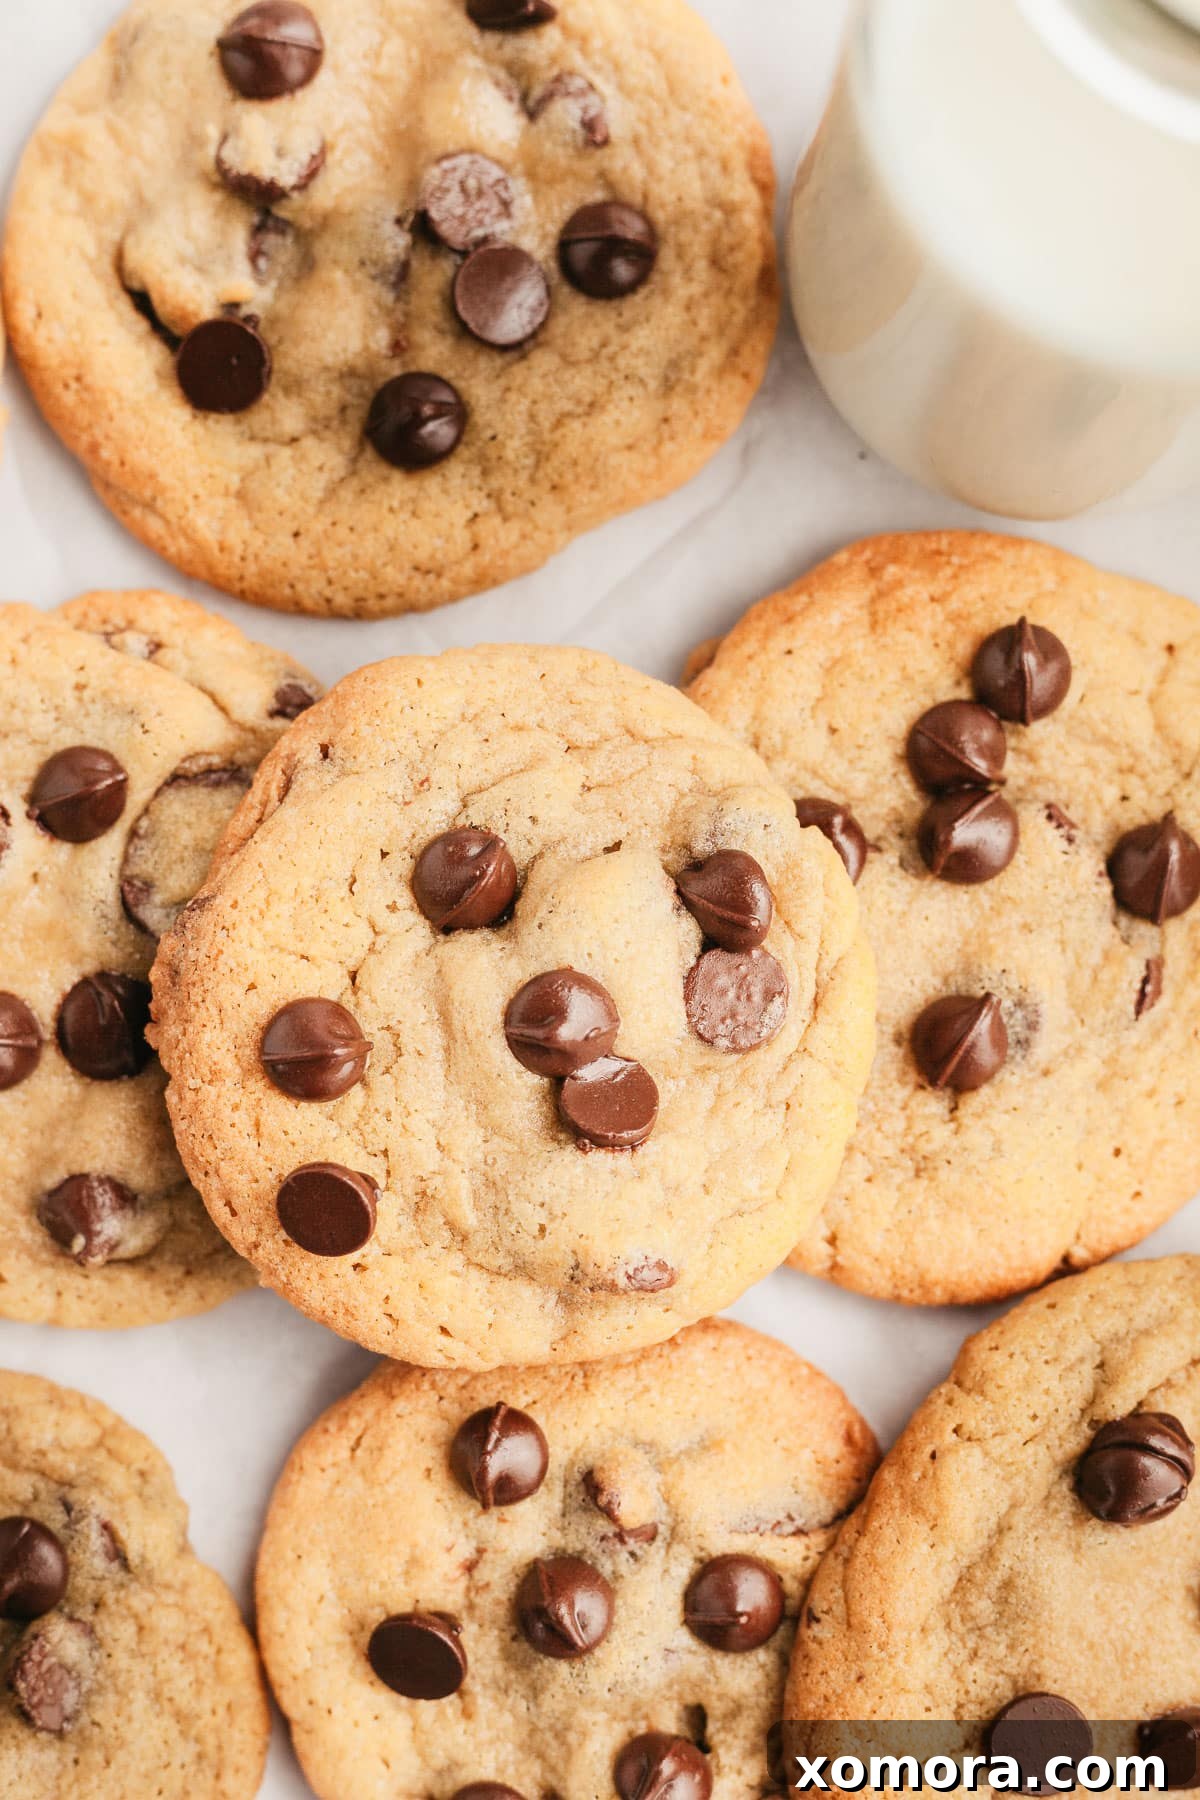
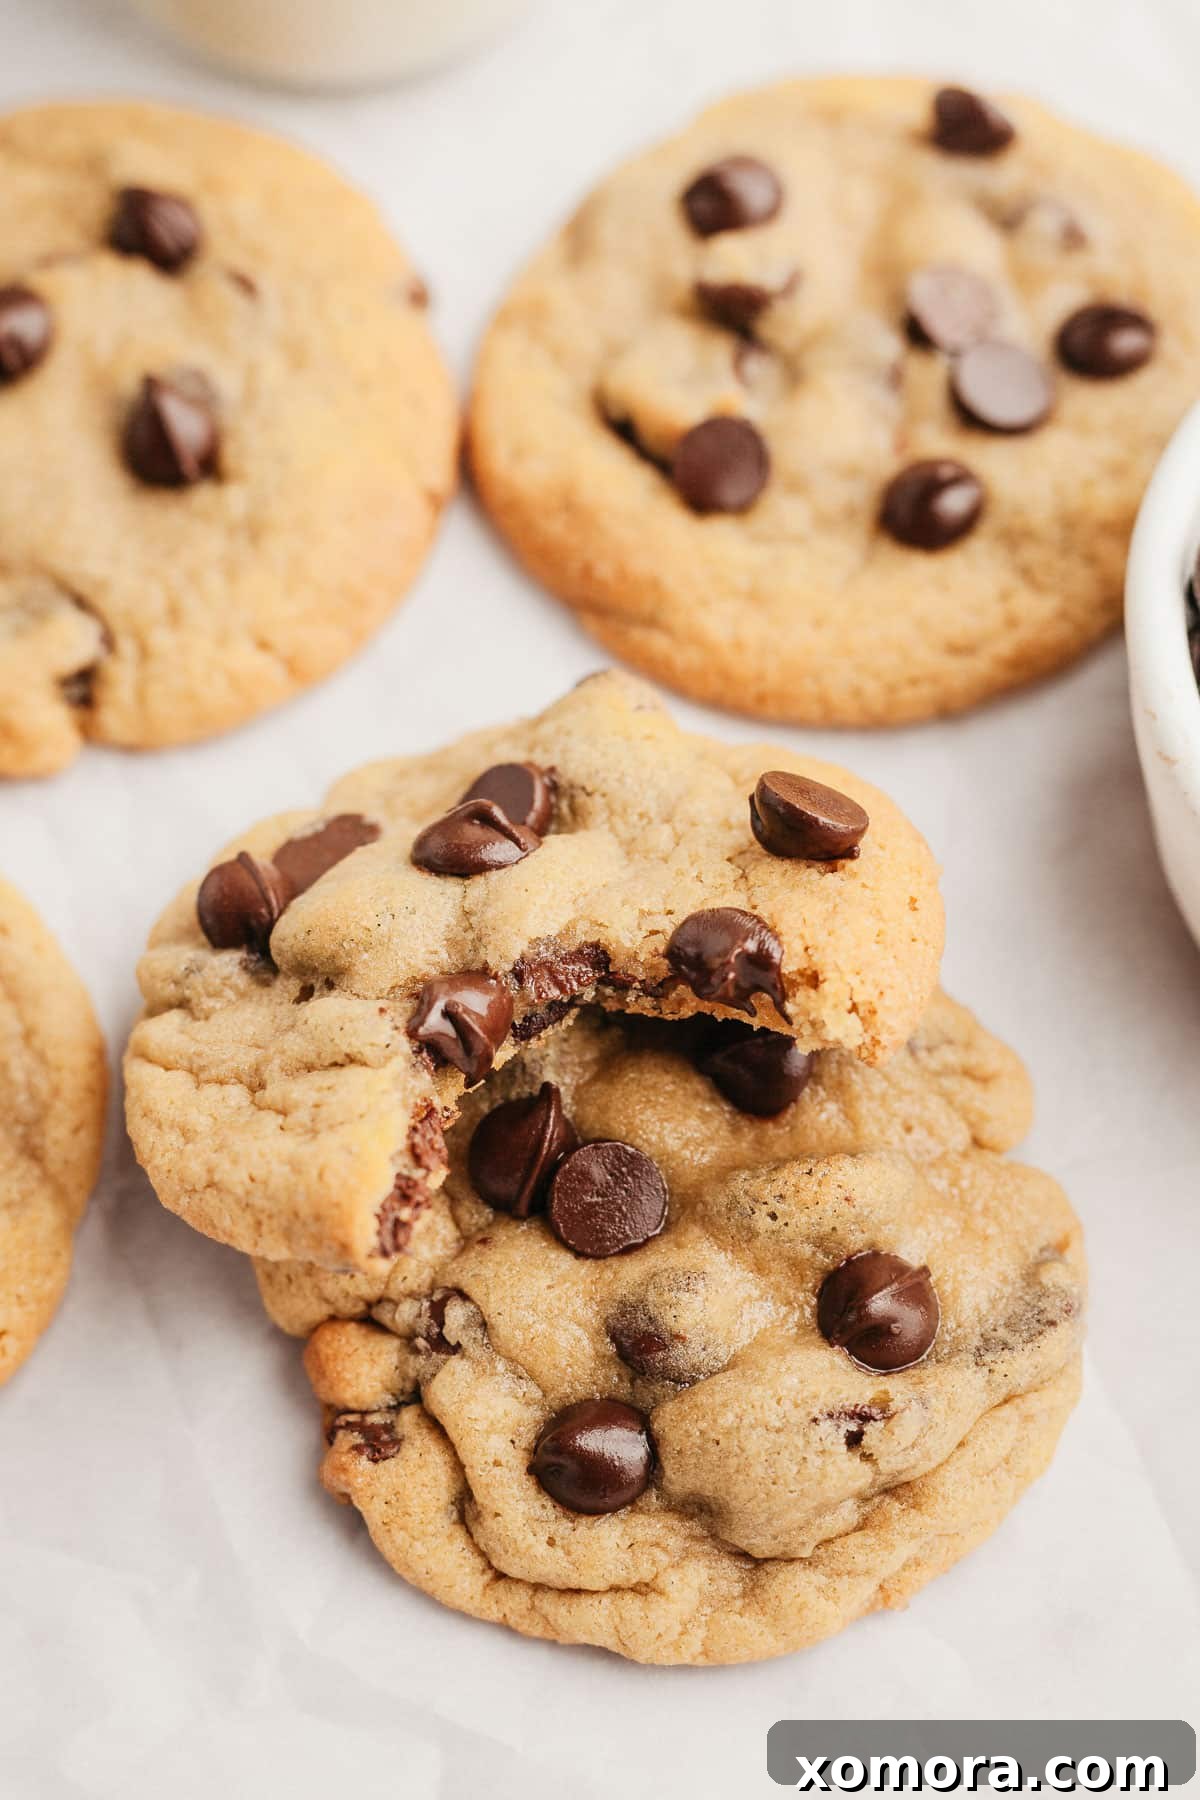
Every single bite offers a delightful experience, packed with rich chocolate and a wonderfully balanced texture. You’ll find a soft interior that yields to a slight crispness at the edges, mirroring the artisanal quality of cookies found in the finest bakeries. These cookies are profoundly delicious, and I can almost guarantee you’ll struggle to resist devouring the entire baking sheet. They are a testament to how incredible vegan baking can be, proving that going dairy-free doesn’t mean compromising on flavor or texture.
So, what’s the secret to making these cookies wonderfully dairy-free without sacrificing an ounce of flavor or that coveted texture? The magic lies in a clever combination of refined coconut oil and a high-quality vegan butter. While many dairy-free recipes might opt for just one, using both creates a complex fat profile that mimics dairy butter perfectly. My personal go-to brand for vegan butter is Earth Balance. Their vegan buttery sticks are an absolute game-changer for baking, providing the richness and structure needed for exceptional cookies. (This isn’t a sponsored endorsement; it’s simply a heartfelt recommendation based on years of successful baking!) I typically find them at Whole Foods, but most natural food stores and larger supermarkets are likely to carry them in their refrigerated sections.
As the holiday season approaches, my kitchen counter often overflows with an array of delightful treats to share and enjoy amidst all the festive preparations. If you’re seeking further inspiration for your holiday baking and entertaining, I enthusiastically recommend exploring some of my other cherished recipes. These include the savory Vickey’s Party Mix, wholesome Healthy Chocolate Chip Oatmeal Bars, delicately flavored Orange Almond Cookies, comforting Almond Butter Oatmeal Chocolate Chip Cookies, quick and easy No Bake Chocolate Coconut Cookies, and my classic Ultimate Chocolate Chip Cookies (which is my traditional recipe containing dairy, for those who enjoy it!). Each offers a unique flavor and texture profile perfect for any gathering.
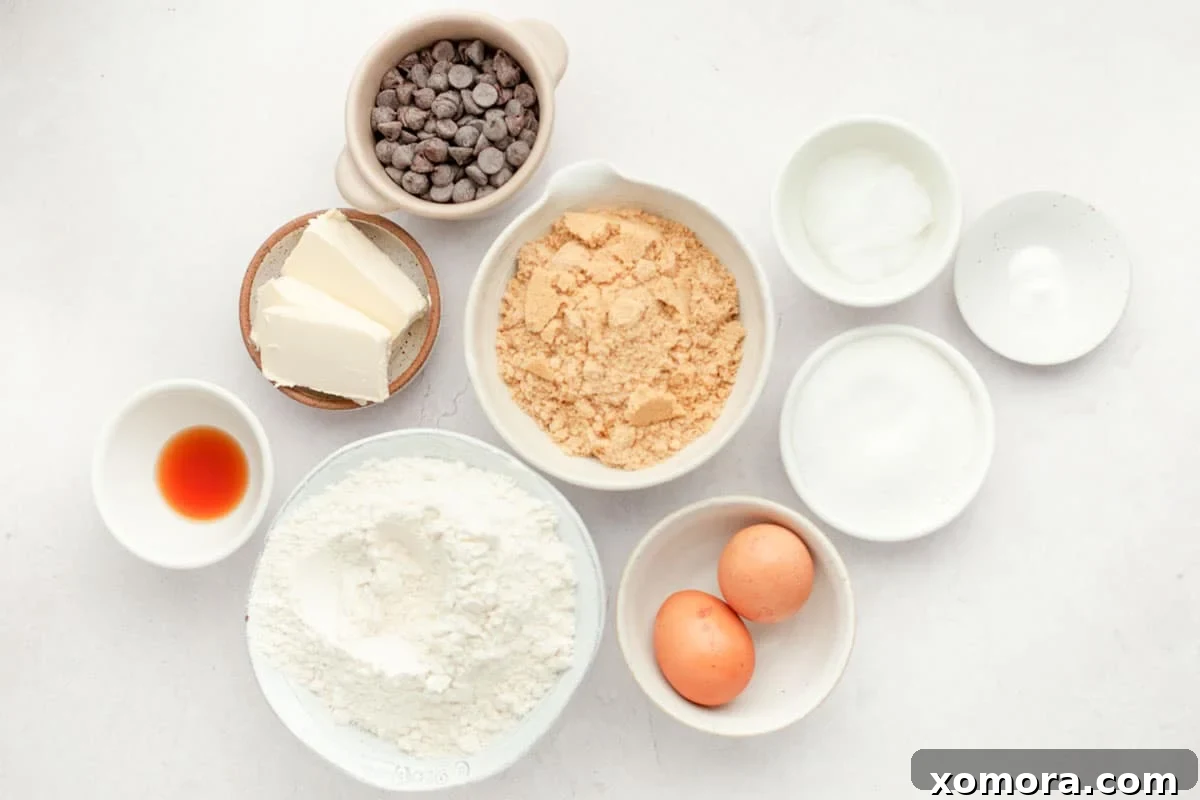
Essential Ingredients for Truly Delicious Dairy-Free Chocolate Chip Cookies
Creating extraordinary dairy-free chocolate chip cookies starts with selecting the right ingredients. Here’s a breakdown of what you’ll need and why each component is crucial for achieving that perfect balance of flavor and texture:
- Refined Coconut Oil: This is a cornerstone ingredient for our dairy-free base. It’s imperative to use *refined* coconut oil because it has a neutral flavor, ensuring your cookies taste purely of chocolate chip goodness, not coconut. Unrefined (virgin) coconut oil, while great for other culinary uses, carries a distinct coconut aroma and taste that would alter the classic cookie profile we’re aiming for. Make sure it’s solid, but softened, not melted.
- Vegan Butter: Alongside coconut oil, a good quality vegan butter is key. I highly recommend Earth Balance Vegan Buttery Sticks for their excellent performance in baking, mimicking dairy butter’s creamy texture and flavor. However, feel free to use your preferred brand of vegan butter. The crucial tip here is to ensure the butter is softened but *not melted* before you begin mixing. Using melted butter will result in cookies that spread excessively thin during baking, losing that desirable chewy texture and structural integrity.
- Brown Sugar: Whether you choose light or dark brown sugar, this ingredient is vital for creating a wonderfully chewy cookie. Brown sugar contains molasses, which not only adds a rich, caramel-like depth of flavor but also contributes moisture, keeping the cookies soft and bendy in the center.
- Granulated Sugar: Also known as white sugar, granulated sugar works in tandem with brown sugar to achieve the ideal texture. It helps the cookies spread slightly and contributes to those delicious crispy edges we all love. It’s the most common sugar found in nearly all baking recipes for a reason!
- Baking Soda: Don’t underestimate this small but mighty ingredient! We use a precise amount of baking soda as a leavening agent. It reacts with the acidic components (like brown sugar) to help the cookies rise slightly and achieve a perfectly chewy internal texture, preventing them from becoming too dense.
- Eggs: Eggs play a multifaceted role in this recipe. They act as a binder, holding all the ingredients together, and contribute significantly to the rich, chewy texture that defines a fantastic chocolate chip cookie. They also add moisture and help with emulsification.
- Vanilla Extract: A splash of good quality vanilla extract is non-negotiable. While it might seem like a minor addition, vanilla profoundly enhances the overall flavor profile of the cookies, complementing the chocolate and sugars beautifully and adding a warm, comforting aroma.
- All-Purpose Flour: For these dairy-free delights, standard all-purpose flour provides the necessary structure and body. It’s a versatile flour that yields a tender yet firm crumb.
- Dairy-Free Chocolate Chips: To keep these cookies truly dairy-free, be vigilant in selecting dairy-free chocolate chips. Many excellent brands are now widely available. While I have a preference for semi-sweet chocolate chips in this recipe for their balanced sweetness, dark chocolate chips will offer a more intense, less sweet chocolate experience, and dairy-free “milk chocolate” chips are also an option if you prefer a creamier, sweeter profile. You can even use dairy-free chocolate chunks for larger pockets of melty chocolate! Always check the ingredient label to confirm they are dairy-free or vegan-friendly.
Mastering the Art: How to Make the Best Dairy-Free Chocolate Chip Cookies
Achieving the perfect dairy-free chocolate chip cookie is easier than you think, especially with these straightforward steps. Follow along to bake a batch that will disappear in minutes!
- Cream the Fats: Begin by combining the softened refined coconut oil and vegan butter in a large mixing bowl. Beat them together on medium speed for about 30 seconds until they are well integrated and slightly fluffy. This step incorporates air, which is essential for cookie texture.
- Sweeten and Leaven: Next, add the granulated sugar, packed brown sugar, and baking soda to the bowl. Continue beating on medium speed until the sugars are fully combined with the fats, creating a light and creamy mixture. Scrape down the sides of the bowl as needed to ensure everything is evenly incorporated.
- Add Wet Ingredients: Introduce the eggs and vanilla extract to the mixture. Beat them in until they are thoroughly blended, ensuring no streaks of egg remain. This step adds moisture and helps emulsify the dough.
- Incorporate Dry Ingredients: Gradually add the all-purpose flour to the wet mixture, beating on low speed. Mix only until the flour is just combined. Overmixing the flour can develop the gluten too much, leading to tough cookies. Stop as soon as no dry streaks of flour are visible.
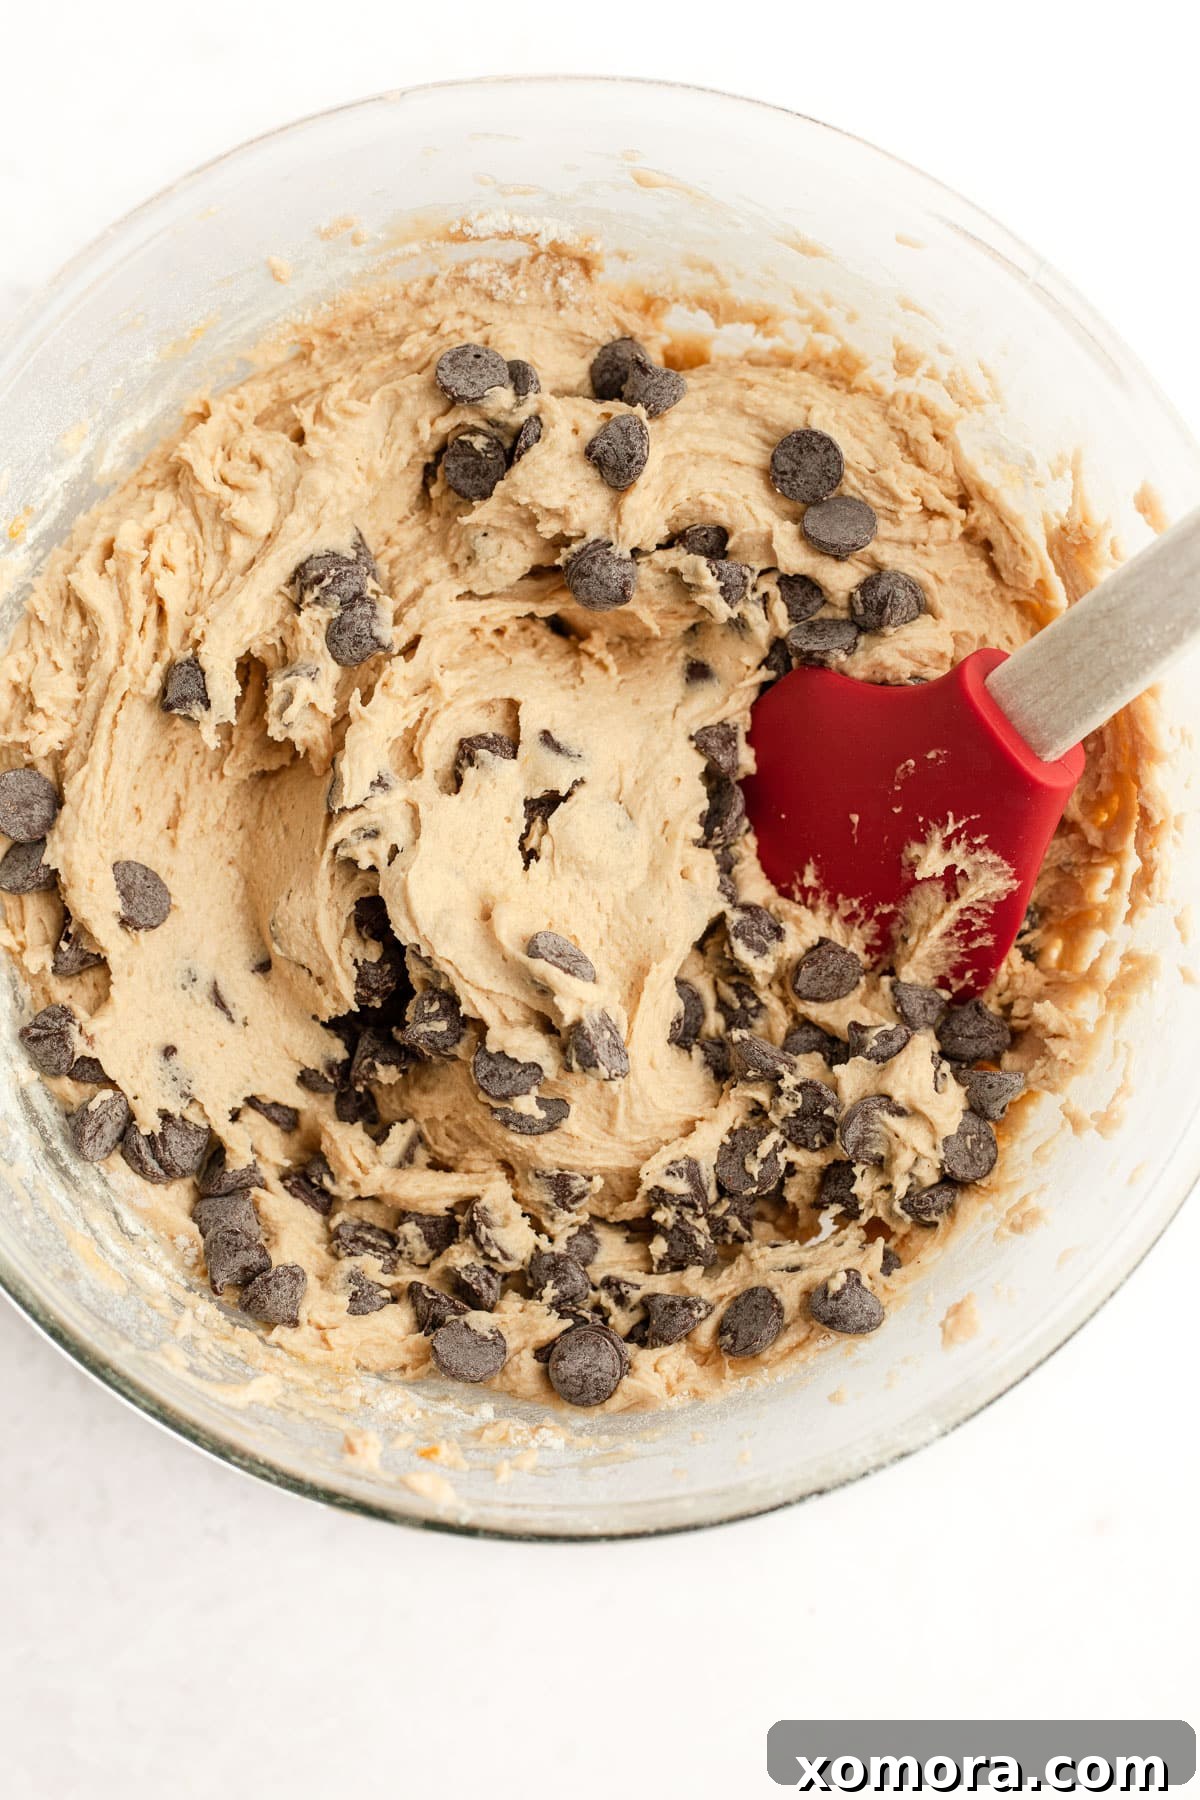
- Fold in the Chocolate: Finally, stir in your chosen dairy-free chocolate chips by hand using a spatula. Distribute them evenly throughout the dough.
- Prepare for Baking: Preheat your oven to 375°F (190°C). Line a baking sheet with parchment paper. Using a cookie scoop or a spoon, drop rounded balls of dough onto the prepared baking sheet, leaving ample space between each cookie for spreading. I prefer making slightly smaller cookies, which usually require less baking time and yield more servings, but you can adjust the size to your preference.
- Bake to Perfection: Bake the cookies for 7 1/2 to 8 minutes. Baking time can vary slightly depending on your oven and the size of your cookies. For larger cookies, you might need an additional minute or two, up to 10 minutes total. The key is to remove them from the oven when the edges are lightly golden and set, but the centers still look slightly soft and a little underdone.
- The Bakery Touch (Optional but Recommended!): Immediately after removing the baking sheet from the oven, gently press a few extra dairy-free chocolate chips onto the top of each warm cookie. The residual heat will slightly melt them, making your cookies look absolutely stunning, just like they came from a gourmet bakery!
- Cool and Enjoy: Allow the cookies to cool on the baking sheet for a few minutes to set up before transferring them to a wire rack to cool completely. This cooling period is crucial for achieving that desired chewy center and crisp edge. The best cookies will boast perfectly chewy centers, delightfully crisp edges, and an abundance of wonderfully melty chocolate chips – truly the best part!
Refined vs. Unrefined Coconut Oil: Understanding the Difference
When baking with coconut oil, especially in recipes where you want a neutral flavor, the distinction between refined and unrefined coconut oil is paramount. Refined coconut oil undergoes a process that removes most of its natural coconut aroma and flavor, resulting in a product that is virtually tasteless and odorless. This makes it the ideal choice for these dairy-free chocolate chip cookies, as it allows the classic flavors of vanilla, brown sugar, and chocolate to truly shine through without any tropical interference. In contrast, unrefined (or virgin) coconut oil retains its distinct coconut flavor and fragrance. While this can be wonderful in certain dishes, like curries or specific desserts where a coconut note is desired, it would significantly alter the traditional taste of a chocolate chip cookie. To maintain that beloved, familiar flavor profile, always opt for refined coconut oil for this recipe.
To Melt or Not to Melt: The Importance of Fat Temperature
One of the most critical elements for cookie success, particularly with this dairy-free recipe, is the temperature of your fats. It’s an absolute rule: you should *not* use melted coconut oil or melted vegan butter. The consistency of these fats plays a direct role in the cookie’s final texture and how much it spreads during baking. When fats are solid but softened (at room temperature), they incorporate air when beaten with sugar, creating a light and airy structure that helps the cookies maintain their shape and develop a desirable chewiness. If you use melted fats, the dough will be too loose, and the cookies will spread excessively thin in the oven, resulting in flat, greasy, and brittle cookies instead of the perfectly thick, chewy, and crisp-edged delights you’re aiming for. Ensure your coconut oil and vegan butter are soft, but still solid, before you begin mixing.
Choosing the Best Dairy-Free Chocolate Chips for Your Cookies
Selecting the right chocolate chips is fundamental to keeping these cookies genuinely dairy-free and deliciously satisfying. Fortunately, the market for dairy-free and allergy-friendly products has expanded dramatically, making these readily available in most major grocery stores. You’ll typically find them in the baking aisle, often alongside conventional chocolate chips, but look for clear labeling that indicates “dairy-free,” “vegan,” or “allergy-friendly.” If a label isn’t immediately obvious, simply review the ingredient list carefully, ensuring no milk or milk derivatives are present.
Many fantastic brands exist, but I have a particular fondness for Nestle Tollhouse’s Simply Delicious Semi-Sweet Morsels. These are a great option because they are crafted with a minimal ingredient list: organic chocolate, organic cocoa butter, and organic cane sugar, making them a clean and reliable choice for dairy-free baking. They deliver that classic semi-sweet chocolate flavor that everyone loves, and I’ve found them to be widely available, even at stores like Walmart. Besides semi-sweet, don’t hesitate to experiment with dairy-free dark chocolate chips for a more intense chocolate experience, or even dairy-free white chocolate chips for a different flavor profile.
Optimal Storage Methods for Your Dairy-Free Chocolate Chip Cookies
Once you’ve baked these delectable dairy-free chocolate chip cookies, proper storage is key to maintaining their freshness and wonderful texture. For immediate enjoyment and short-term storage, allow the cookies to cool completely on a wire rack before transferring them to an airtight container. Stored at room temperature, they will remain wonderfully fresh, soft, and chewy for up to 5 days. For longer preservation, these cookies freeze exceptionally well. Arrange cooled cookies in a single layer on a baking sheet and freeze until solid, then transfer them to a freezer-safe bag or airtight container, separated by parchment paper to prevent sticking. They can be stored in the freezer for up to 2 months. When ready to enjoy, simply thaw them at room temperature or warm them slightly in the microwave for a fresh-from-the-oven experience.
Why You Will Absolutely Love This Dairy-Free Chocolate Chip Cookie Recipe
There are countless reasons why this dairy-free chocolate chip cookie recipe will become a cherished staple in your baking repertoire. First and foremost, it proves that you don’t need dairy to create truly exceptional cookies. The combination of refined coconut oil and vegan butter yields an incredibly rich flavor and perfect texture that rivals, and often surpasses, traditional recipes. Secondly, the simplicity of this recipe is a huge win. With only nine common ingredients and no demanding chill time, you can whip up a batch of warm, fresh cookies in under 20 minutes, making it ideal for impromptu cravings or last-minute guests. Finally, the sheer delight of feeding these to dairy-loving friends and watching their surprise when they learn they’re dairy-free is priceless. These cookies are a crowd-pleaser, perfect for anyone with dietary restrictions or simply looking to explore delicious new baking avenues without compromising on taste or quality.
Expert Tips for Baking Perfect Dairy-Free Chocolate Chip Cookies Every Time
Even with a fantastic recipe, a few insider tips can elevate your baking from good to absolutely phenomenal. Here’s how to ensure your dairy-free chocolate chip cookies turn out perfectly every single time:
- Accurate Ingredient Measurement: Baking is a science, and precision matters. Always measure your ingredients carefully. Too much flour can lead to dry, crumbly cookies, while too little can result in a soupy, overly spread-out mess. For flour, spoon it into your measuring cup and then level it off with the back of a knife; avoid scooping directly from the bag, as this compacts the flour and leads to over-measurement.
- Don’t Overmix the Dough: Once you add the flour, mix only until it’s just combined and no dry streaks remain. Overmixing develops the gluten in the flour, which can make your cookies tough and dense instead of tender and chewy.
- Room Temperature Ingredients are Key: Ensure your vegan butter, coconut oil, and eggs are at room temperature. Softened fats cream better with sugar, incorporating more air and creating a lighter, fluffier dough. Room temperature eggs emulsify more easily into the mixture, resulting in a smoother, more uniform batter.
- The Art of Not Overbaking: This is arguably the most crucial tip for chewy cookies. For smaller cookies (which I prefer), 7.5 to 8 minutes is typically perfect. For larger cookies, extend the baking time to 9-10 minutes, but watch them closely. The cookies should look slightly underbaked and a little doughy in the center when you pull them from the oven, with the edges just barely starting to brown. They will continue to cook and firm up as they cool on the hot baking sheet, resulting in that wonderfully chewy texture. Overbaked cookies will be hard and dry.
- Parchment Paper is Your Best Friend: Always line your baking sheets with parchment paper. This prevents sticking, ensures even baking, and makes for super easy cleanup. It also helps the cookies maintain their shape and get those slightly crispy bottoms without burning.
- Use a Cookie Scoop for Uniformity: A cookie scoop (or ice cream scoop) is a game-changer for consistency. It ensures all your cookies are roughly the same size, which means they will bake evenly. Plus, it makes the process much faster and cleaner.
- Embrace the Cooling Process: Resist the urge to move the cookies immediately from the hot baking sheet. Let them cool on the sheet for 5-10 minutes. This allows them to set up and finish baking outside the oven, preventing them from falling apart when transferred to a wire rack.
Frequently Asked Questions About Dairy-Free Chocolate Chip Cookies
Here are answers to some common questions that arise when baking these dairy-free chocolate chip cookies:
Q: Can I use a gluten-free flour blend?
A: While this recipe uses all-purpose flour, many successful gluten-free substitutions exist. Look for a 1:1 gluten-free baking blend that contains xanthan gum for best results. Keep in mind that gluten-free flours can absorb liquids differently, so the dough’s consistency might vary slightly, and you may need to adjust the baking time. Start with the recommended time and adjust as needed.
Q: Can I substitute the eggs?
A: This recipe relies on eggs for binding and chewiness. While theoretically possible to substitute with flax eggs (1 tablespoon ground flaxseed meal + 3 tablespoons water per egg, let sit for 5 minutes), the texture might be slightly different. The cookies may be a bit more dense or less chewy. For the best results as intended by this recipe, I recommend using actual eggs.
Q: How can I make these cookies even chewier or crispier?
A: For chewier cookies, ensure your brown sugar is fresh and packed firmly, as it contributes moisture. Also, slightly underbaking them (leaving the centers a bit soft) and letting them cool on the baking sheet will enhance chewiness. For crispier cookies, you can increase the granulated sugar slightly (by about 1/4 cup) and bake them for an extra minute or two until the edges are a deeper golden brown.
Q: Can I freeze the cookie dough?
A: Absolutely! This dough freezes beautifully. Scoop the dough balls onto a parchment-lined baking sheet and freeze until solid (about 1-2 hours). Once frozen, transfer the dough balls to a freezer-safe bag or airtight container. You can store them for up to 3 months. When ready to bake, place frozen dough balls on a baking sheet and add 2-4 minutes to the original baking time.
Q: Can I add nuts or other mix-ins?
A: Yes, this recipe is very adaptable! Feel free to fold in about 1/2 to 1 cup of chopped nuts (like walnuts or pecans), shredded coconut, or even dairy-free white chocolate chips alongside your regular chocolate chips. Adjust quantities to your preference.
Variations to Elevate Your Dairy-Free Chocolate Chip Cookies
While these dairy-free chocolate chip cookies are perfect as is, a little creativity can transform them into an even wider array of delightful treats. Here are some exciting variations to try:
- Nutty Indulgence: For an added layer of flavor and crunch, fold in 1/2 to 1 cup of your favorite chopped nuts. Walnuts, pecans, or even a mix of almonds can provide a wonderful textural contrast and a rich, earthy note that complements the chocolate beautifully.
- Chocolate Medley: Don’t limit yourself to just semi-sweet chips! Experiment with a combination of different dairy-free chocolates. Try mixing dairy-free dark chocolate chunks with dairy-free white chocolate chips for a visually appealing and complex flavor profile. You could also find dairy-free “milk chocolate” chips for a milder, creamier touch.
- Salty-Sweet Perfection: A sprinkle of flaky sea salt (like Maldon) on top of the cookies immediately after they come out of the oven takes them to a gourmet level. The salt enhances the chocolate flavor and perfectly balances the sweetness, creating an irresistible salty-sweet combination.
- Espresso Kick: For coffee lovers, dissolve 1 teaspoon of instant espresso powder in the vanilla extract before adding it to the wet ingredients. This won’t make the cookies taste like coffee, but it will significantly deepen and intensify the chocolate flavor, making it even more robust.
- Spice It Up: A pinch of cinnamon or a tiny dash of cayenne pepper (seriously, just a pinch!) can add a warm, subtle complexity to the chocolate. This is a fantastic way to introduce an unexpected twist for those who enjoy adventurous flavors.
- Oatmeal Delight: While not a traditional chocolate chip cookie, you can add 1 cup of old-fashioned rolled oats (ensure they are certified gluten-free if needed) to the dough along with the flour for a heartier, chewier texture.
More delicious dairy-free and vegan recipes like this:
Healthy Chocolate Chip Oatmeal Bars
Almond Butter Oatmeal Chocolate Chip Cookies
No Bake Chocolate Coconut Cookies
Ultimate Chocolate Chip Cookies
No Bake Honey Almond Butter Cookies
Cookie Dough Bars (Grain + Egg Free)
No Bake Chocolate Coconut Cookies

Dairy Free Chocolate Chip Cookies
By Christina
These dairy free chocolate chip cookies have the perfect texture with crispy edges and a chewy middle. They require only 9 simple ingredients and no chill time! Plus they’re ready in less than 20 minutes!
Prep Time: 10 mins
Cook Time: 8 mins
Total Time: 18 mins
Servings: 24 cookies
Ingredients
- ¼ cup refined coconut oil, not melted
- ½ cup vegan butter, I recommend Earth Balance Vegan Buttery Sticks, not melted
- ½ cup granulated sugar
- 1 cup packed brown sugar
- ½ teaspoon baking soda
- 2 eggs
- 1½ teaspoon vanilla extract
- 2½ cups all purpose flour
- 12 ounces dairy free semi-sweet morsels, can use dark chocolate chips or chunks if you prefer
Optional:
- ½ cup dairy free semi-sweet morsels to add to the top of each cookie after baking.
Instructions
- Preheat oven to 375 degrees F (190 C).
- In a large mixing bowl, beat vegan butter and refined coconut oil on medium speed for 30 seconds until creamy and combined.
- Add granulated sugar, brown sugar, and baking soda. Beat until the mixture is light and fluffy, scraping down the sides of the bowl as needed.
- Beat in eggs and vanilla extract until well combined.
- Slowly add the all-purpose flour, beating on low speed until just combined. Be careful not to overmix.
- Stir in the 12 ounces of dairy-free chocolate chips by hand using a spatula until evenly distributed.
- Spoon dough onto a parchment paper-lined baking sheet. For smaller cookies, use a small scoop; adjust size based on preference.
- Bake for 7 1/2 – 8 minutes. (For larger cookies, you may require a little extra time, up to 10 minutes.) The cookies should look set at the edges but still slightly soft and doughy in the center when removed from the oven. Optional: As soon as you remove the sheet from the oven, gently press a few extra chocolate chips into the top of each cookie for a bakery-style appearance.
- Place cookies on the baking sheet for a few minutes to set, then transfer to a wire rack to cool completely.
Notes
- To ensure you get the perfect cookie every time, carefully measure your ingredients. Too much flour makes cookies dry, while too little makes them spread too much.
- Do not overcook them. For smaller cookies, 7 1/2 minutes is optimal. Increase to 8-10 minutes for larger cookies, but pay close attention. Cookies should look a little doughy when removed from the oven with slight browning around the bottom. They will firm up quickly as they sit, yielding a deliciously chewy texture.
Enjoyed this recipe?
We’d love to hear from you! Please leave a comment below and share your thoughts. Your feedback helps us grow and inspires other home bakers!