
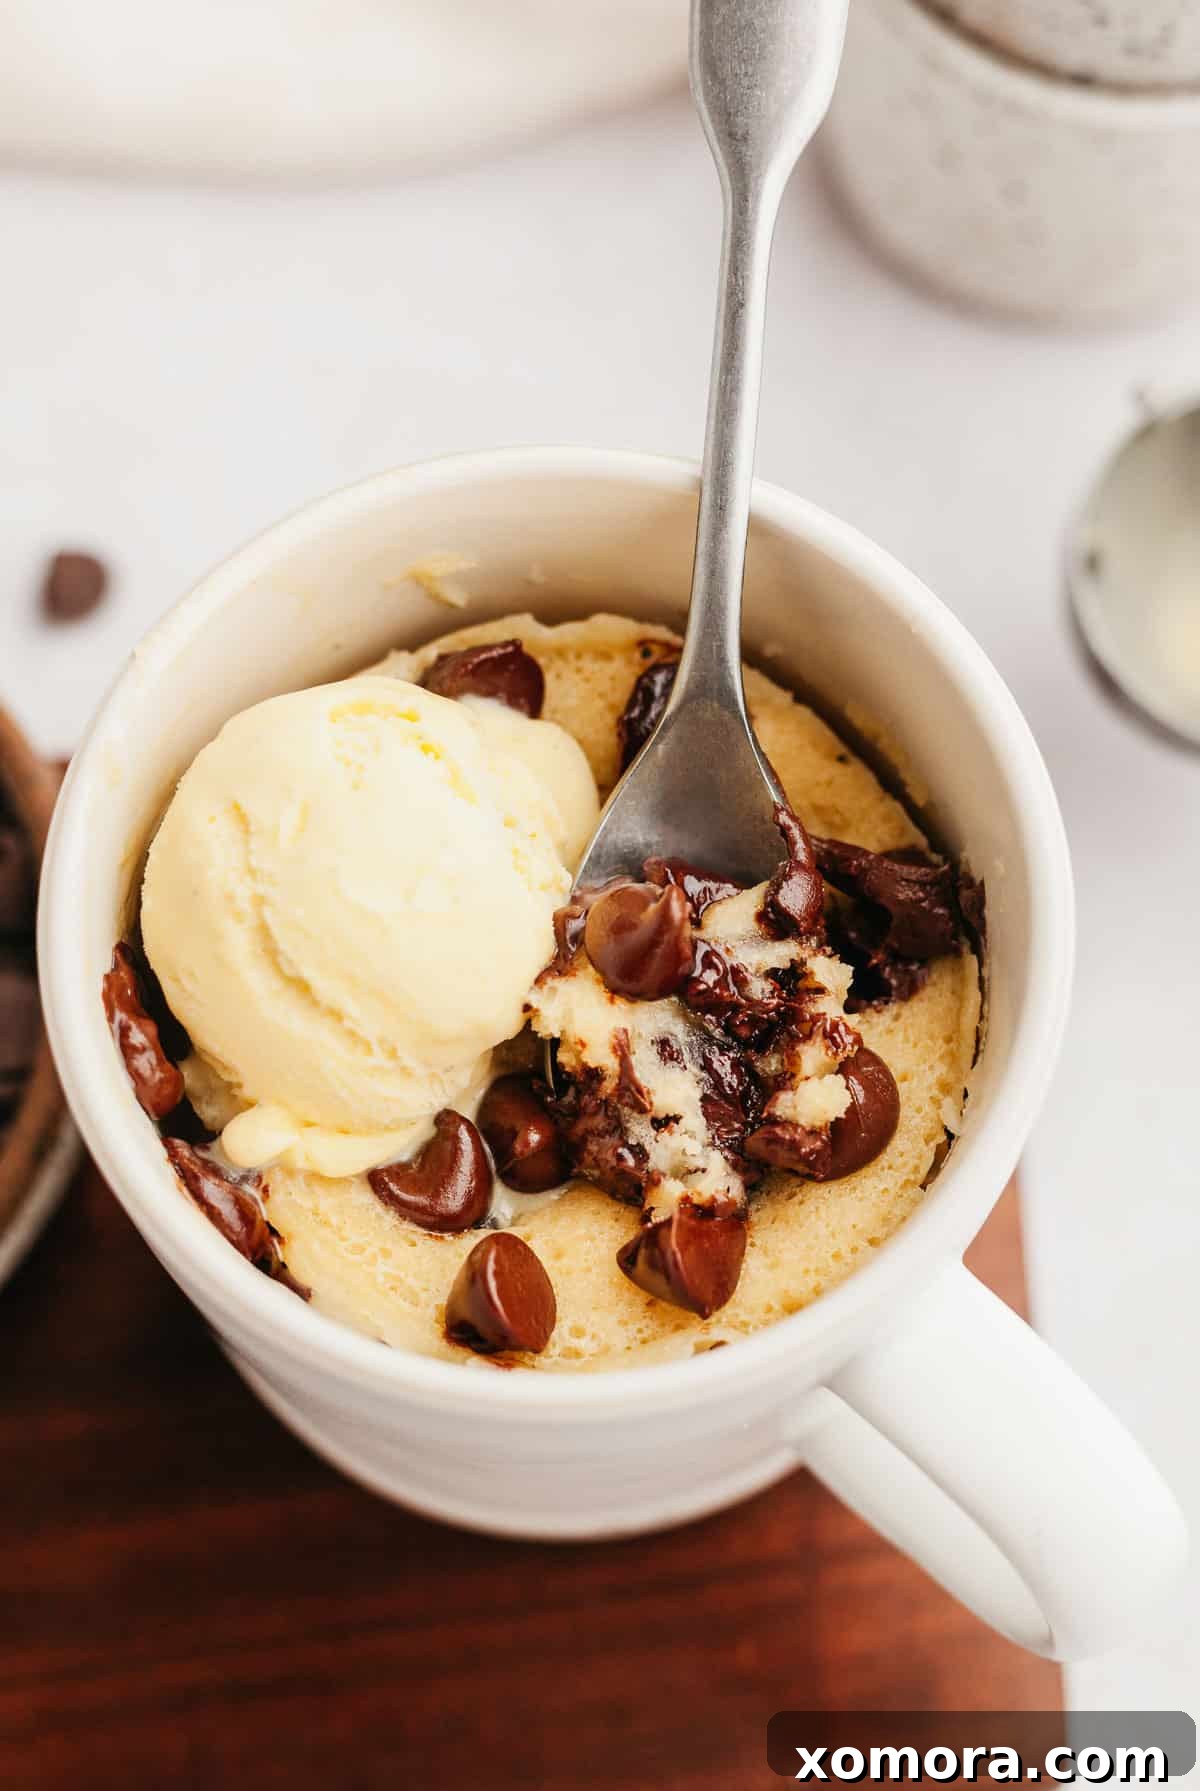
Craving a delightful dessert that’s both incredibly quick and satisfyingly wholesome? Look no further than this Gluten-Free Chocolate Chip Mug Cake. Designed to cook in just 90 seconds or less, this single-serve treat is the ultimate answer to those sudden sweet cravings. Made with simple, clean ingredients, it offers a perfect blend of convenience, indulgence, and dietary compliance, ensuring you can enjoy a delicious cake without the wait or the fuss.
The Magic of Mug Cakes: Your Instant Dessert Solution
We’ve all been there: that undeniable, immediate need for something sweet. Maybe it’s right after a long day, or perhaps a late-night reading session has ignited a sudden craving. These are what we affectionately call “dessert emergencies,” moments when only a warm, comforting treat will do. For such times, a mug cake isn’t just a dessert; it’s a culinary hero. Its single-serving nature means no excessive leftovers to tempt you later, and the minimal prep and cooking time make it an unbeatable option for instant gratification.
While my original Gluten Free Chocolate Mug Cake has been a beloved staple for years, this new rendition brings an exciting twist. Imagine the chewy goodness of a chocolate chip cookie combined with the moist, tender crumb of a cake—that’s exactly what you get with this Gluten-Free Chocolate Chip Mug Cake. It truly offers the best of both worlds, satisfying both your cookie and cake desires in one delightful bite.
Beyond its incredible taste and convenience, this mug cake recipe aligns with several dietary preferences. It’s not only gluten-free and grain-free but also refined sugar-free and paleo-friendly. For those avoiding dairy, it’s effortlessly adaptable to be dairy-free as well. Despite these healthy attributes, rest assured that every bite is as indulgent and satisfying as you hope it will be. You won’t compromise on flavor or texture when opting for this healthier alternative.
Key Ingredients for Your Gluten-Free Chocolate Chip Mug Cake
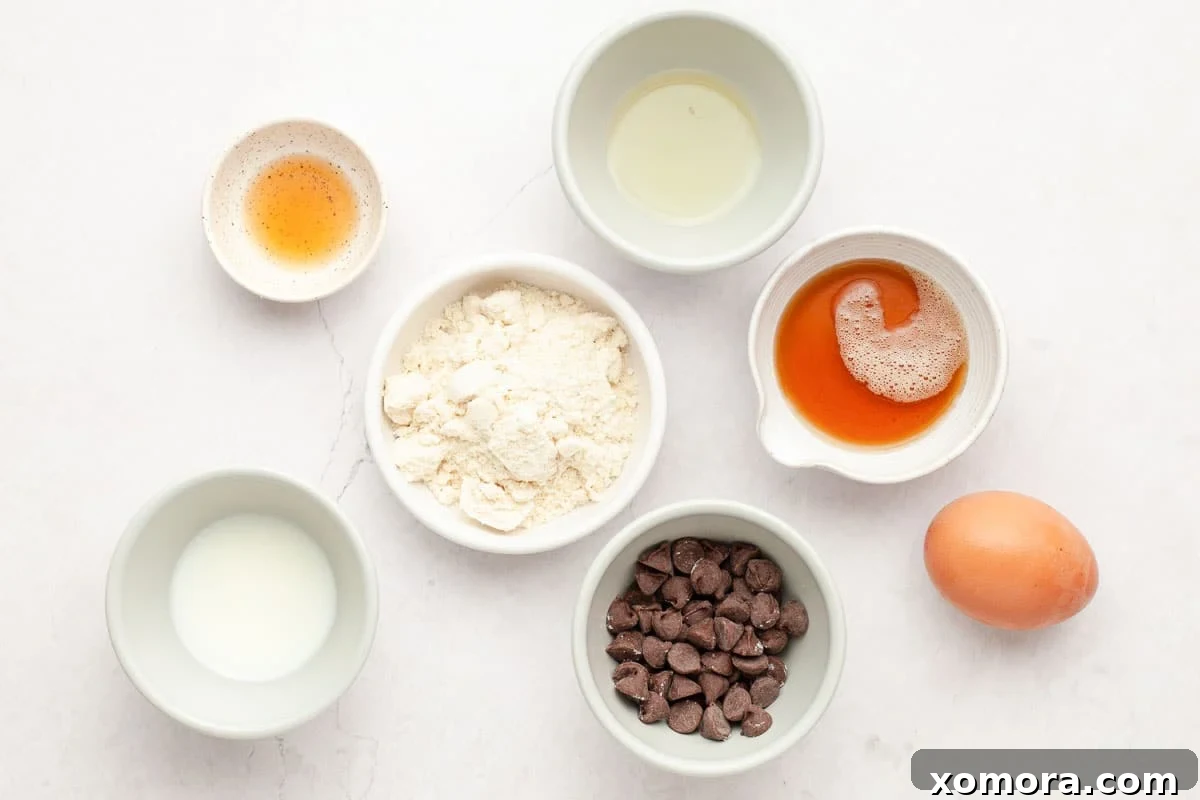
Crafting this quick and wholesome dessert requires just a few simple ingredients, easily found in most health food stores or online. The careful selection of these components ensures both the structural integrity and the delightful flavor of your mug cake.
- Paleo Baking Flour (or a blend of Almond Flour & Coconut Flour): This is the foundation of our gluten-free and grain-free cake, providing the perfect texture.
- Ghee, Butter, Coconut Oil, or Vegetable Oil: Your choice of fat contributes to moisture and richness. For dairy-free versions, coconut or vegetable oil are excellent choices.
- Maple Syrup or Honey: Natural sweeteners that lend a subtle, rich flavor without refined sugars.
- Milk of Choice: Any milk works beautifully, whether dairy or a plant-based alternative like almond milk, adding necessary liquid to the batter.
- Vanilla Extract: A crucial flavor enhancer that complements the chocolate and cake base.
- Egg: Acts as a binder and helps the cake achieve its fluffy rise.
- Chocolate Chips: The star of the show, providing bursts of chocolatey goodness. Opt for dairy-free chocolate chips if needed.
The Role of Paleo Baking Flour
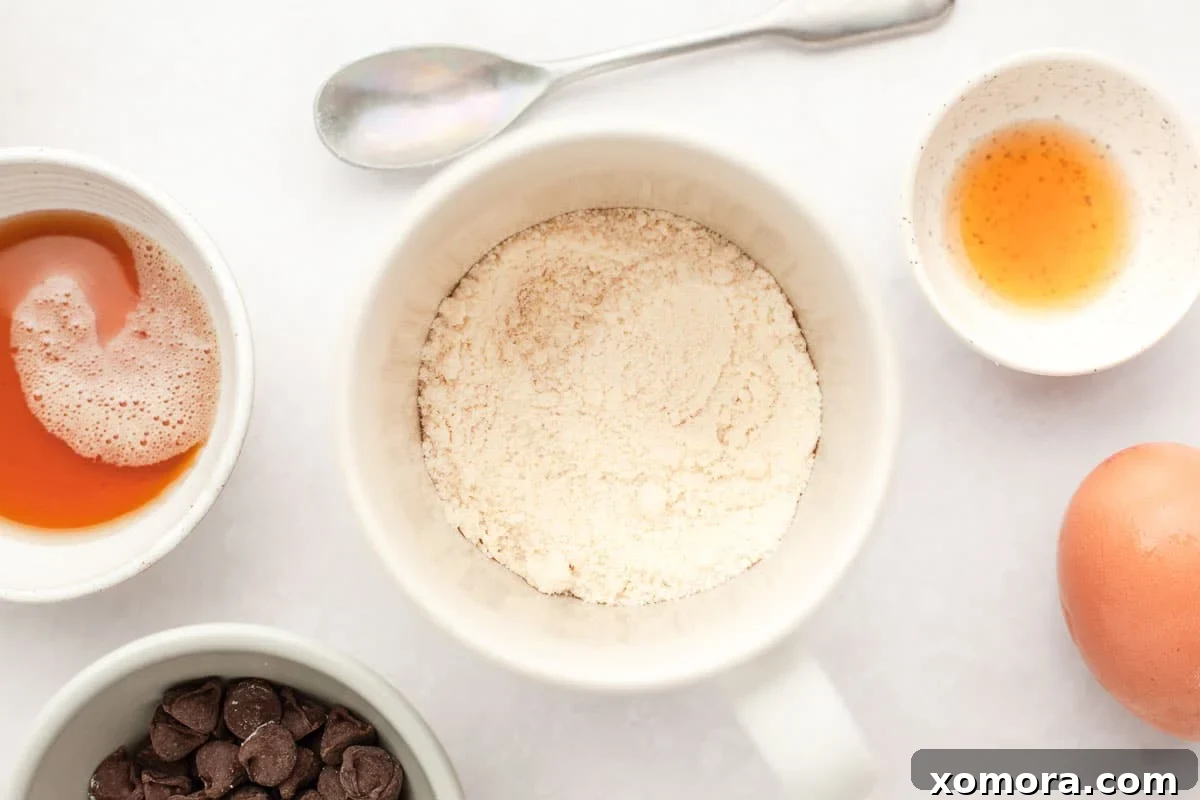
To ensure this mug cake remains gluten and grain-free, we steer clear of traditional white flour. Instead, the recipe calls for paleo baking flour, or a homemade blend of almond flour and coconut flour. Paleo baking flour is a specially formulated mixture typically comprising nut flours (like almond and coconut flour) and root starches (such as arrowroot or tapioca). This combination is superior to using a single flour type, as it creates a balanced texture that closely mimics classic wheat-based cakes – light, fluffy, and tender. It’s a fantastic healthy alternative to all-purpose flour, making your dessert guilt-free without sacrificing taste or texture.
Understanding Paleo Baking Flour: Your Gluten-Free Powerhouse
For those new to gluten-free and paleo baking, the term “paleo baking flour” might seem unfamiliar. It’s essentially a thoughtfully crafted blend designed to provide the structure, moisture, and rise needed in recipes that typically rely on wheat. Unlike single-ingredient flours, a good paleo blend offers versatility across a wide range of recipes, from cakes and cookies to breads, pancakes, muffins, and even pizza crusts!
The synergy between nut flours and root starches in these blends is key. Nut flours, like almond flour, contribute richness, protein, and a fine crumb, while coconut flour adds absorbency and a subtle sweetness. Root starches, such as arrowroot or tapioca, provide a much-needed binding quality and lightness, preventing the final product from becoming too dense. This balanced composition ensures that your mug cake achieves that desirable fluffy texture, not a rubbery or crumbly one.
When it comes to sourcing, popular brands like Bob’s Red Mill offer excellent paleo baking flour blends. You can often find these in the baking aisle of well-stocked grocery stores or dedicated healthy food markets. Given its versatility, I highly recommend stocking up on several bags to ensure you’re always ready for your next baking adventure. King Arthur Baking Company and Thrive Market (for members) also produce high-quality paleo baking flours that deliver consistent results.
Customizing Your Mug Cake: Flour & Dairy Substitutions
Can you substitute another flour?
Absolutely! If you don’t have a pre-made paleo baking flour blend on hand, you can easily create your own suitable alternative. For this recipe, a combination of 4 tablespoons of almond flour and 1 tablespoon of coconut flour works perfectly as a substitute. I’ve tested the recipe with both the pre-made blend and this homemade mix, and the results are consistently delicious and satisfying. Just ensure your measurements are precise, as even small variations can impact the delicate balance in a single-serving recipe.
Can this mug cake be dairy-free?
Yes, making this mug cake dairy-free is incredibly simple! The beauty of this recipe lies in its flexibility. To achieve a dairy-free dessert, merely swap out dairy-based ingredients for their plant-based counterparts:
- Instead of ghee or butter, use an equal amount of refined coconut oil or a neutral-flavored vegetable oil. Refined coconut oil is recommended as it doesn’t impart a strong coconut flavor, allowing the chocolate to shine.
- For the milk, choose any dairy-free milk alternative. Almond milk is a fantastic option in this recipe, lending a creamy texture without altering the flavor profile significantly. Oat milk or soy milk can also be used.
- Ensure your chocolate chips are certified dairy-free. Many brands offer excellent dairy-free chocolate chips that melt beautifully and taste just as good as traditional ones.
Mastering the Mug Cake: Tips for Perfect Texture
Mug cakes are celebrated for their speed and simplicity, but sometimes, they can surprisingly turn out rubbery if not prepared correctly. Achieving that coveted moist, fluffy, and tender crumb requires attention to a few key details. Here are my top tips to ensure your Gluten-Free Chocolate Chip Mug Cake is nothing short of amazing every time:
- Choose the Right Vessel: The size and shape of your mug or ramekin play a critical role. Opt for a wide-mouthed mug, approximately 9 to 10 ounces in capacity, or an 8-ounce soufflé ramekin that’s about 4 inches across the top. Using a dish that is too narrow can lead to uneven cooking, where the edges might overcook while the center remains underdone. Conversely, a mug that is too short risks the cake overflowing as it rises during microwaving, creating a messy situation. A wider base allows for more even heat distribution and a consistent bake.
- Avoid Overcooking: This is perhaps the most crucial rule for a tender mug cake. Overcooking is the quickest way to end up with a dry, rubbery texture. Start with a cooking time of 60 seconds. After this initial period, check the cake. The top should appear mostly set but still be slightly sticky to the touch. If it needs more time, add in short increments of 10 to 30 seconds. In my microwave, 90 seconds typically yields a perfect result, but every microwave varies in power. Getting to know your appliance’s sweet spot is vital. Remember, a slightly undercooked mug cake will be gloriously moist and gooey, while an overcooked one will be tough.
- Measure with Precision: Unlike large batch baking where slight inaccuracies might be forgiving, mug cakes are single-serving recipes, meaning we use very small quantities of each ingredient. This makes precise measurement paramount. Even a small deviation – a half-teaspoon too much flour or too little liquid – can significantly alter the final texture, leading to a dry or crumbly cake. Avoid guessing; use proper measuring spoons and level off your ingredients to ensure accuracy. This small effort makes a huge difference in achieving consistent, perfect results.
- Follow the Mixing Order: The sequence in which you add and mix ingredients is more important than you might think. Begin by thoroughly stirring together all your dry ingredients. Then, incorporate the wet ingredients (oils, syrups, milk) and mix until just combined. The egg should always be added last. Crack the egg into the batter and whisk it in very thoroughly until it’s completely integrated. Any unmixed egg white clumps will result in an undesirable texture and appearance in the finished cake.
- Serve Immediately for Best Results: Mug cakes are designed for instant gratification. They are at their absolute best—the softest, gooiest, and most flavorful—right after cooking. The steam and heat contribute to their tender texture, which can diminish as they cool. So, as soon as it’s out of the microwave, take a moment to admire your creation, and then dive in!
Serving Your Delicious Mug Cake
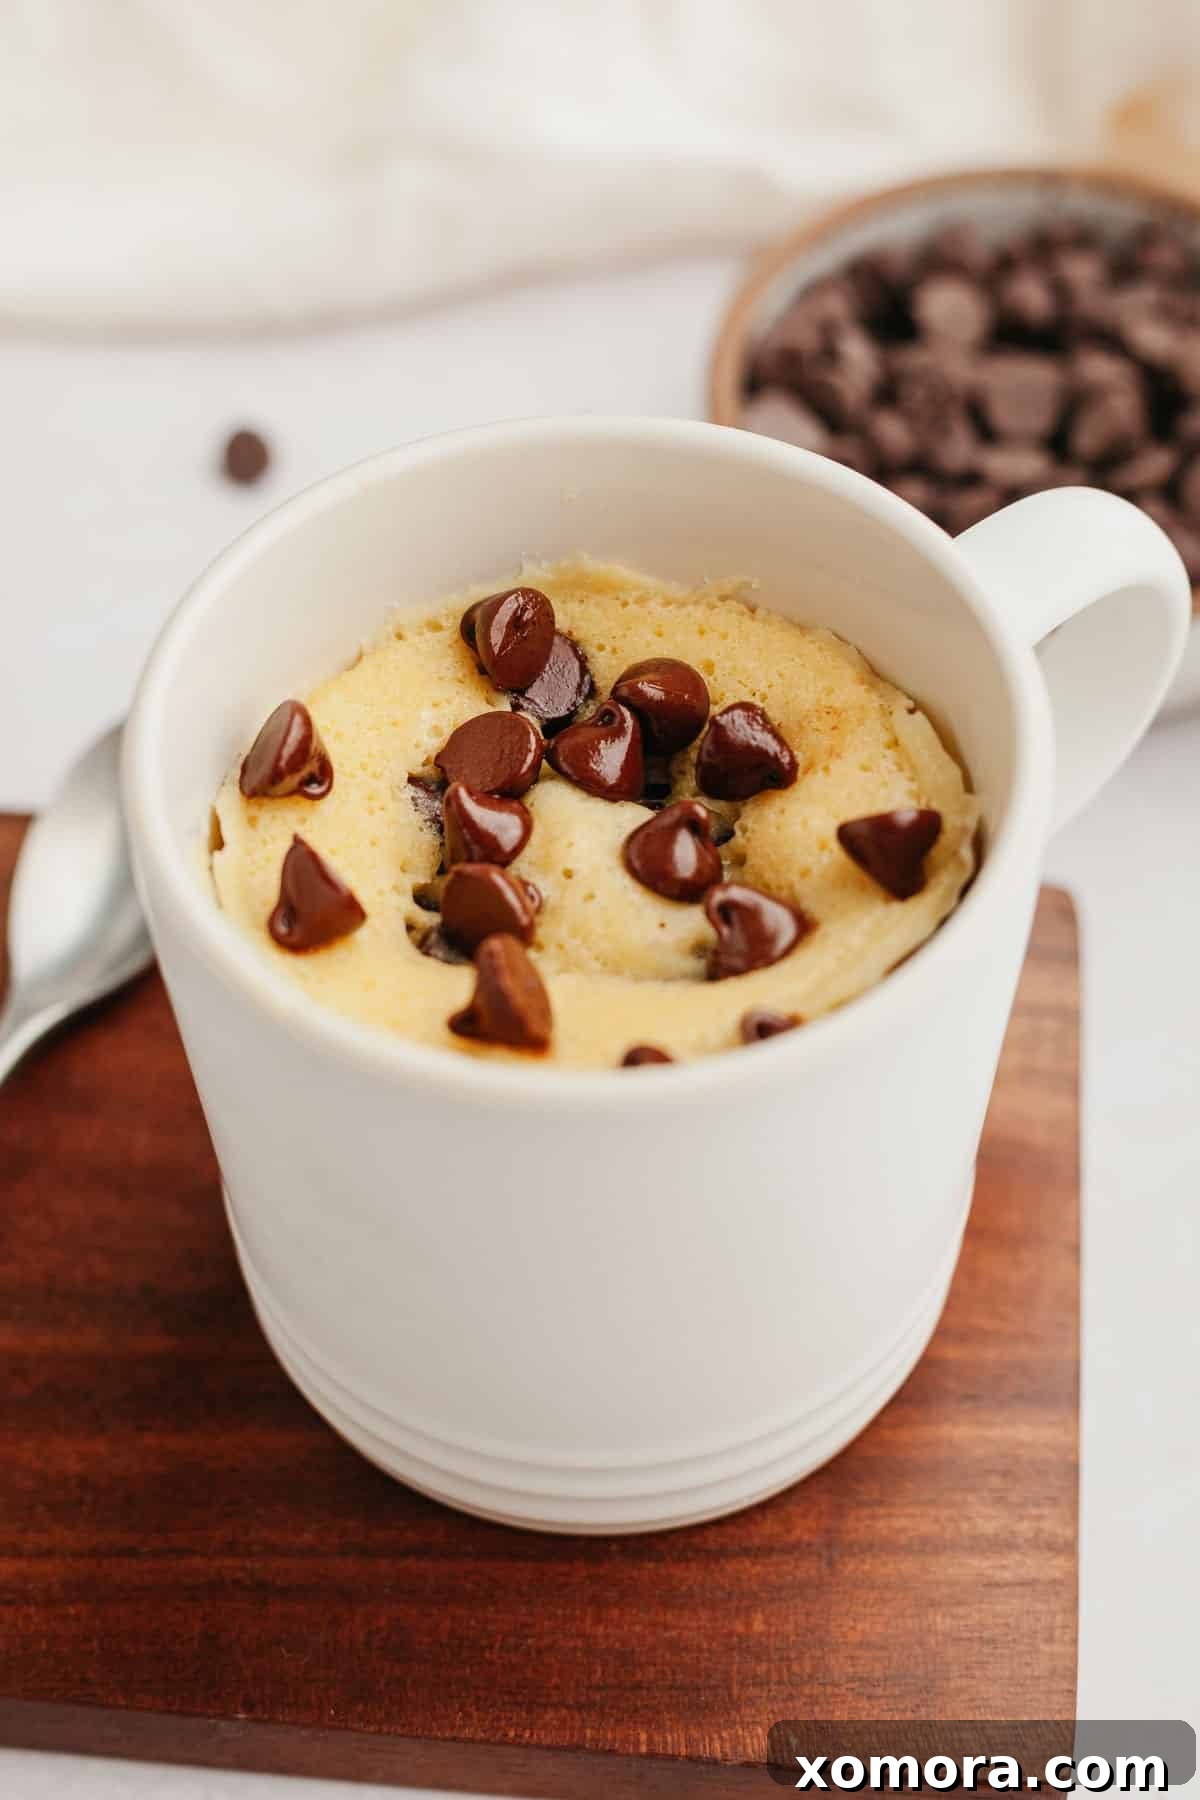
Once your gluten-free chocolate chip mug cake emerges from the microwave, puffy and aromatic, it’s time for the final, delightful step: serving! As mentioned, these cakes are best enjoyed immediately, while they are still warm and wonderfully gooey.
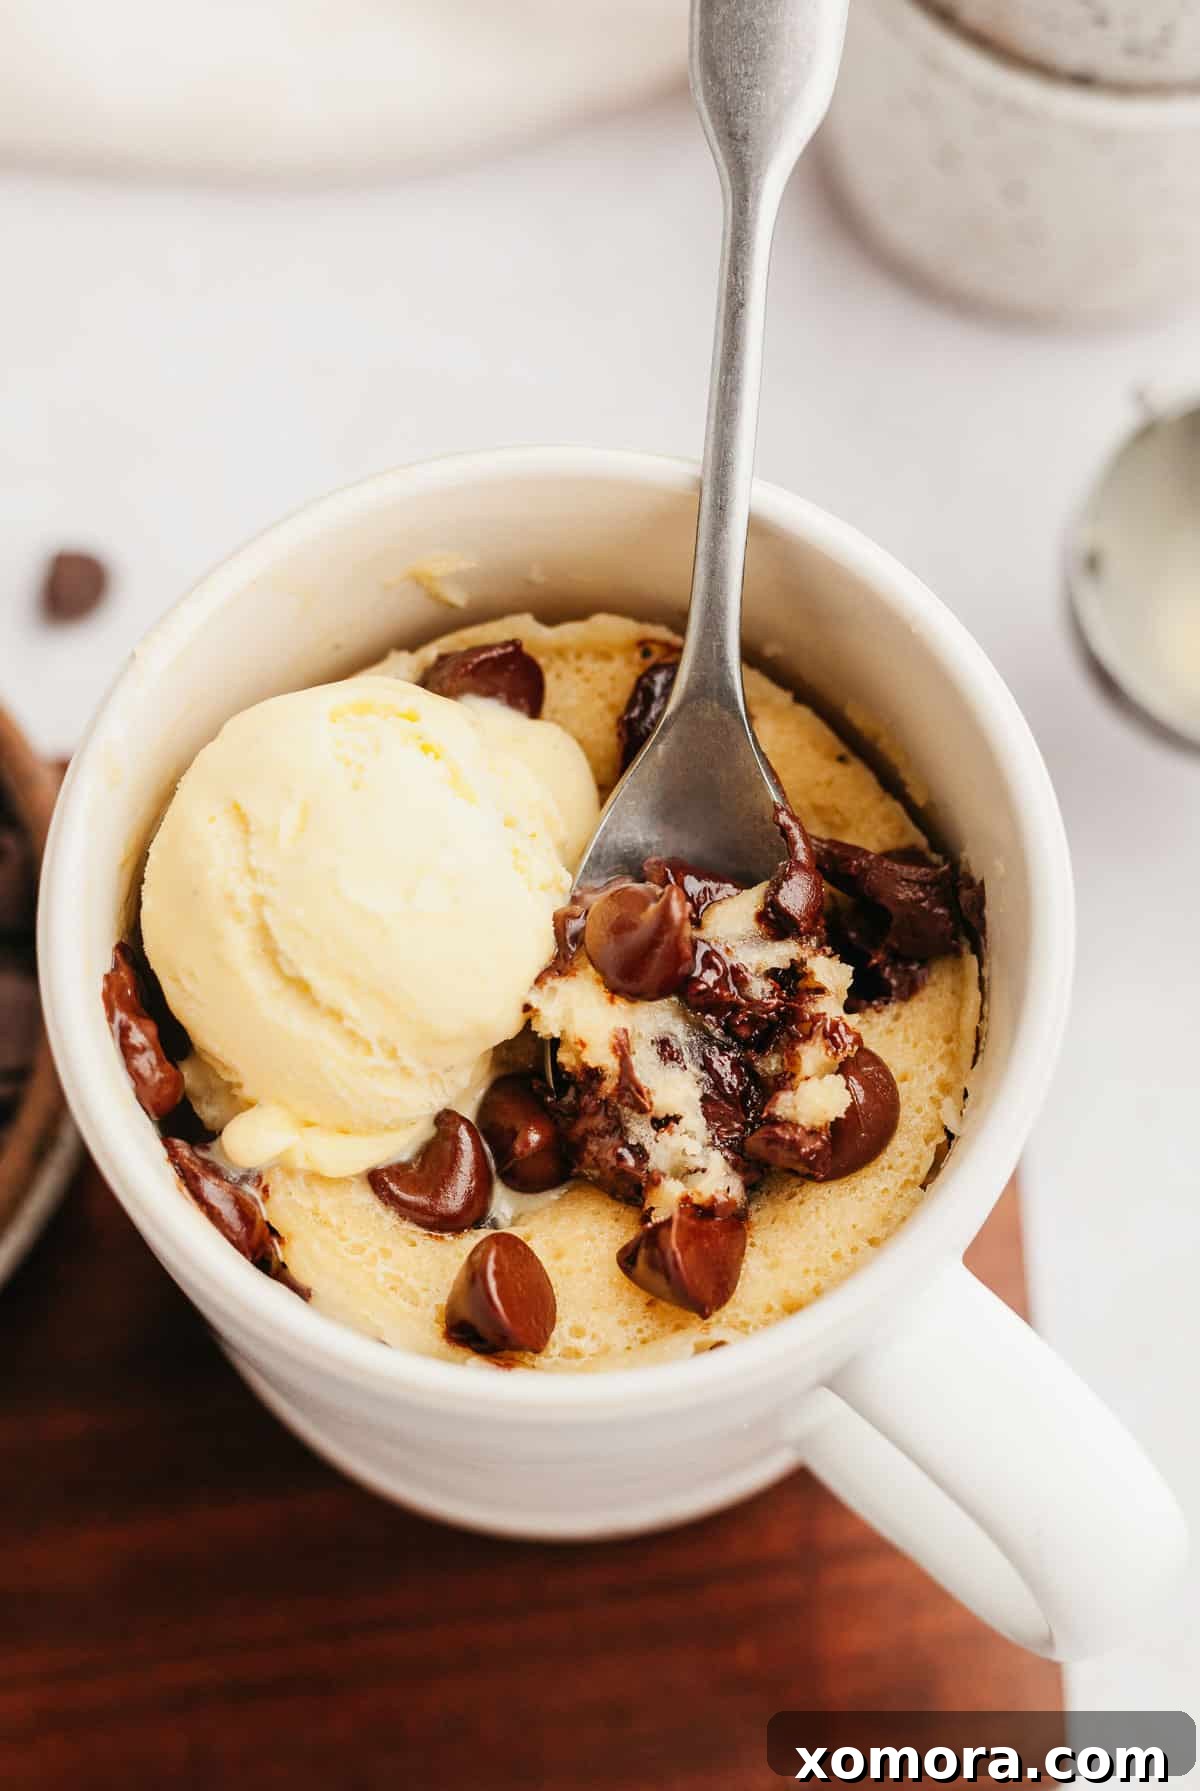
To elevate your experience, consider adding some fantastic toppings. A scoop of creamy vanilla ice cream melting over the warm cake is a classic pairing that provides a lovely contrast in temperature and texture. For a lighter touch, a dollop of whipped topping or homemade whipped cream adds an airy richness. Fresh berries, such as raspberries, blueberries, or sliced strawberries, not only introduce a pop of vibrant color but also a refreshing, tart counterpoint to the sweet chocolate. A sprinkle of sea salt can also enhance the chocolate flavor, offering a gourmet touch. Don’t hesitate to get creative with your favorite dessert accompaniments!
More Gluten-Free & Paleo-Friendly Recipes to Explore:
If you loved this quick and healthy dessert, you’ll surely enjoy these other recipes:
Classic Gluten-Free Chocolate Mug Cake
Irresistible Cookie Dough Bars (Grain + Egg Free)
Easy 4-Ingredient Almond Butter Cups
Delightful Grain-Free Cookie Dough Bites
Simple Grain-Free One Bowl Brownies
Moist Grain-Free Chocolate Chip Banana Bread
Gluten Free Chocolate Chip Mug Cake
By Christina
If you want a delicious gluten free dessert that cooks in 90 seconds or less, you’ll love this chocolate chip mug cake! It’s the perfect single serve dessert made with simple ingredients.
Cook Time: 1 min
Total Time: 5 mins
Servings: 1 serving
Ingredients
- 5 tablespoons paleo baking flour (can sub 4 tbsp almond flour + 1 tbsp coconut flour)
- 1 tablespoon ghee, butter, refined coconut oil, or vegetable oil, melted
- 2½ tablespoons pure maple syrup or honey
- 1 tablespoon milk of choice
- ½ teaspoon vanilla extract
- 1 egg
- 3 tablespoons chocolate chips
Instructions
- Add paleo baking flour to an 8-ounce ramekin or a 9 or 10-ounce wide-mouthed mug.
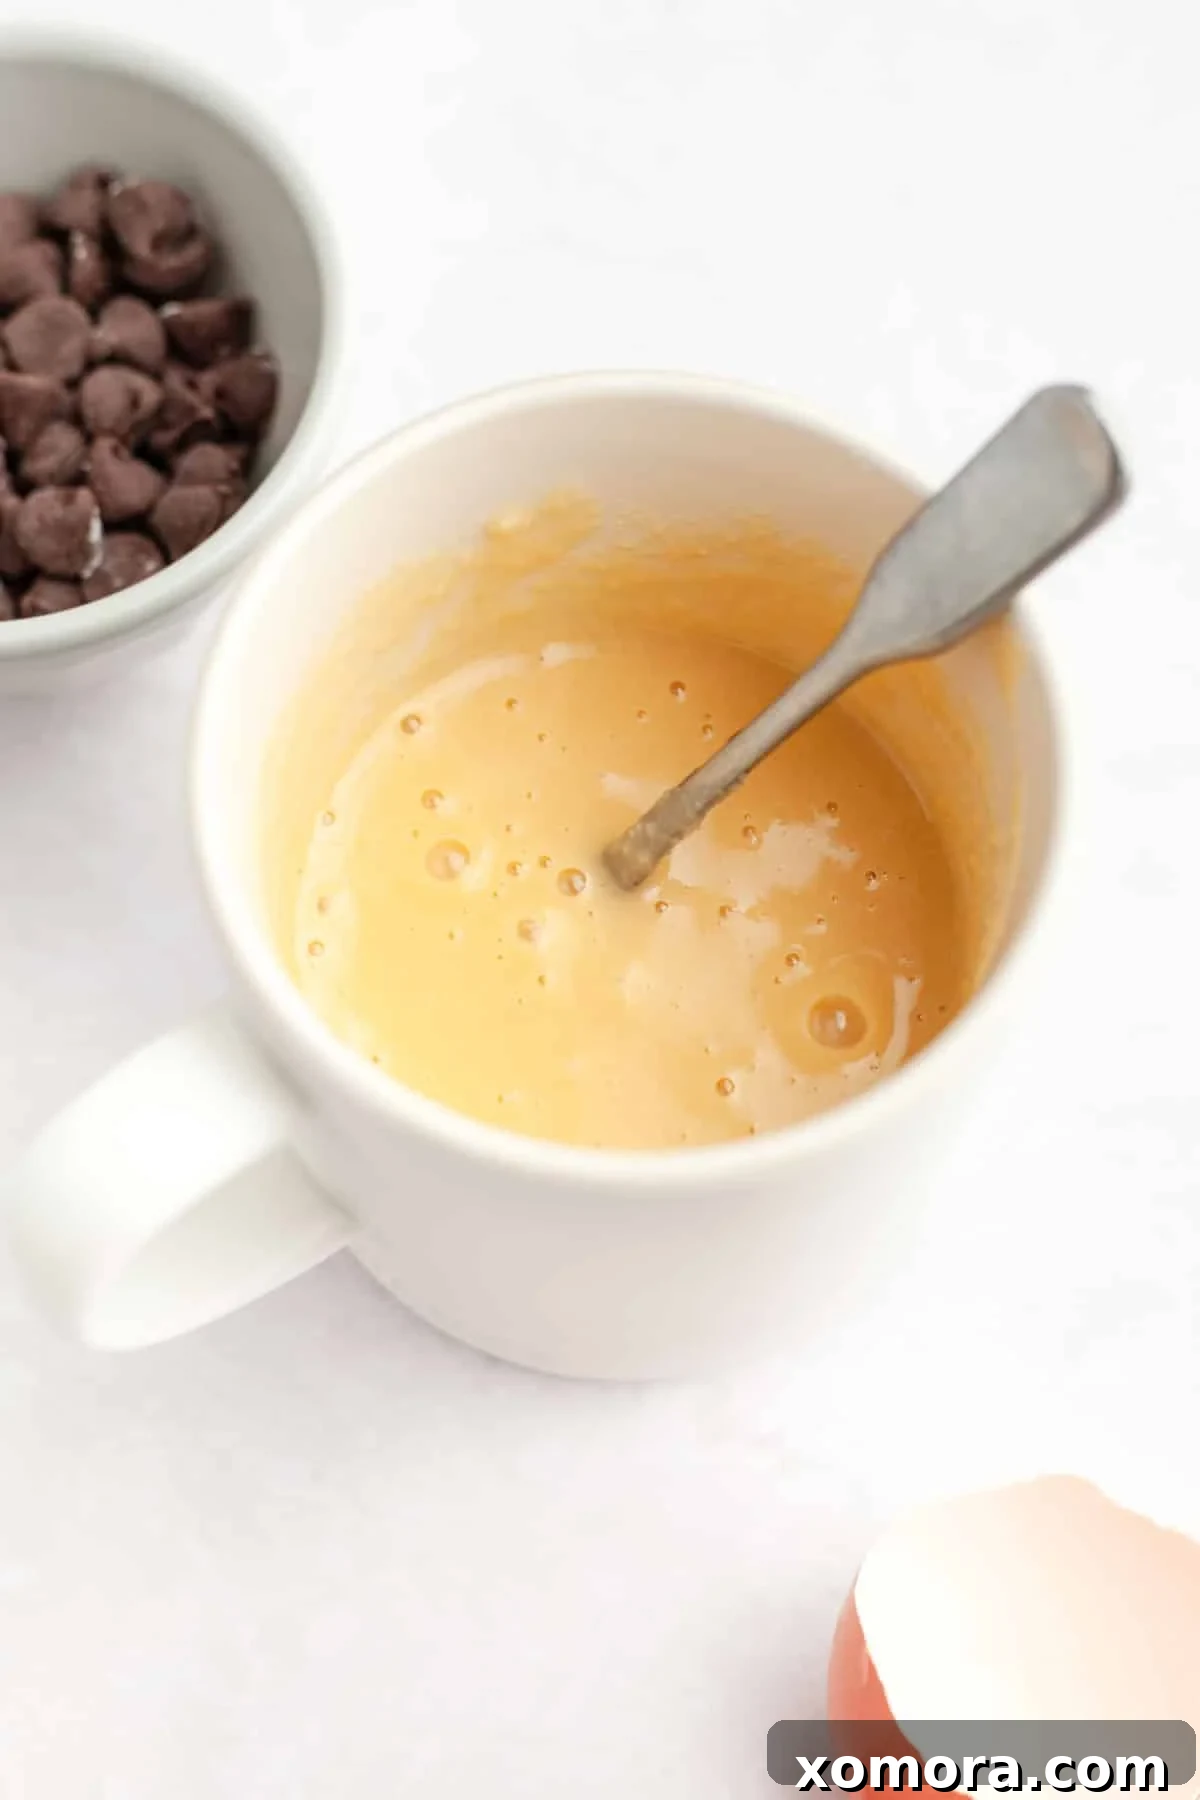
- Add oil (or melted butter/ghee), maple syrup (or honey), milk, and vanilla extract. Stir together until well combined with the flour. Make sure to scrape the bottom of the ramekin or mug, as flour can settle there. Ensure everything is thoroughly mixed.
- Crack one egg into your batter. Whisk thoroughly until well combined. Do not rush this step; if your egg isn’t completely mixed in, you’ll end up with pieces of egg whites in the cake, which is undesirable.
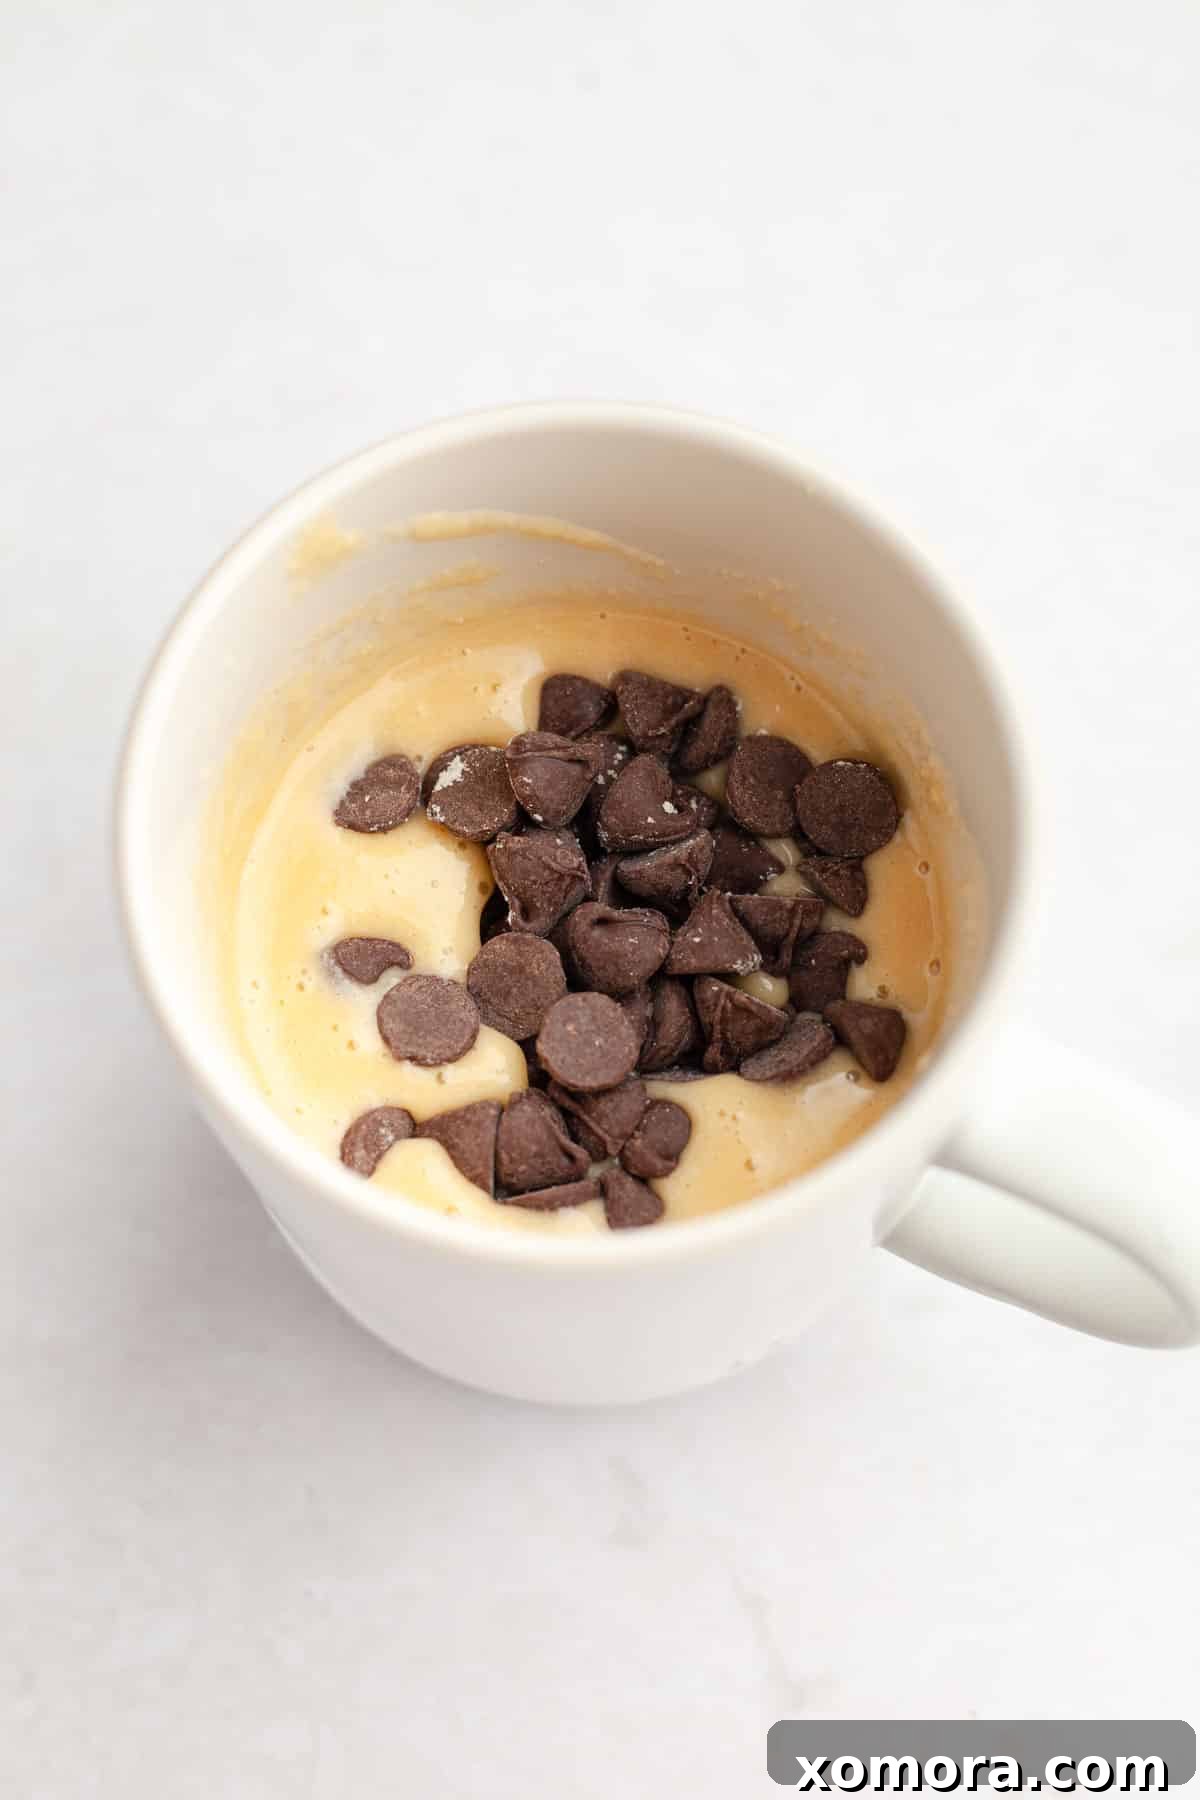
- Carefully place 3 tablespoons of chocolate chips on top of your batter. Do not stir them in! Leave them on the surface; some will naturally settle at the bottom as the cake cooks.
- Microwave for 60 to 90 seconds. You will observe the cake rising significantly towards the end of the cooking time, but it will settle once the microwave stops. When finished, the top should be slightly sticky to the touch. (90 seconds is ideal for my microwave, but I recommend starting at 60 seconds and then adding another 10 to 30 seconds if necessary. Every microwave’s power output differs, so you’ll need to determine the optimal time for yours.)
- Serve immediately. Enhance your mug cake with toppings like vanilla ice cream, whipped topping, or fresh berries for an extra treat!
We hope you enjoy this incredibly fast and delicious Gluten-Free Chocolate Chip Mug Cake! If you try this recipe, please consider leaving a comment below to share your experience. Your feedback helps us and other home bakers create even more amazing gluten-free treats.