
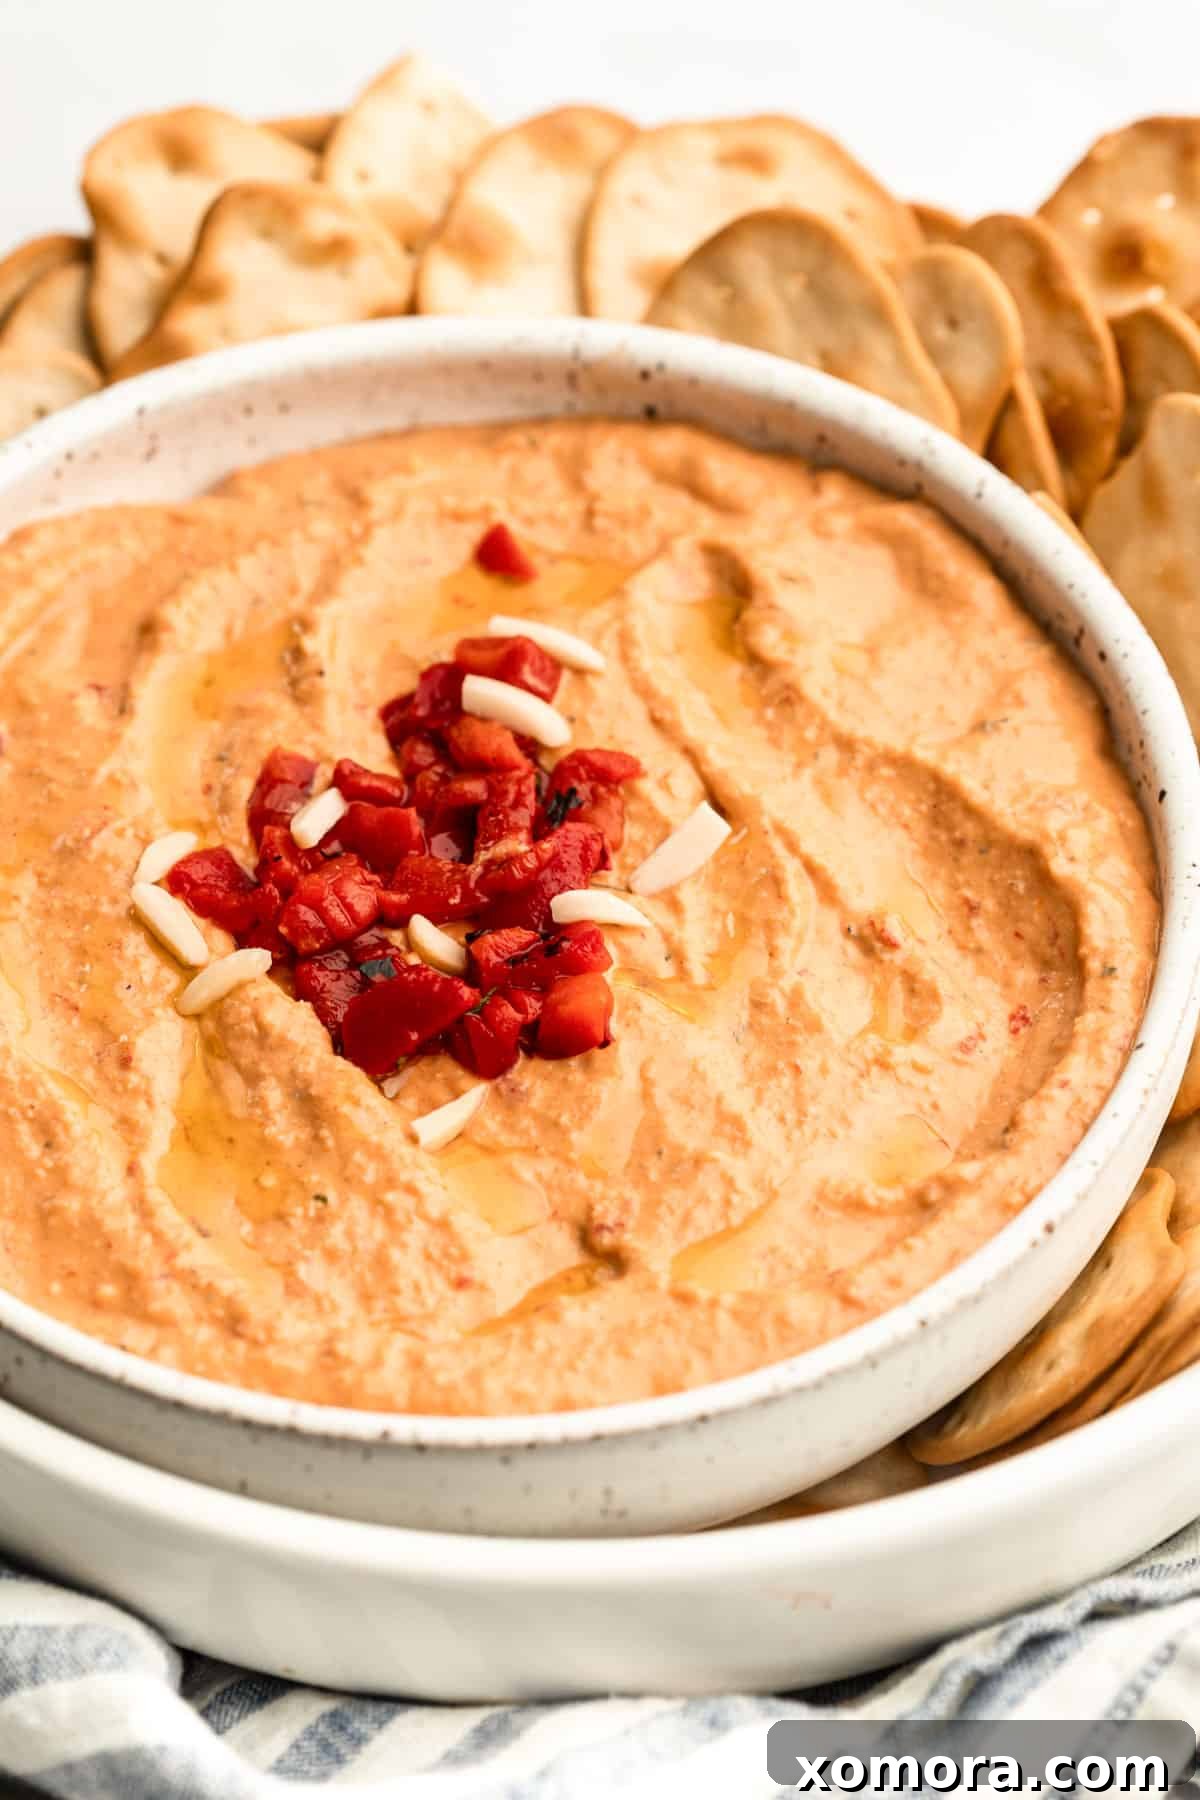
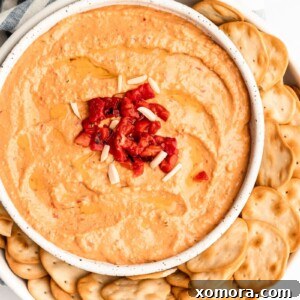
Unlock the secret to an incredibly creamy, homemade Roasted Red Pepper Hummus that’s bursting with flavor and unbelievably easy to prepare. Say goodbye to store-bought dips and embrace the fresh, vibrant taste of this healthy, plant-based spread. Whether you’re an experienced home chef or just starting your culinary journey, this recipe uses simple, accessible ingredients like canned chickpeas to create a gourmet experience right in your own kitchen. Perfect as a dip for crunchy veggies or pita bread, a spread for sandwiches, or a versatile addition to any meal, this hummus recipe is designed for maximum smoothness and irresistible taste.
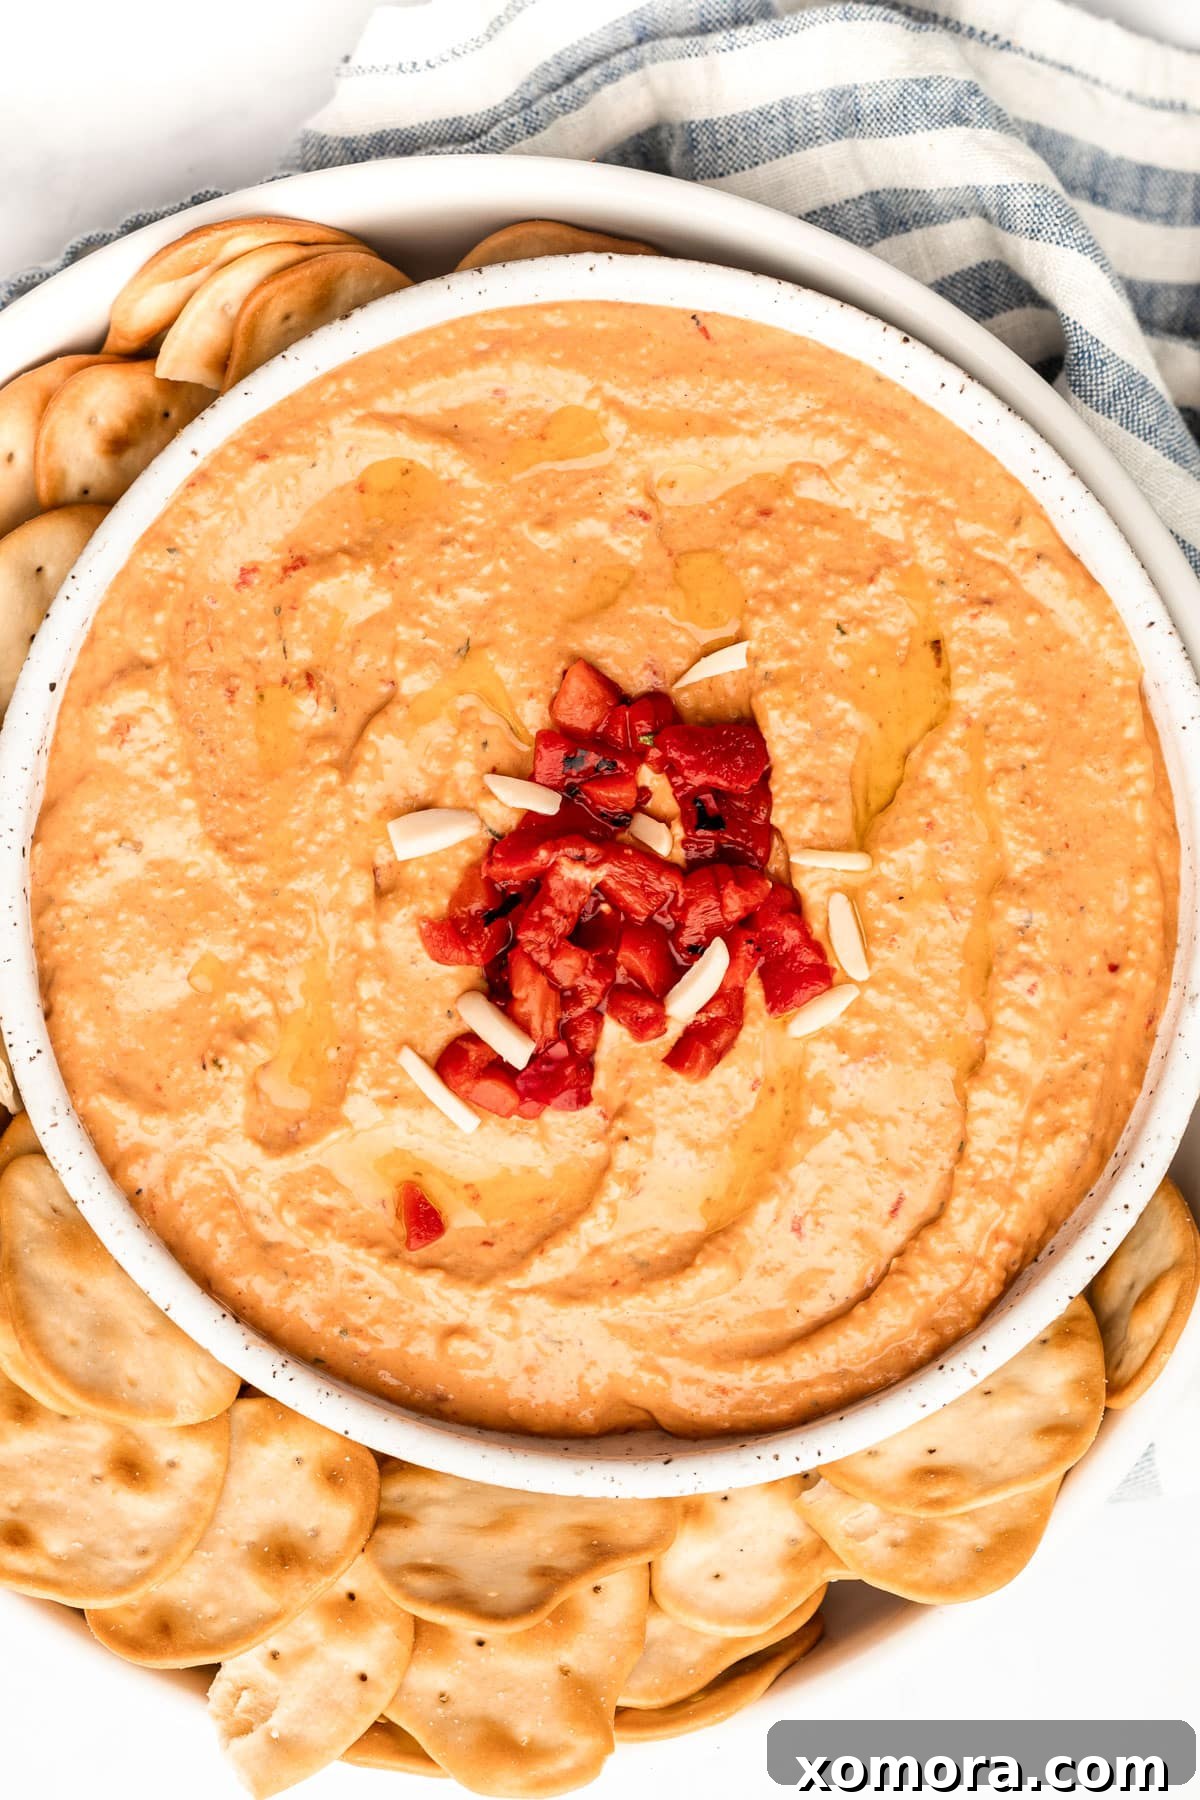
Crafting this delightful red pepper hummus requires a handful of essential ingredients, most of which you likely already have in your pantry or can easily find at any grocery store. The full list of ingredients and detailed instructions can be found in the recipe card below, but here’s a quick overview of what you’ll need to gather:
- Canned Chickpeas: The convenient base for our hummus. Opt for good quality chickpeas for the best results.
- Jarred Roasted Red Peppers: These provide a smoky, sweet, and rich flavor, giving the hummus its signature taste and beautiful color. Ensure they are well-drained.
- Tahini: A key ingredient for classic hummus, contributing to its signature creamy texture and nutty depth.
- Water: Used to adjust the consistency of the hummus, ensuring it’s perfectly smooth and spreadable.
- Lemon Juice: Freshly squeezed lemon juice is crucial for brightness and a tangy kick that balances the richness of the tahini and red peppers.
- Olive Oil: Extra virgin olive oil adds richness and a silky mouthfeel. It’s also fantastic for drizzling on top for garnish.
- Minced Garlic: Fresh garlic provides a pungent, aromatic foundation for the hummus’s flavor profile.
- Seasonings: A thoughtful blend of salt, paprika, and cumin will elevate the taste, bringing warmth and complexity to the dip. We’ll also add a touch of dried parsley for subtle herbaceous notes.
Understanding Tahini: The Cornerstone of Creamy Hummus
Tahini, often referred to as sesame paste, is a fundamental ingredient in traditional hummus, responsible for its distinctive nutty flavor and luxuriously creamy texture. Made from ground sesame seeds, it’s a staple in Middle Eastern and Mediterranean cuisine, offering not just incredible taste but also a wealth of nutritional benefits.
There are generally two types of tahini: made from hulled (peeled) sesame seeds or unhulled. Hulled tahini, which is more common and often preferred for hummus, typically yields a smoother, lighter-colored paste with a milder, less bitter taste. Unhulled tahini, while more nutrient-dense, can be slightly bitter and coarser.
When selecting tahini, look for brands that list only sesame seeds as their ingredient. High-quality tahini will have a smooth, pourable consistency, similar to a runny peanut butter. Many brands come in jars, where the oil can separate from the solids, requiring a good stir before use. This stirring can sometimes be a bit messy. Alternatively, some excellent brands, like Mighty Sesame Co., package their tahini in squeeze bottles. This innovative packaging makes it incredibly convenient to use – just give the bottle a good shake, and you’re ready to go, avoiding the need for messy stirring. Regardless of the packaging, ensuring your tahini is well-mixed is key to achieving that perfect hummus texture.
Beyond hummus, tahini is incredibly versatile. It’s used in dressings, sauces, spreads, and even desserts, making it a valuable addition to any pantry. You can typically find tahini in the international foods aisle of most major grocery stores, health food stores, or Middle Eastern markets.
The Secret to Ultra-Smooth Hummus: Re-Cooking Canned Chickpeas
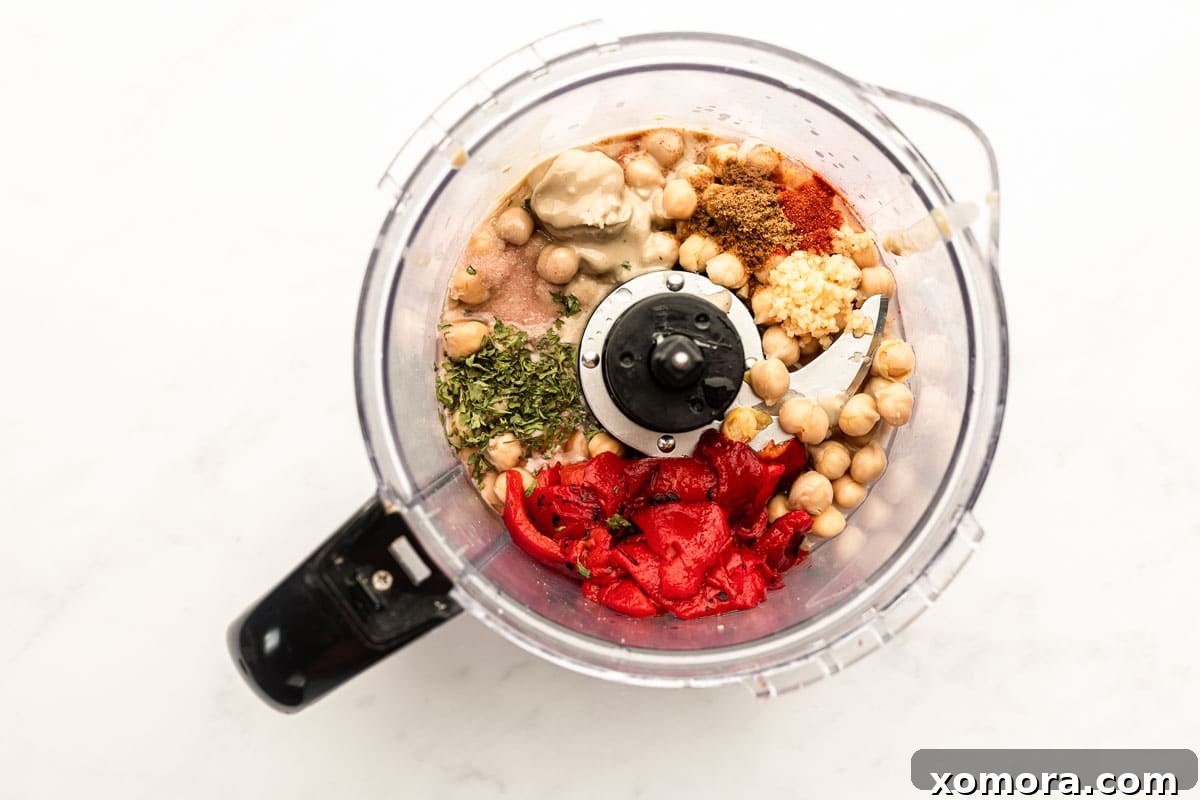
A common question when making hummus with canned chickpeas is whether additional cooking is necessary, since they are already pre-cooked. While you *can* technically use them straight from the can, for an exceptionally smooth, velvety hummus, I highly recommend an extra step: re-cooking them. This simple technique is a game-changer for achieving that restaurant-quality texture.
Here’s why this step is so important: Canned chickpeas, though cooked, still retain a firmer texture and their outer skins. Re-cooking them in fresh water for an additional 20-25 minutes helps to further soften the chickpeas, making them more pliable and easier to break down. More importantly, this process encourages many of the thin outer skins to loosen and fall away naturally. These skins are often the culprit behind a grainy hummus texture, and their removal is crucial for maximum creaminess.
To implement this, simply drain and rinse your canned chickpeas, then place them in a pot and cover them with fresh water. Bring to a boil, then reduce to a simmer, allowing them to cook until they are noticeably softer, almost falling apart, and many skins have separated. Don’t worry if they look “overcooked”—that’s exactly what we want for smooth hummus! After simmering, drain them in a colander. While they’re still warm, you can gently rub them between your fingers to easily remove any remaining stubborn skins, further ensuring a silky-smooth final product. While this step adds a small amount of time to the process, the unparalleled creamy texture it delivers is absolutely worth the effort, setting your homemade hummus apart.
Choosing Your Equipment: Food Processor vs. High-Powered Blender
Achieving the perfect creamy consistency for your homemade hummus largely depends on the right kitchen appliance. You have two main options for this recipe: a food processor or a high-powered blender. Each has its advantages, but it’s important to understand their capabilities.
Using a Food Processor:
A food processor is an excellent choice for making hummus. Its wide bowl and S-blade are ideal for handling thicker mixtures, making it easy to scrape down the sides as you blend. Most standard food processors, even entry-level models, can achieve a wonderfully smooth hummus. The key is to blend for long enough, pausing occasionally to scrape down the sides of the bowl to ensure all ingredients are evenly incorporated and processed. This prevents any chunks from being left behind, ensuring a uniform, creamy texture.
Using a High-Powered Blender:
If you prefer a blender, ensure it’s a high-powered model, such as a Vitamix, Blendtec, or similar professional-grade appliance. Not all blenders are created equal. Regular blenders, often designed for lighter tasks like smoothies or pureeing soups, may struggle with the thick consistency of hummus. Their motors might overheat, or their blades might not be strong enough to break down the chickpeas sufficiently, resulting in a grainy or lumpy texture. A high-powered blender, with its robust motor and sharp blades, can create an incredibly silky-smooth hummus, often even smoother than a food processor, due to its ability to emulsify ingredients more thoroughly. If you’re unsure about your blender’s power, it’s safer to stick with a food processor.
Tips for Both Appliances:
- Scrape Down Sides: Regardless of the tool, frequently stop and scrape down the sides of the container. This ensures all ingredients are consistently blended.
- Add Liquid Gradually: If your hummus seems too thick or is struggling to blend, add a tablespoon or two of water or olive oil at a time until it reaches your desired consistency.
- Be Patient: Achieving truly smooth hummus takes time. Don’t rush the blending process. Let the machine work, pausing if necessary to prevent overheating.
Make Ahead & Storage: Enjoying Hummus On Your Schedule
One of the many great things about homemade hummus is how well it stores, making it an ideal make-ahead appetizer or snack. You can absolutely prepare this roasted red pepper hummus in advance, allowing its flavors to meld and deepen over time, often tasting even better the next day!
Storing in the Refrigerator:
Once prepared, transfer your hummus to an airtight container. A shallow container is often better than a deep one for easier access. Store it in the refrigerator, where it will stay fresh and delicious for up to 7 days. Before serving, give it a good stir, and if it seems a little thick from chilling, you can add a tiny splash of water or a drizzle of olive oil to loosen it up to your preferred consistency. Remember to only add garnishes like extra olive oil, diced roasted red peppers, or pine nuts right before serving to keep them fresh and visually appealing.
Freezing Hummus:
Yes, you can freeze hummus! This is a fantastic option if you’ve made a large batch or want to have it on hand for future use. To freeze, scoop the hummus into freezer-safe airtight containers or heavy-duty freezer bags. Leave about half an inch of headspace if using containers, as hummus can expand slightly when frozen. You can also drizzle a thin layer of olive oil over the top before freezing; this helps to prevent freezer burn and keep the hummus moist. Frozen hummus will maintain its quality for up to 3-4 months.
Thawing Frozen Hummus:
When you’re ready to enjoy your frozen hummus, simply transfer it from the freezer to the refrigerator and allow it to thaw overnight. Once thawed, give it a thorough stir. Its texture might be slightly different than fresh hummus, perhaps a little thicker, but a good stir and a small addition of fresh lemon juice, water, or olive oil can bring it back to life. Taste and adjust seasonings as needed before serving.
Creative Ways to Serve Your Homemade Hummus
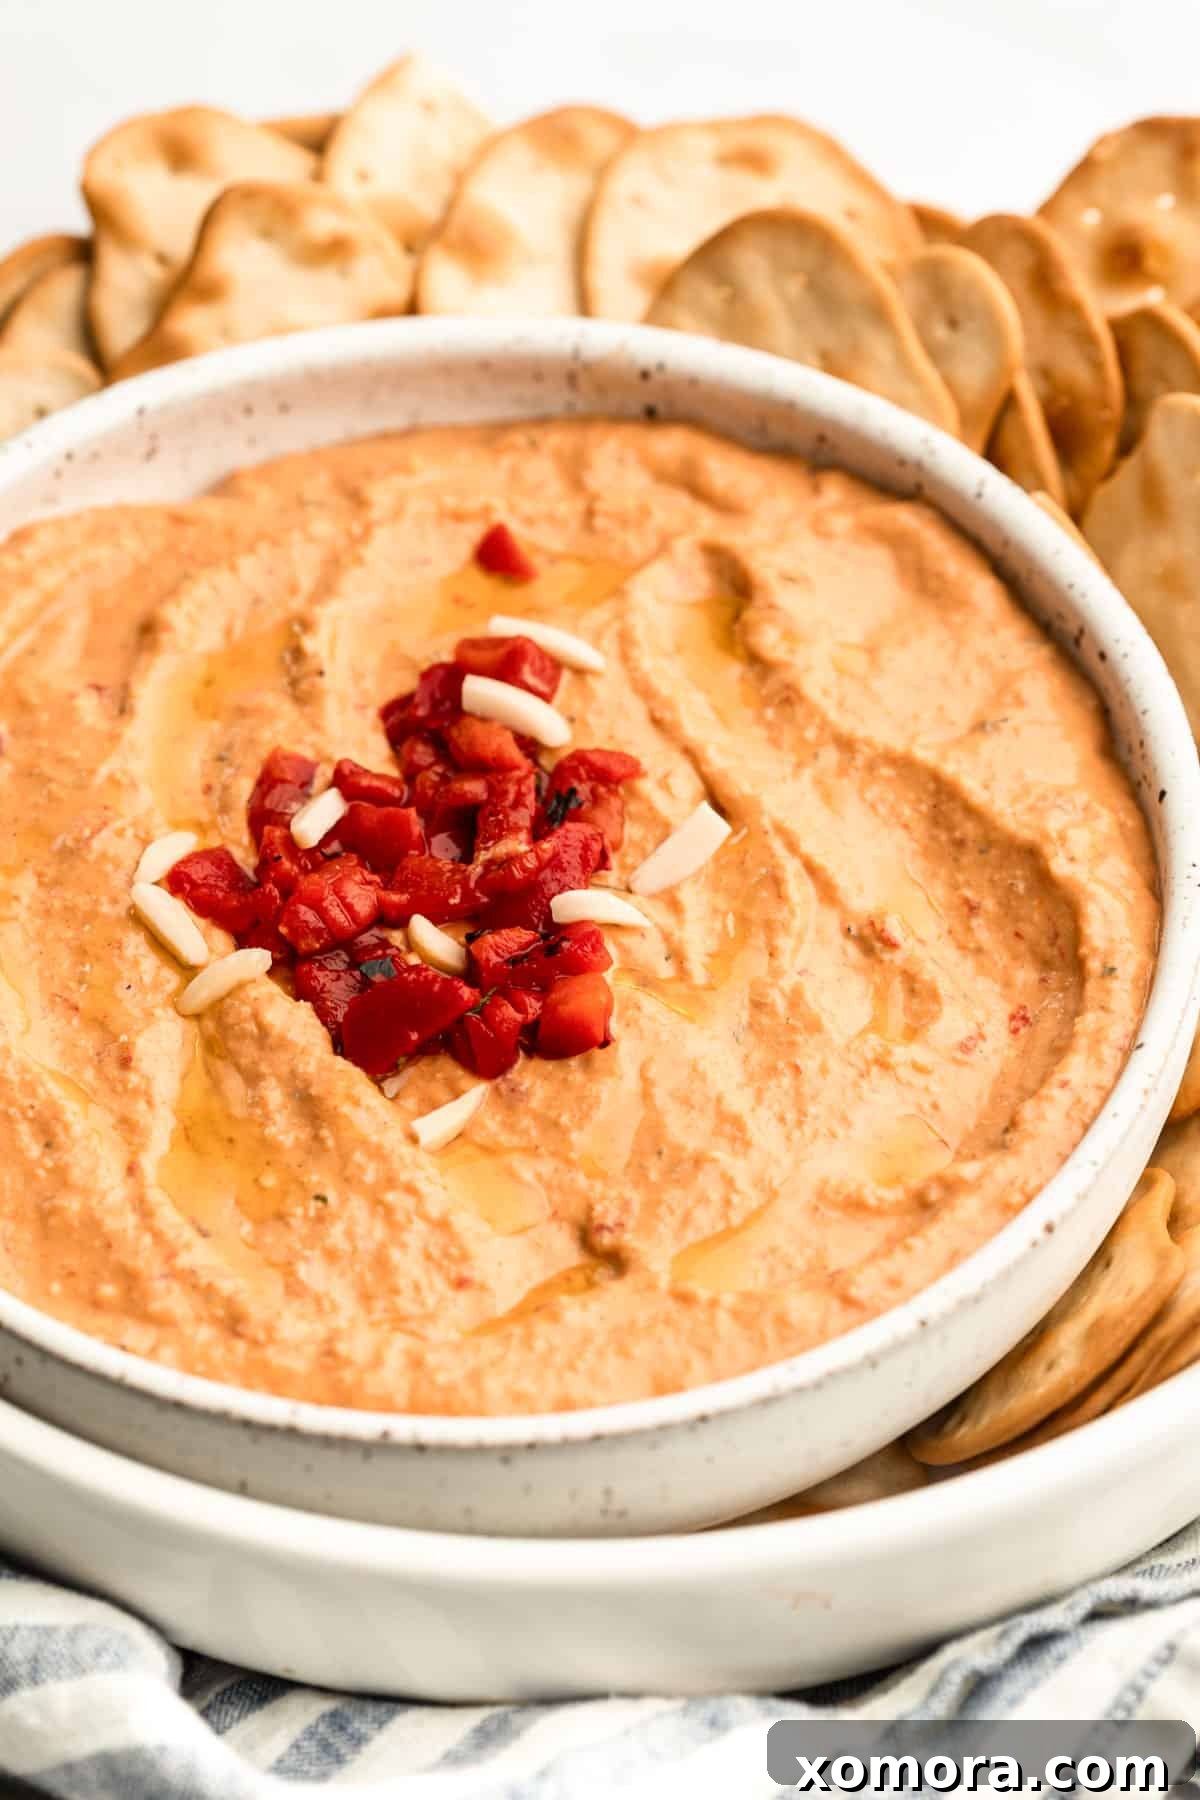
Your freshly made Roasted Red Pepper Hummus is incredibly versatile, extending far beyond a simple dip. Its rich flavor and creamy texture make it a fantastic addition to a myriad of dishes. Here are some of my favorite ways to serve this delicious spread:
- Classic Dip: The most popular way to enjoy hummus! Serve it with a colorful array of fresh, crunchy vegetables like carrot sticks, cucumber slices, bell pepper strips, cherry tomatoes, and celery. It’s also phenomenal with warm pita bread, pita chips, pretzel thins, or your favorite crackers.
- Sandwich or Wrap Spread: Ditch the mayonnaise! Hummus makes a healthier, flavor-packed spread for sandwiches and wraps. It adds moisture and a delicious Mediterranean twist to turkey, chicken, or veggie sandwiches. Try it in a veggie wrap with lots of fresh greens, cucumber, and shredded carrots.
- Salad Dressing Base: Thin your hummus with a little extra water or olive oil, a squeeze of lemon juice, and perhaps a touch more seasoning, and you’ve got a creamy, zesty salad dressing. It’s especially good with Mediterranean-inspired salads or as a drizzle over grilled chicken or falafel salads.
- Elevate Your Charcuterie Board: Add a dollop of this vibrant red pepper hummus to your next charcuterie or cheese board. It pairs beautifully with cheeses, cured meats, olives, and various bread, adding color and a delightful flavor contrast.
- Toast Topper: For a quick and nutritious breakfast or snack, spread hummus on toasted sourdough or whole-wheat bread. Top with sliced avocado, everything bagel seasoning, or a sprinkle of red pepper flakes.
- Protein Bowl Booster: Spoon a generous serving of hummus into your grain bowls or Buddha bowls. It complements roasted vegetables, grilled proteins, and hearty grains like quinoa or farro, adding creaminess and flavor.
- Sauce for Grilled Meats or Veggies: Use it as a vibrant sauce or accompaniment for grilled chicken, lamb, fish, or roasted vegetables. Its robust flavor stands up well to smoky char-grilled notes.
Don’t forget the garnishes! A final drizzle of high-quality extra virgin olive oil, a sprinkle of fresh chopped parsley or cilantro, a pinch of paprika, red pepper flakes for heat, or toasted pine nuts for crunch, can really elevate the presentation and add an extra layer of flavor and texture. Get creative and enjoy!
More recipes like this:
5-Minute Black Bean Dip
Dairy Free Cashew Queso
5-Minute Easy Blender Salsa
Dairy Free Green Chile Chicken Dip
Easy Homemade Guacamole
Dairy Free Buffalo Ranch Chicken Dip
Pico de Gallo
Roasted Red Pepper Hummus
Christina
10 minutes
25 minutes
35 minutes
8
(1/4 cup) servings
Pin Recipe
Ingredients
-
15
ounces
canned chickpeas -
½
cup
jarred roasted red peppers,
no liquid -
⅓
cup
tahini,
smooth, if it’s separated stir or shake it well first -
¼
cup
water -
2
tablespoons
lemon juice -
2
tablespoons
olive oil,
extra virgin -
1
teaspoon
garlic,
minced -
¾
teaspoon
dried parsley -
½
teaspoon
salt,
Start at 1/2 tsp and add more according to your taste. I like 3/4 tsp. -
½
teaspoon
paprika -
½
teaspoon
cumin
Optional garnish: extra virgin olive oil, diced roasted red pepper, pine nuts
Instructions
-
Drain the liquid from the chickpeas, then rinse them thoroughly with cold water, and drain again.
-
Add the drained and rinsed chickpeas to a small or medium pot with enough fresh water to completely cover them. Bring the water to a rolling boil over high heat. Once boiling, reduce the heat to medium and simmer for 20 to 25 minutes. Ensure the water maintains a gentle bubbling simmer during this time. The goal is for the chickpeas to become significantly softened, almost pulpy, and to start falling apart. Once they reach this consistency, remove them from the heat and drain them thoroughly in a colander. Don’t worry if they appear overcooked; this tenderness is key to achieving an incredibly smooth hummus.
-
While the chickpeas are still warm, gently scoop them from the colander with your fingers. As you do, easily remove and discard any loose skins that come off in your hands. This extra step, though optional, significantly contributes to a smoother, more refined hummus texture.
-
Transfer the cooked and peeled chickpeas, along with the well-drained jarred roasted red peppers, tahini, water, fresh lemon juice, extra virgin olive oil, minced garlic, dried parsley, salt, paprika, and cumin, into the bowl of a food processor or a high-powered blender. Process or blend on high speed until the mixture is completely smooth and creamy. This may take a few minutes, so be patient and let the machine work. Once smooth, taste the hummus and adjust seasonings as needed. I recommend starting with ½ teaspoon of salt as listed, then adding more to taste if desired (I personally prefer ¾ teaspoon salt in my finished hummus).
-
If the hummus isn’t smooth enough:
1. Continue to blend/process. The longer you blend, the smoother it will become. Occasionally stop to scrape down the sides of the bowl or pitcher.
2. Add an additional tablespoon or two of water. A little extra liquid can often help stubborn chickpeas break down further and achieve that desired silky consistency.
-
Once you’ve achieved your desired smoothness and flavor, spoon the roasted red pepper hummus into a beautiful serving bowl. Garnish generously with a final drizzle of extra virgin olive oil, a scattering of finely diced roasted red peppers, and a sprinkle of toasted pine nuts for added texture and visual appeal. Serve immediately with warm pita bread, crisp raw vegetables, or your favorite crackers. Enjoy!
Notes
Nutrition
Serving:
0.25
cup
,
Calories:
141
kcal
,
Carbohydrates:
10
g
,
Protein:
5
g
,
Fat:
10
g
,
Saturated Fat:
1
g
,
Polyunsaturated Fat:
3
g
,
Monounsaturated Fat:
5
g
,
Sodium:
417
mg
,
Potassium:
146
mg
,
Fiber:
3
g
,
Sugar:
0.1
g
,
Vitamin A:
124
IU
,
Vitamin C:
6
mg
,
Calcium:
39
mg
,
Iron:
1
mg
Nutrition information is automatically calculated, so should only be used as an approximation.
Like this? Leave a comment below!