
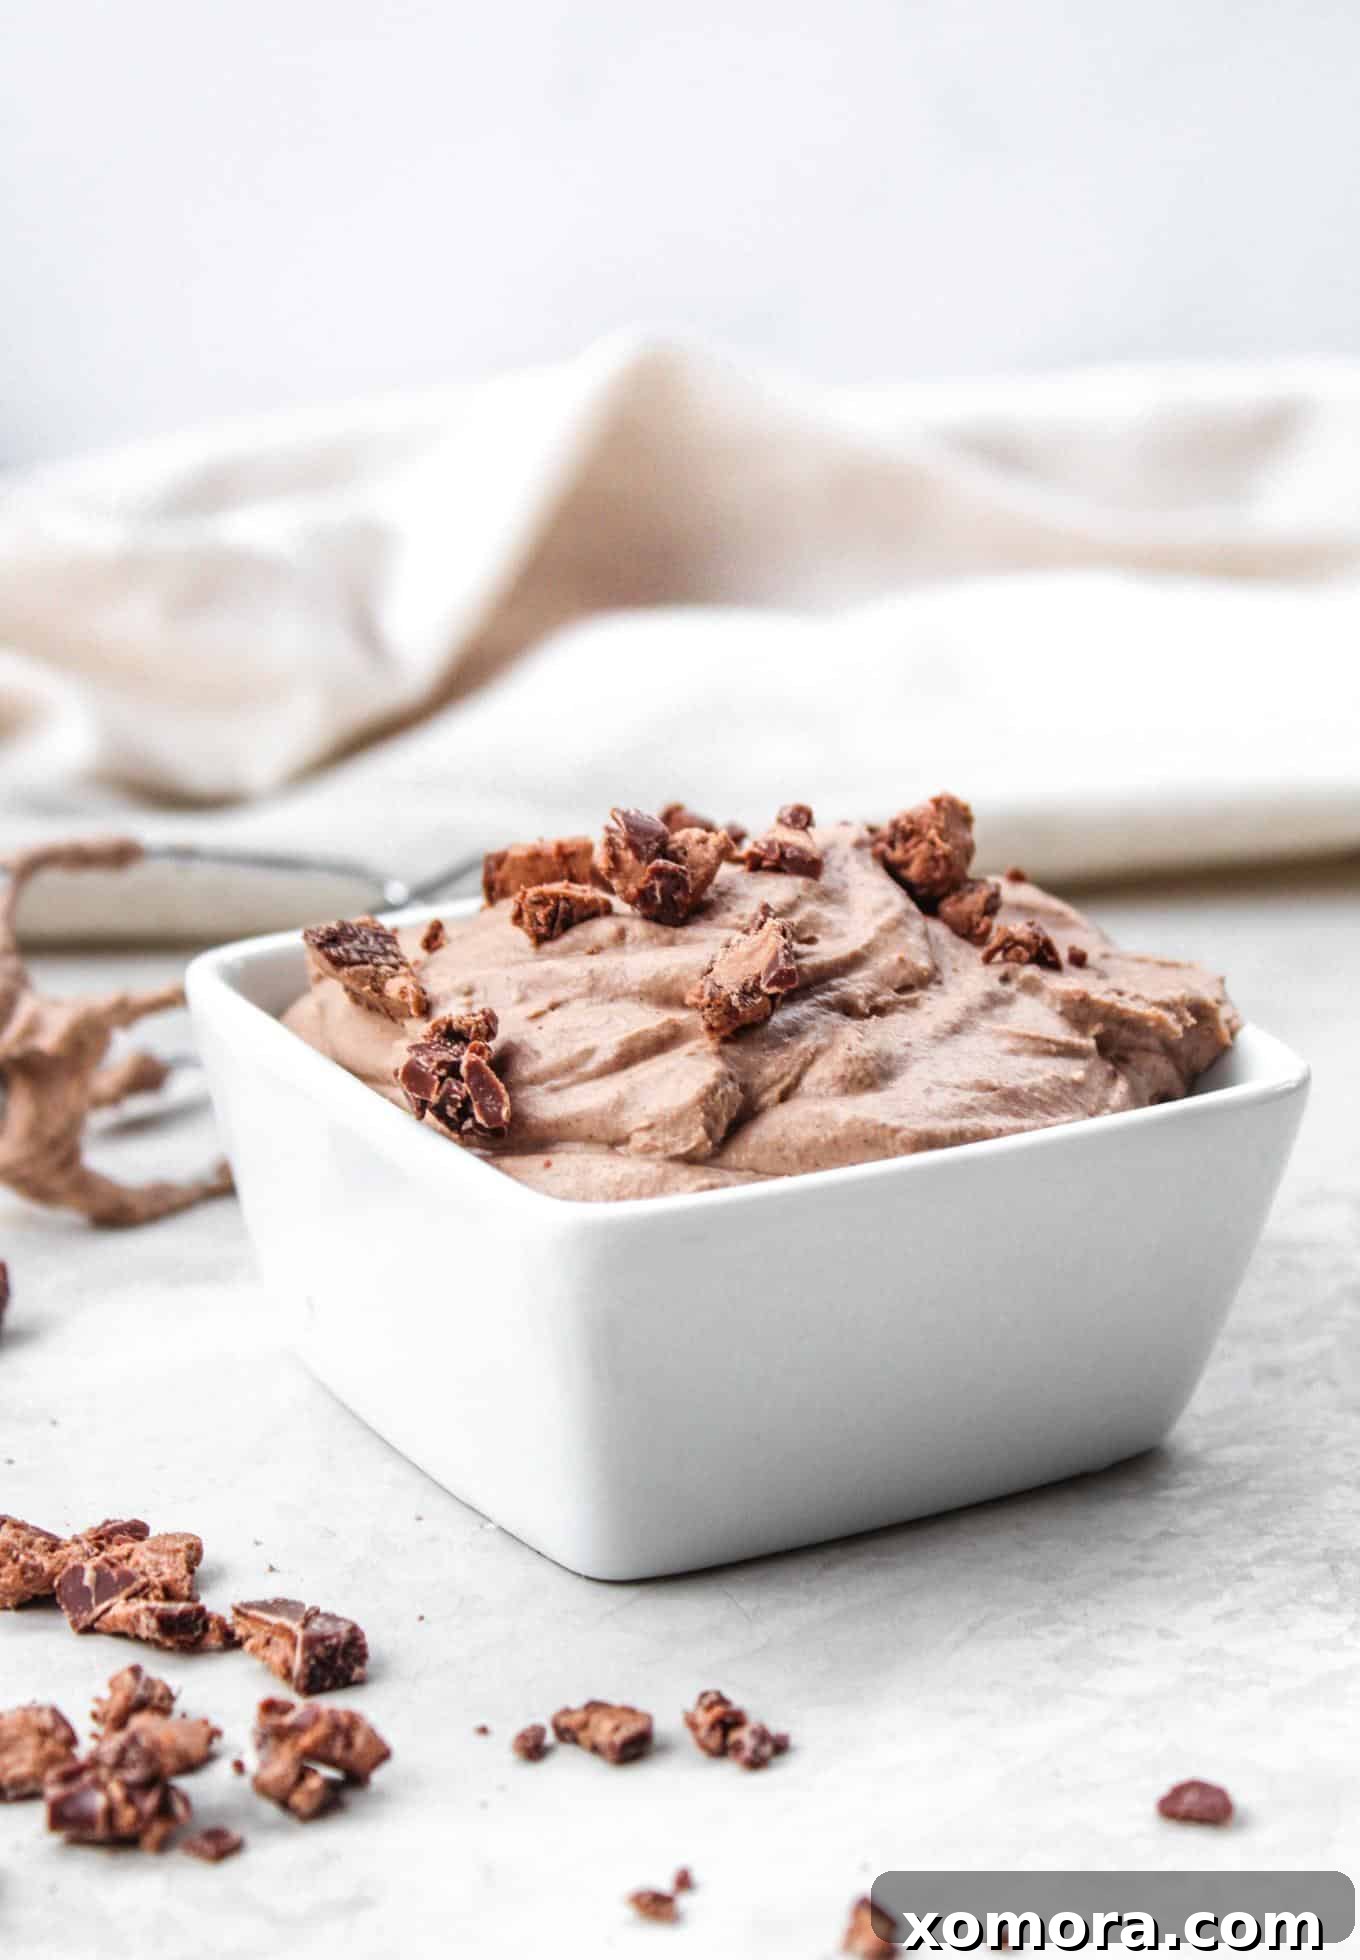
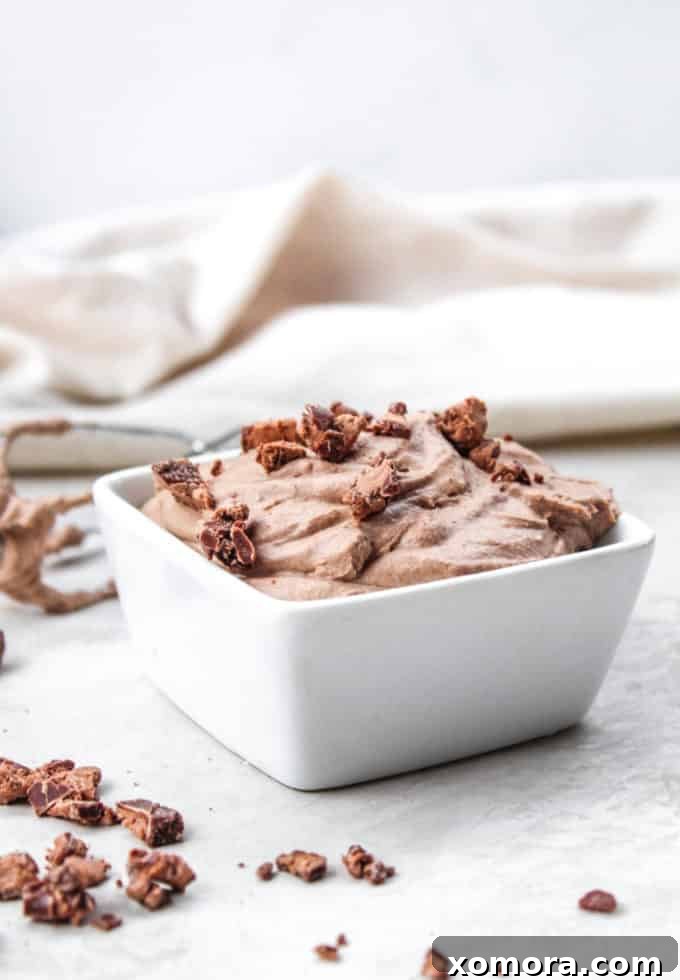
Indulge in a guilt-free dessert that redefines decadence. This Dairy-Free Chocolate Espresso Mousse is a symphony of rich flavors and luxurious textures, surprisingly simple to create. Crafted with just four wholesome ingredients, it promises a moment of pure bliss with every spoonful. Its airy, yet incredibly creamy consistency, combined with the perfect balance of subtle chocolate and aromatic espresso, makes it an unforgettable treat for any occasion. Whether you’re a seasoned chef or a kitchen novice, this recipe is designed for effortless elegance.
After months of dedicated work, I’m thrilled to share that my cookbook manuscript has been officially submitted to my publisher! It’s been an incredible journey, a true labor of love filled with countless kitchen experiments, late-night writing sessions, and an unwavering passion for bringing delicious, healthy recipes to your table. If you’ve been following along on Instagram, you’ve likely caught glimpses of the intricate cookbook process in my stories. While the photography and editing stages are still ongoing, submitting the manuscript marks a significant milestone, bringing me one step closer to sharing all those amazing dishes with you.
And what better way to celebrate this return to regular blogging than with a spectacular sweet treat that embodies everything I love about wholesome, flavorful food? This particular mousse is so exceptional, I’m already planning to feature it prominently at our annual Christmas party in a few weeks. I highly recommend you consider doing the same; it’s guaranteed to impress your guests and leave them asking for the recipe.
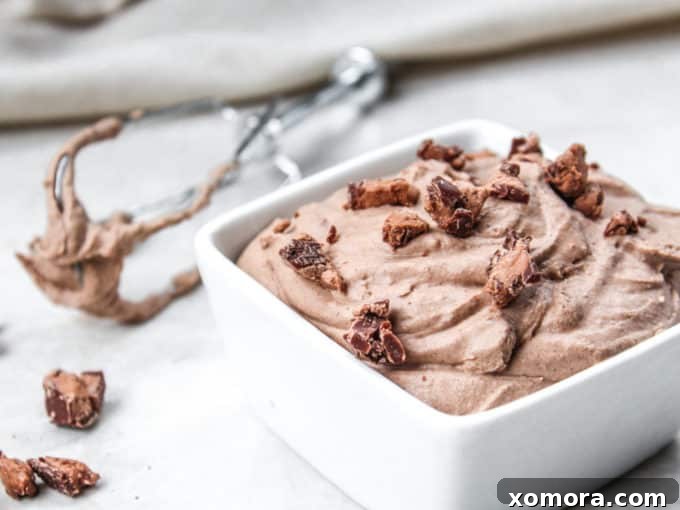
The delightful journey to this Dairy-Free Chocolate Espresso Mousse recipe began, as many great culinary adventures do, quite unexpectedly. My initial project involved perfecting a dairy-free whipped cream (a recipe I’m excited to share with you very soon!). As often happens in the kitchen when experimentation takes the lead, one ingredient discovery or technique variation naturally led to another. While perfecting the whipped cream base, I uncovered the incredible versatility of chilled coconut cream, and before I knew it, this exquisite chocolate espresso mousse was born. It quickly became an irresistible creation, and I simply cannot get enough of it!
The secret to this mousse’s incredibly fluffy and rich texture lies in one crucial ingredient: full-fat canned coconut cream. Not to be confused with lighter coconut milk, coconut cream boasts a significantly higher fat content, which is absolutely essential for achieving that delightful, airy yet decadent consistency. The magic begins with proper preparation: by refrigerating your canned coconut cream for at least 12 hours (and ideally 24), you allow the dense, solid cream to separate efficiently from the thinner liquid. This separation is paramount – only the thick, hardened cream will be whipped into a truly luxurious mousse.
You’ll typically find canned coconut cream right alongside canned coconut milk in the international foods aisle of most grocery stores. One brand I’ve consistently relied on and found widely available is Thai Kitchen. However, don’t hesitate to check out specialty or health food stores like Whole Foods; they often stock a broader range of dairy-free alternatives and might even feature coconut cream in their baking aisle. The key is to look for full-fat varieties, as “light” or “reduced-fat” coconut cream simply won’t yield the same luscious results. It’s a small detail that makes a monumental difference in the final product.
Once your coconut cream has been thoroughly chilled overnight and the separation is complete, the next step is crucial for achieving that signature mousse perfection. Carefully scoop out only the solid cream into a mixing bowl, leaving the watery liquid behind in the can. We won’t be using that liquid for this particular recipe, so you can save it for smoothies or other culinary uses. Then, using either a hand mixer or a stand mixer fitted with the whisk attachment, beat the solid coconut cream until it transforms into a silky-smooth, creamy concoction. This typically takes just a minute or two. Before proceeding, take a moment to check for any stubborn clumps and ensure they are thoroughly smoothed out. Trust me, nobody wants a lumpy mousse!
With your coconut cream whipped to perfection, it’s time to introduce the remaining three stars of this simple recipe. Gently fold in the maple syrup (or honey, if you prefer), cocoa or cacao powder, and the espresso powder. Use a spatula or your mixer on a low speed to combine these ingredients until they are thoroughly incorporated and the mousse achieves a uniform color and consistency. The beauty of this recipe lies in its minimalist approach, allowing the quality of each ingredient to shine through.
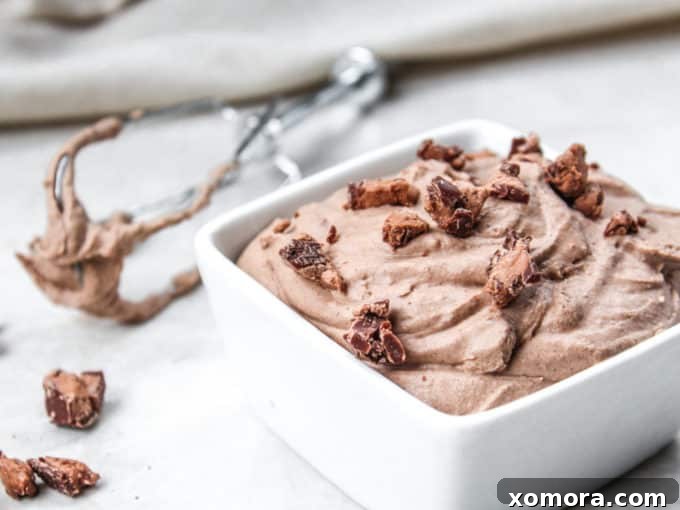
The resulting flavor profile of this mousse is wonderfully balanced: a mild yet distinct sweetness harmonizes beautifully with the subtle bitterness of cocoa and the rich depth of espresso. It’s truly a dance of flavors – a little chocolate, a little espresso, and a whole lot of yummy! The espresso powder, in particular, doesn’t necessarily make the mousse taste overtly like coffee; rather, it acts as a flavor enhancer, deepening the chocolate notes and adding an intriguing complexity that makes this dessert truly special. Feel free to adjust the amount of sweetener to your preference after an initial taste test, adding small increments until it’s just right without compromising the mousse’s airy texture.
This versatile mousse offers myriad ways to be enjoyed. Of course, you can simply savor it on its own, a delightful treat straight from the spoon. It also makes an incredible topping for other desserts – imagine a warm brownie or a slice of cake crowned with a generous dollop of this lusciousness. For a delightful breakfast or brunch indulgence, try spooning it over pancakes or waffles. However, my absolute favorite way to serve this mousse is as a dip for fresh fruit. The creamy chocolate-espresso blend elevates ordinary fruit into a slightly naughty, incredibly delicious experience, making healthy snacking feel wonderfully indulgent. For entertaining, try chopping up your favorite dairy-free candy bar and sprinkling it on top for an extra festive touch.
For those seeking more delicious dairy-free treats, be sure to explore these other fantastic recipes:
- Dairy Free Pumpkin Oat Muffins
- Dairy Free Chocolate Chip Cookies
- Sticky Candied Pecans
- Chocolate Chip Banana Oat Muffins
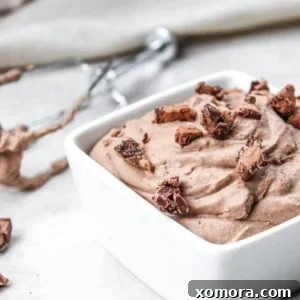
Dairy Free Chocolate Espresso Mousse
Christina
5 minutes
4
servings
Pin Recipe
Rate Recipe
Ingredients
-
2
13 1/2-ounce cans
coconut cream,
refrigerated overnight -
2
tablespoons
maple syrup or honey -
2
tablespoons
cocoa or cacao powder -
2
teaspoons
espresso powder
Instructions
-
Chill your full-fat canned coconut cream in the refrigerator overnight (at least 12-24 hours). It is crucial not to stir or shake the cans, as our goal is to encourage the fat solids to separate from the liquid.
-
After the coconut cream has been thoroughly refrigerated, carefully open the cans and scoop out only the solid, hardened coconut cream into a mixing bowl. Discard or save the liquid (coconut water) left in the can; we will not use it for this mousse recipe.
-
Using an electric hand mixer or a stand mixer with the whisk attachment, beat the hardened coconut cream for about 30 seconds, or until it becomes creamy and smooth. Ensure there are no lumps remaining; beat until the consistency is perfectly uniform.
-
Once the cream is whipped and smooth, add the cocoa powder (or cacao powder), espresso powder, and maple syrup (or honey). Mix with a spatula or continue to beat on low speed until all ingredients are thoroughly combined and the mousse has a consistent color and flavor.
-
Taste the mousse and, if desired, add a little extra maple syrup or honey for more sweetness. Remember to add it gradually and sparingly to avoid thinning the mousse and losing its lovely fluffiness.
-
Serve this delicious mousse as a light dessert, a delightful fruit dip, or as a decadent topping for pancakes, waffles, or brownies. For a festive touch, garnish with chopped dairy-free chocolate or a sprinkle of extra cocoa powder. Enjoy!
Notes
You can substitute canned unsweetened full-fat coconut milk if coconut cream is unavailable. However, be aware that coconut milk has a higher water content, meaning you will yield less solid cream and consequently less mousse. This may require chilling an additional can.
If your coconut cream doesn’t harden sufficiently after refrigeration, it unfortunately indicates a can with insufficient fat content. While this is rare (I’ve only encountered it once in years of cooking with coconut products), if it happens, simply try another can. Quality full-fat coconut cream is key.
Have leftover mousse? Store it in an airtight container in the refrigerator for 1 to 2 weeks. The mousse will naturally thicken further when chilled, so give it a good stir before serving again to restore its creamy texture.
Like this recipe? We’d love to hear from you! Leave a comment below!